How to Remove Keyboard Switches: Safely and Easily
The first time I decided to customize my mechanical keyboard, the idea was both thrilling and daunting. Getting those individual mechanical switches off your keyboard's main circuit board (the "PCB") is a fundamental skill for any keyboard enthusiast. People remove switches to replace a faulty one, experiment with a different typing feel, or perform deep cleaning and lubrication.
The removal process depends entirely on your keyboard type. A "hot-swappable" board allows switches to be pulled out easily, while a traditional "soldered" board requires melting the solder that holds them in place. Understanding this difference is the most critical first step. Mechanical keyboard switches typically come in 3-pin (plate-mounted) and 5-pin (PCB-mounted) variants. 5-pin switches have two extra plastic legs for stability, which must be carefully removed from the PCB during extraction.
Knowing how to remove keyboard switches properly is essential for maintenance and customization. Using the wrong tools or techniques can easily bend the delicate pins on a switch, damage the hot-swap sockets, or even harm the keyboard's PCB, leading to costly and time-consuming repairs. Being patient and precise ensures you avoid irreversible damage. Taking out the switches correctly unlocks a world of customization, from "lubing" internal parts for a smoother feel to thoroughly cleaning the keyboard plate.
What Tools Are Needed to Remove Keyboard Switches?
Tools Needed to Remove Keyboard Switches
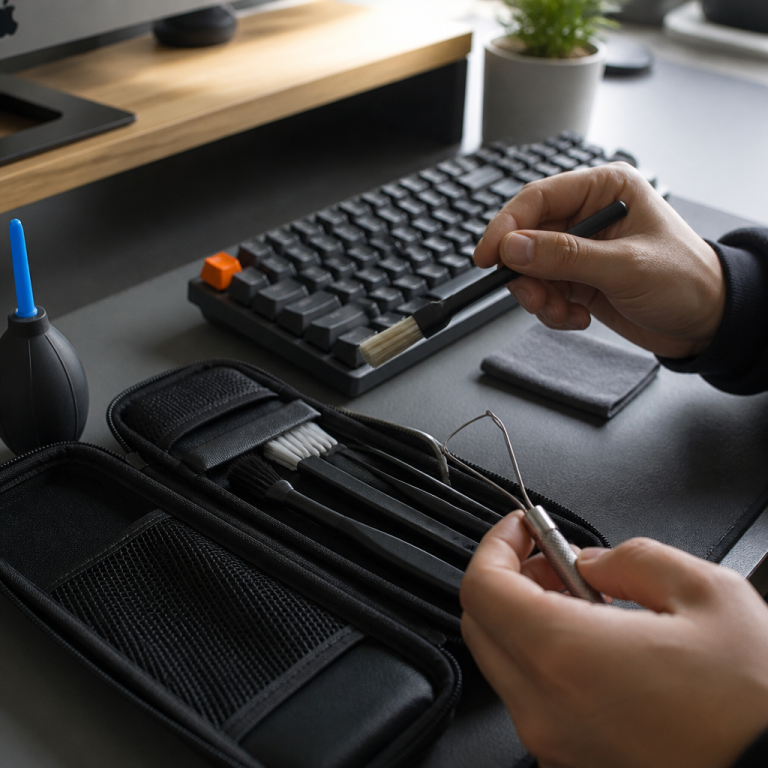
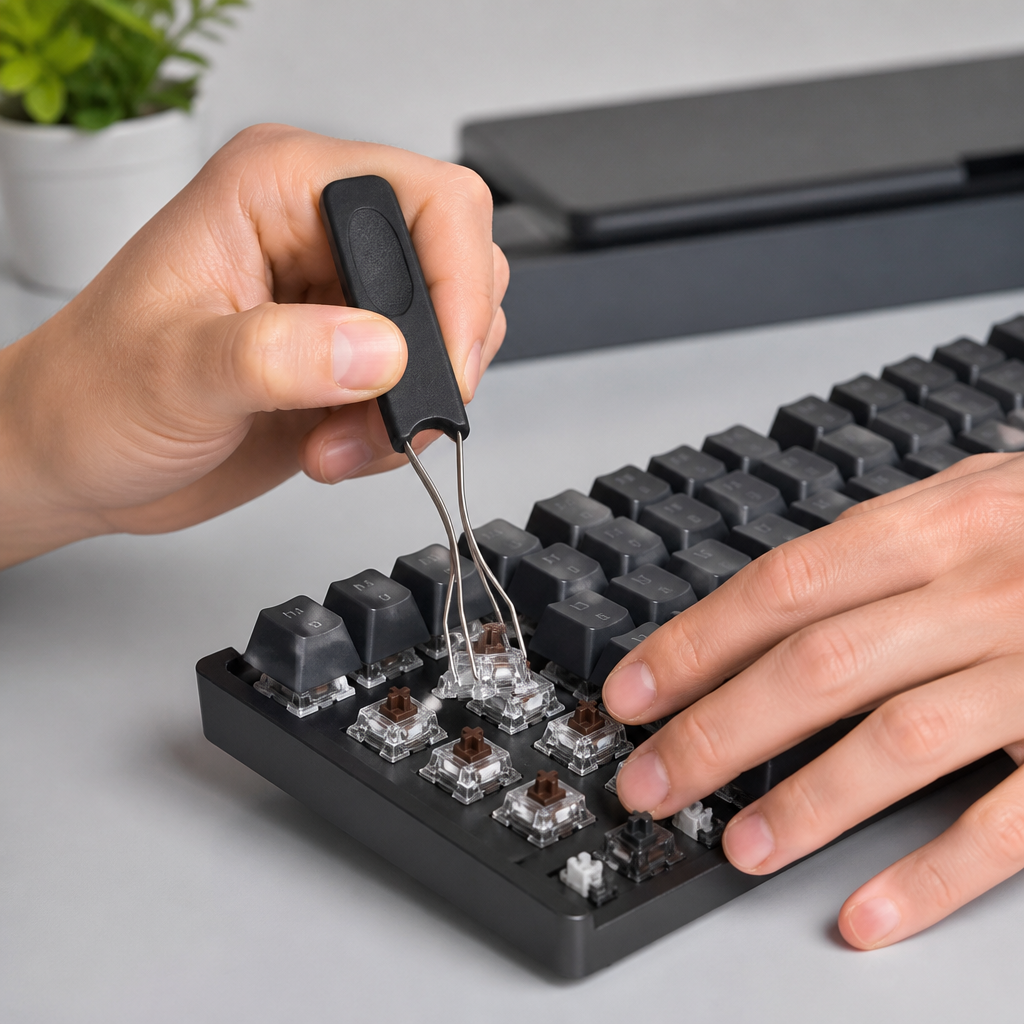
To safely remove keyboard switches, having the right tools is non-negotiable. The required equipment differs significantly depending on whether your keyboard is hot-swappable or has soldered switches. Using proper tools is an investment in the longevity and functionality of your keyboard.
| Board Type | Essential Tools | Recommended Accessories |
|---|---|---|
| Hot-Swappable | Switch Puller, Keycap Puller | – |
| Soldered | Soldering Iron, Desoldering Pump or Wick, Keycap Puller | Flux, ESD-safe Mat, Switch Opener |
For hot-swappable keyboards, a switch puller is the most critical tool. This device is designed with two prongs that compress the retaining clips on the sides of a switch, allowing you to pull it out of its socket safely. For keyboards with soldered switches, you will need a desoldering setup. This includes a soldering iron (40W-60W recommended) to melt the solder, and a desoldering pump (solder sucker) or desoldering wick to remove the molten solder.
"New users commonly try to remove switches from hot-swap sockets without using a proper switch puller, which almost certainly leads to damage to both the switch and the socket."
— Thomas Baart, founder of splitkb.com
Advanced tools can make the process easier for frequent modders. A desoldering gun offers a more efficient way to remove solder but is significantly more expensive than a manual pump. Additionally, a switch opener is necessary if you plan to disassemble the switches for lubing, and an ESD-safe mat is recommended to prevent static discharge from damaging electronic components.
Investing in quality tools makes a significant difference in the ease, safety, and success of your switch removal project. _While there are makeshift ways to do it, they always come with a higher risk of damaging your components._
How to Remove Keyboard Switches Without a Tool
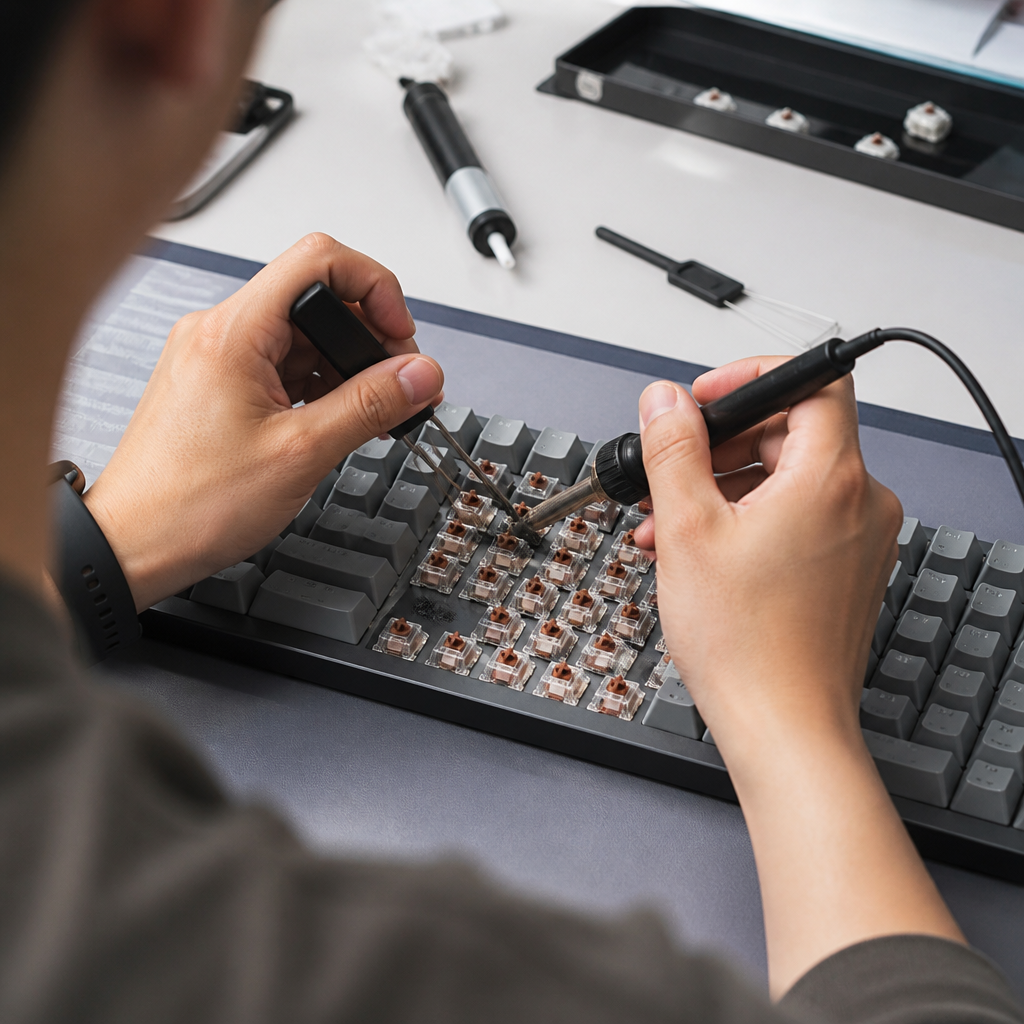
While not recommended due to the high risk of damage, it is sometimes possible to remove switches from hot-swappable boards using improvised tools like two small flathead screwdrivers or a pair of precision tweezers. The method involves pressing both side clips of the switch simultaneously while gently pulling it upward. This requires extreme care to avoid damaging the switch housing or the hot-swap socket.
For soldered boards, attempting to remove switches without proper desoldering tools is exceptionally risky. A technique known as the "heat and pull" method, using only a soldering iron, involves heating one solder joint and pulling that side of the switch up, then repeating for the other pins. This method is not recommended as it poses a high risk of permanently damaging the PCB pads and traces.
Using inappropriate tools like knives or scissors should be avoided at all costs. They can easily slip, causing personal injury or scratching the PCB's conductive pathways. The primary risk of using any improvised method is irreversible damage. Hot-swap sockets are delicate and can be deformed by improper force, while lifted PCB pads on a soldered board require complex repairs. Given the high potential for expensive damage, using the appropriate, dedicated tools is always the wisest choice to protect your investment.
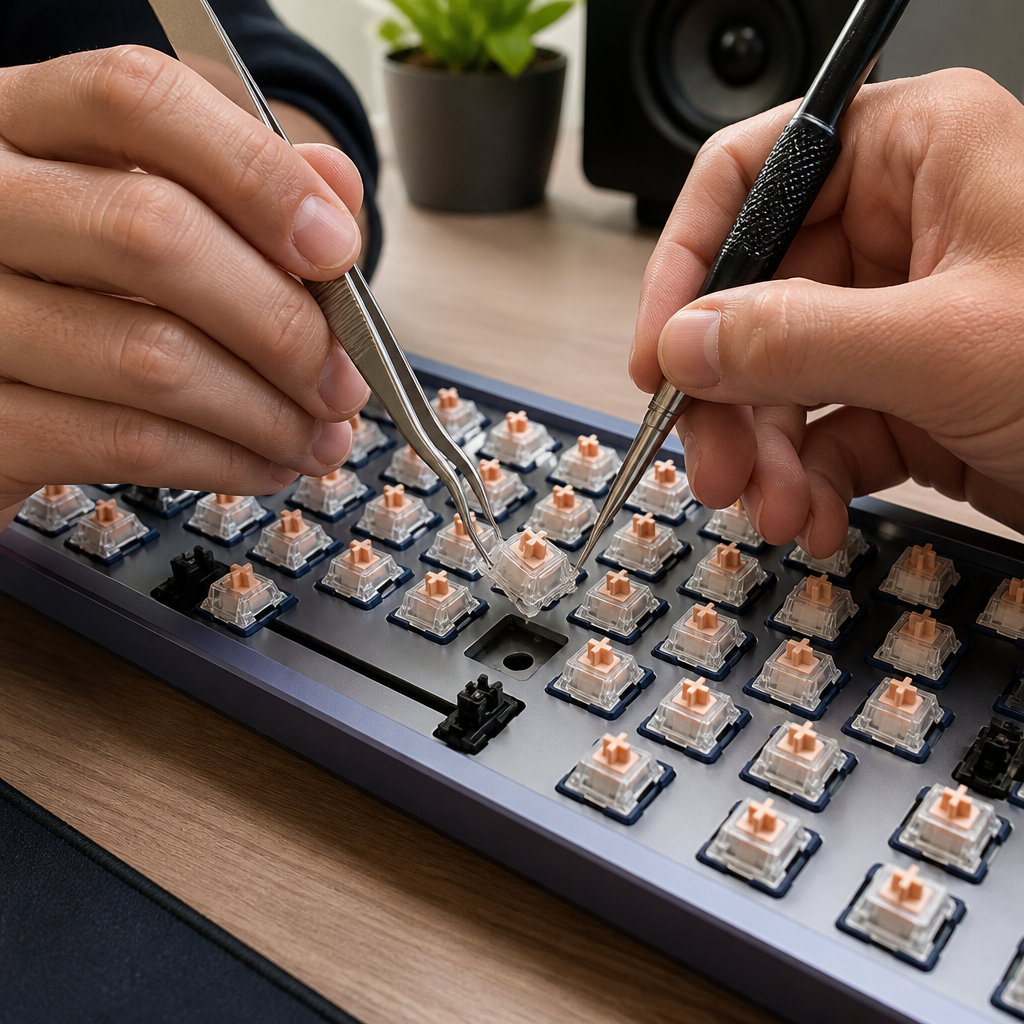
How to Remove Keyboard Switches by Board Type
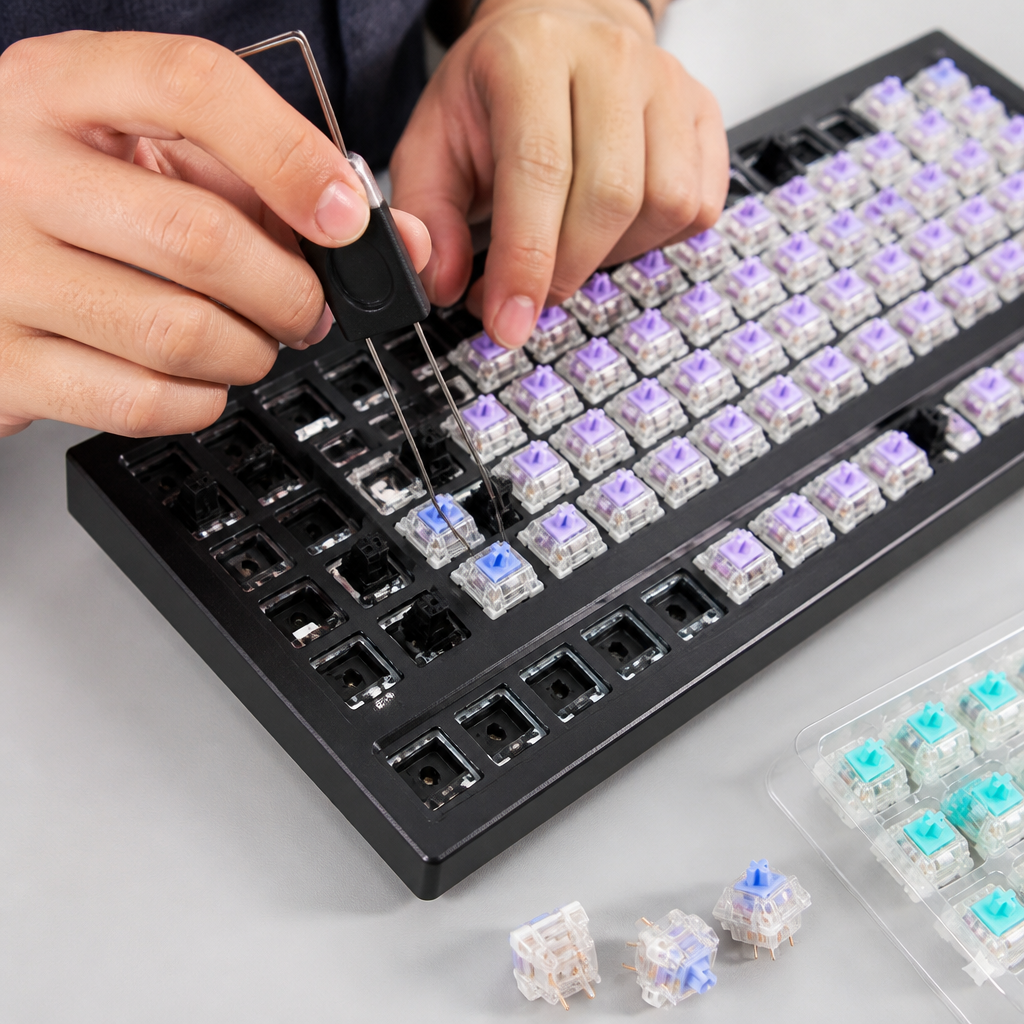
How to Remove Keyboard Switches on a Hot Swap Board
Hot-swappable keyboards feature special sockets soldered to the PCB that allow switches to be installed and removed without any soldering. This design has made keyboard customization more accessible to a wider audience. The process is simple, but precision is key to avoiding damage.
Here is the correct procedure for removing a switch from a hot-swap board:
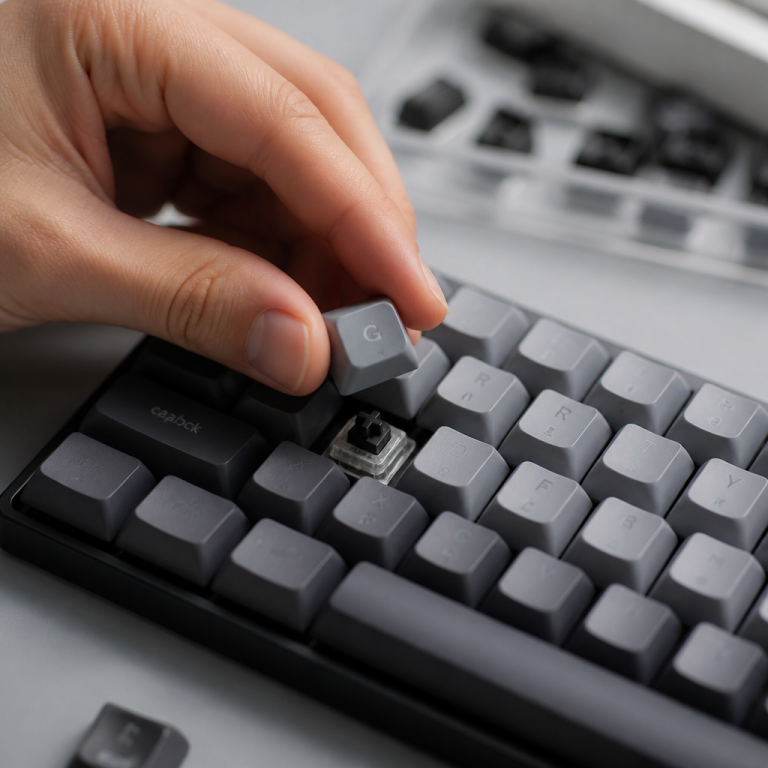
- Remove the keycaps from the switches you plan to extract to get clear access.
- Position the switch puller's prongs so they align with the small retaining clips on the top and bottom of the switch.
- Gently squeeze the puller to press these clips inward.
- While keeping the clips compressed, pull the switch straight upward with steady, even pressure until it pops out of the socket.
"Always pull switches straight up, never at an angle. Angled removal is the number one cause of bent pins and damaged hot-swap sockets in my repair experience."
— Nathan Kim, Keyboard Repair Technician
It is important to remember that hot-swap sockets have a limited lifespan, typically rated for around 100 swaps. If a switch feels stuck, it may be due to a tight plate. In this case, gently wiggle the switch while pulling upward. _It is vital to wiggle, not twist, as twisting can easily bend the delicate pins._ Also, ensure your replacement switches are compatible; some boards only support 3-pin switches, requiring you to clip the two extra plastic legs off a 5-pin switch before installation.
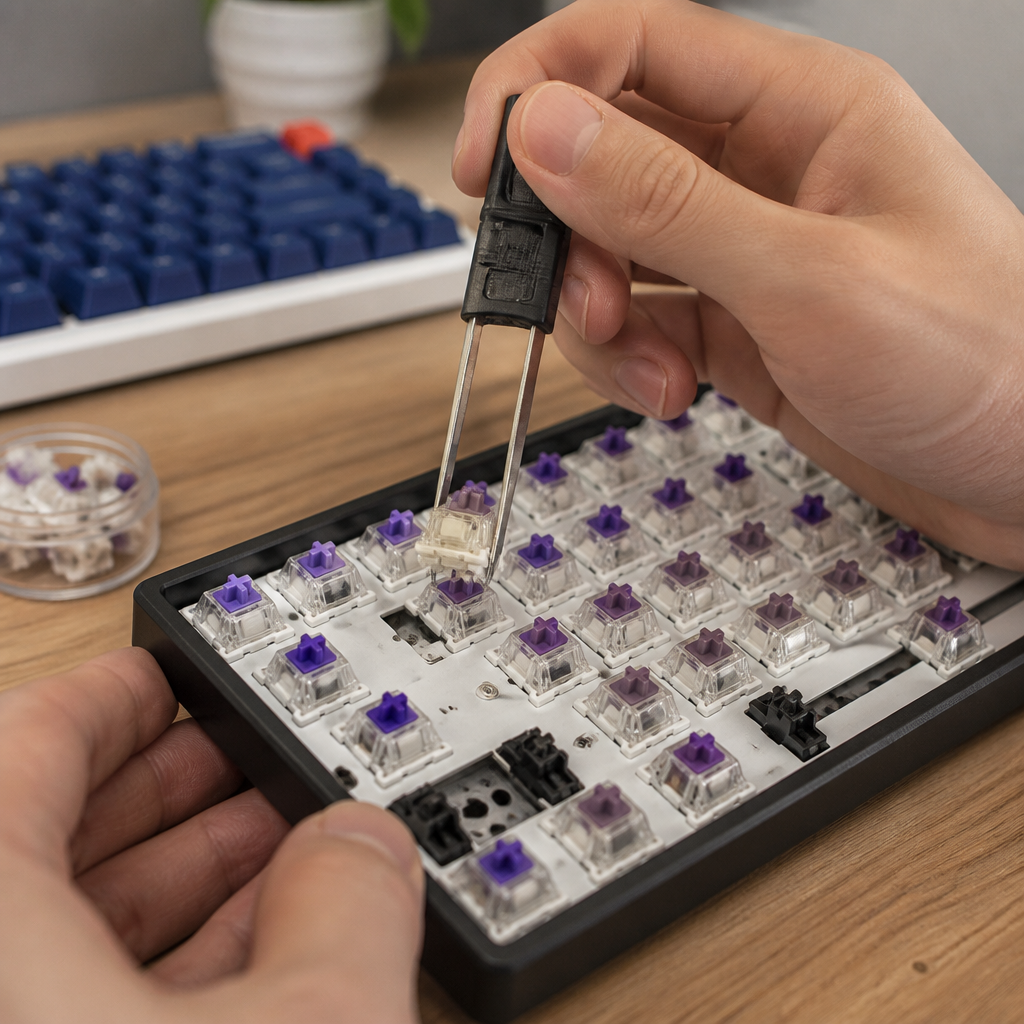
How to Remove Keyboard Switches from a PCB
Removing switches from a soldered PCB is a more involved process because the switches are physically and electrically bonded to the board with solder. This bond must be carefully melted and removed to free each switch.
To desolder a switch, set your soldering iron to approximately 350°C (662°F). Place the hot tip on a solder joint until the solder melts completely. Immediately use a desoldering pump to vacuum the liquid solder or a desoldering wick to absorb it. Repeat this for all of the switch's pins. Once all solder is removed, the switch should pull out easily from the top side. _If the switch doesn't come out easily, do not force it; re-check the joints for any remaining solder._
Applying fresh flux to old solder joints before heating can significantly improve heat transfer and solder flow. Crucially, limit heating time to 3-5 seconds per joint to prevent "lifted pads," a serious issue where the copper connection point detaches from the board. After removing the switch, inspect the PCB holes and clean out any remaining solder residue to ensure a new switch can be inserted properly. A clean PCB is essential for a successful installation and reliable performance.
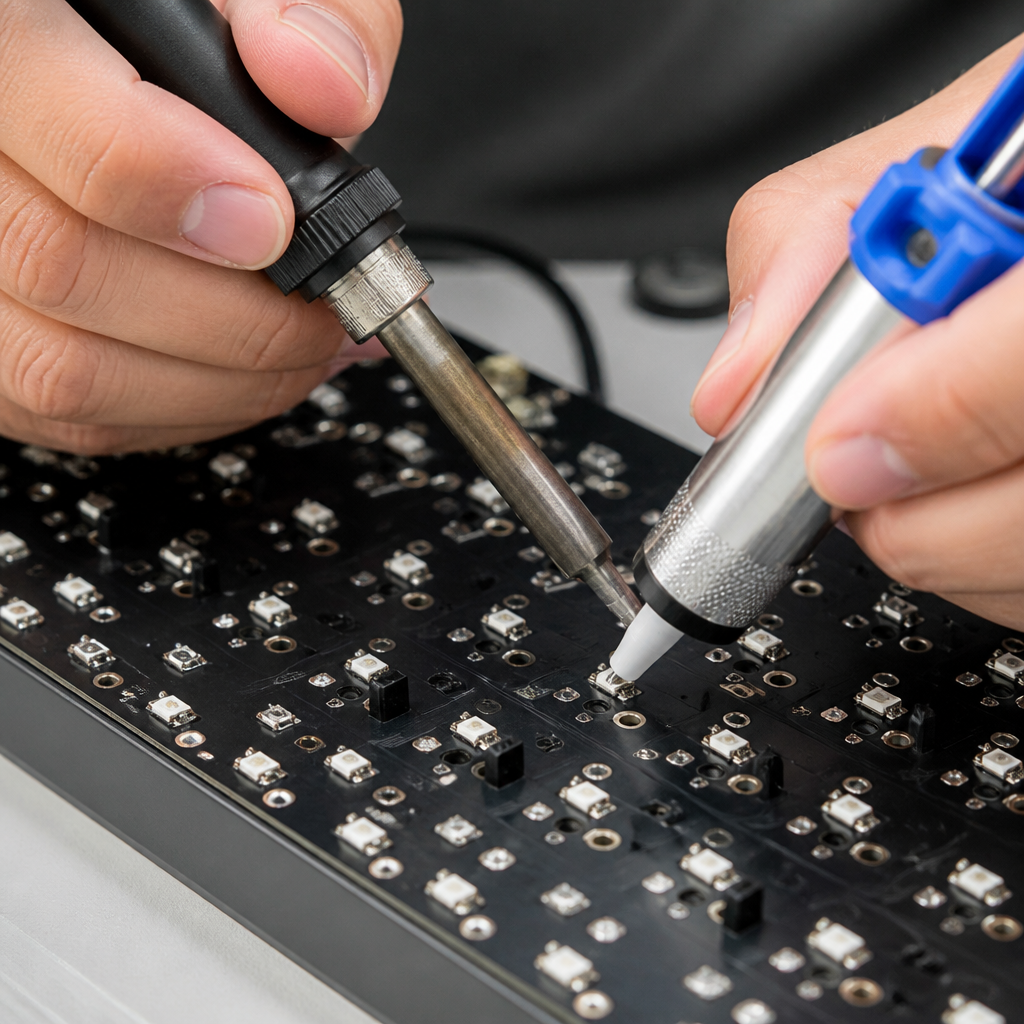
How to Remove Keyboard Switches Without Desoldering
It is a common misconception that switches can be removed from a soldered PCB without desoldering. Fundamentally, this is not possible without destroying the switch or the PCB. The solder creates a strong physical bond that must be melted to be broken. Any attempt to forcibly pull a soldered switch will almost certainly result in torn PCB pads and broken switch pins.
Destructive methods exist, such as using flush cutters to snip the switch pins from the bottom, allowing the housing to be removed from the top. However, this leaves the pin remnants soldered to the PCB, which must then be painstakingly desoldered and removed with pliers. This approach is only viable if the switches are being discarded.
For those who want the convenience of hot-swapping on a soldered board, a popular modification is installing "Mill-Max hot-swap sockets." This still requires the initial desoldering of all original switches. The sockets are then soldered into the PCB, converting the board to a hot-swappable one. In summary, desoldering is the only standard and safe method for removing switches from a soldered keyboard. It is a necessary skill for anyone serious about modifying or repairing these types of boards.
How Should You Clean and Maintain Keyboard Switches After Removal?
How to Remove Lube From Keyboard Switches
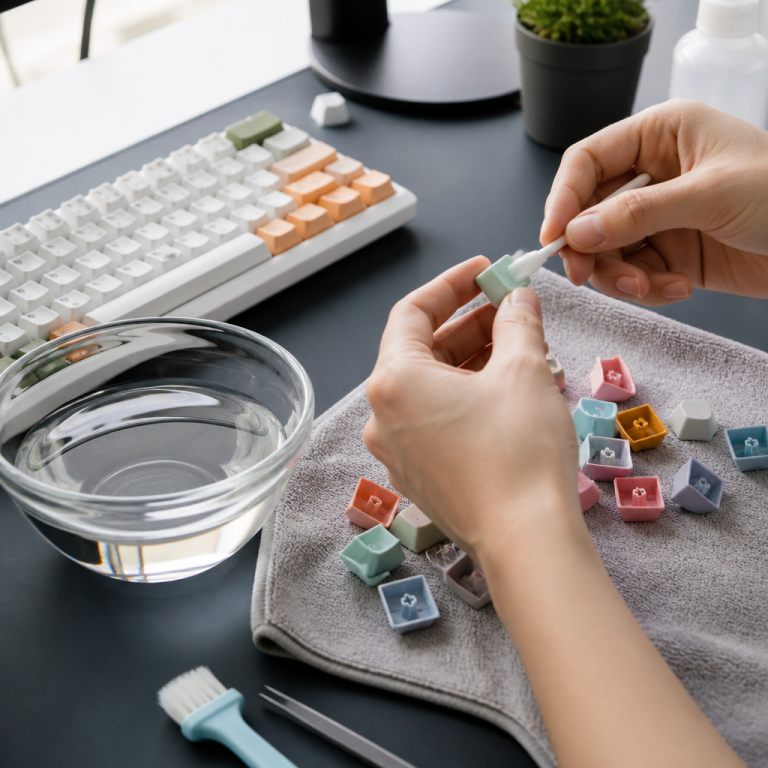
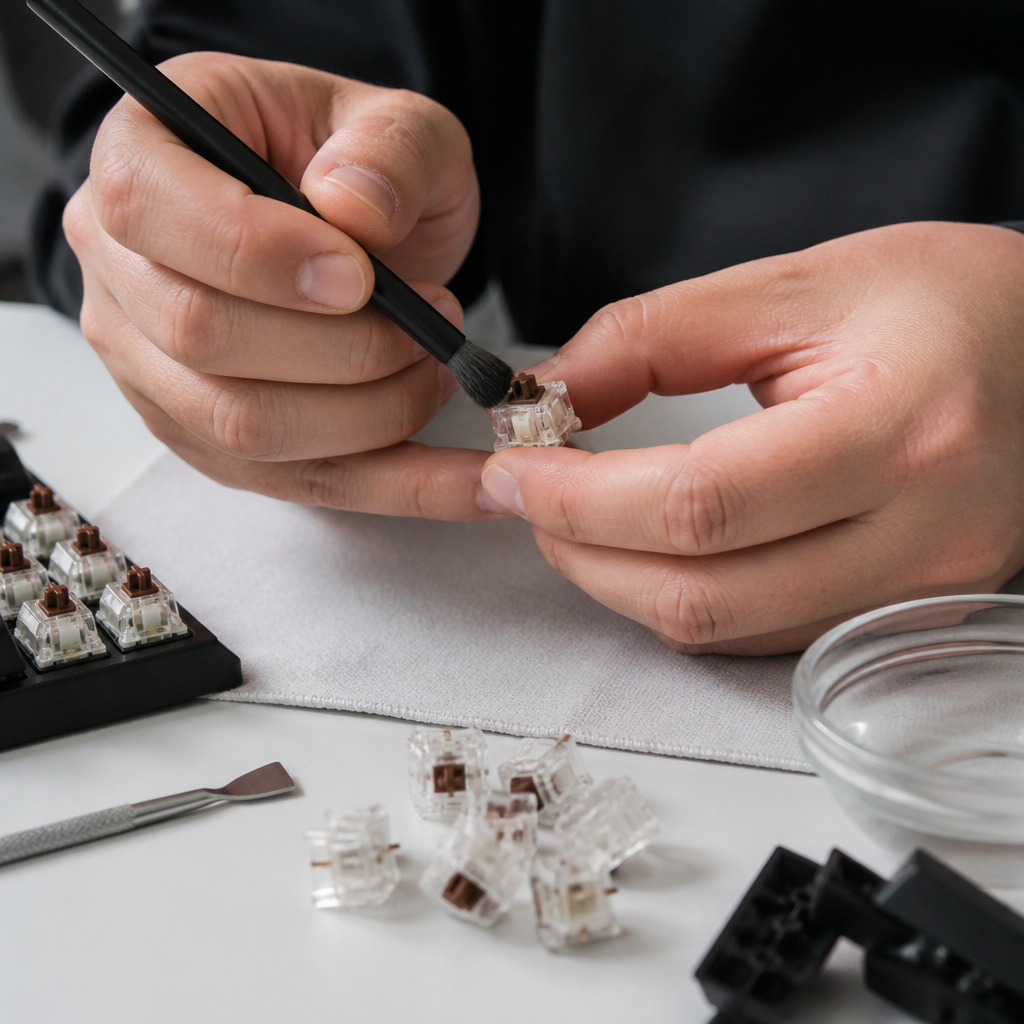
Switch "lubing" is the application of special grease to a switch's internal components to create a smoother keypress and better sound. However, you may need to remove old or excess lube. This requires disassembling the switches and cleaning each part thoroughly.
Here are the items you'll need for cleaning:
- Isopropyl Alcohol (IPA) with a concentration of 90% or higher
- Cotton swabs or a microfiber cloth
- A switch opener
- An ultrasonic cleaner (optional, for large batches)
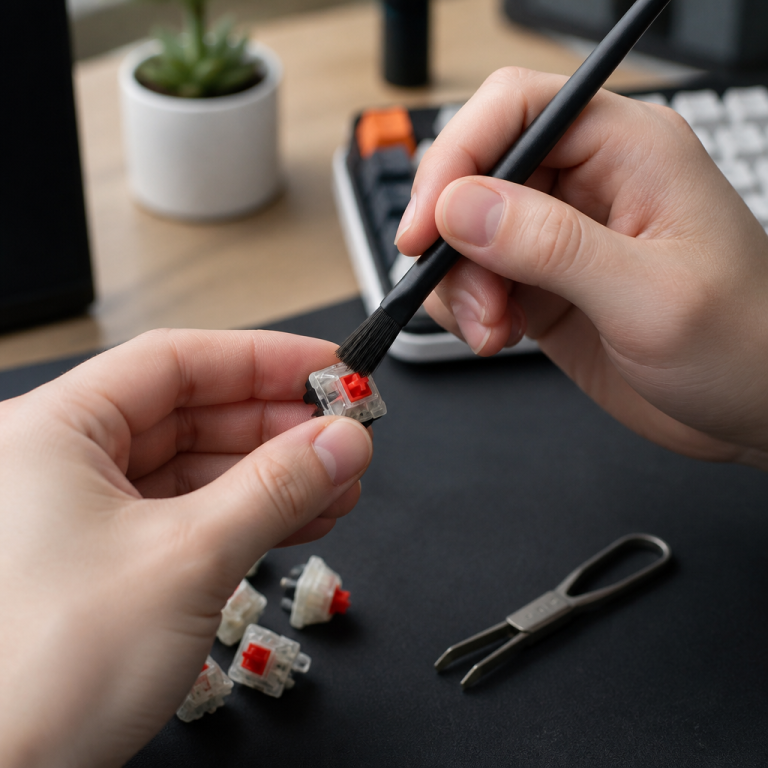
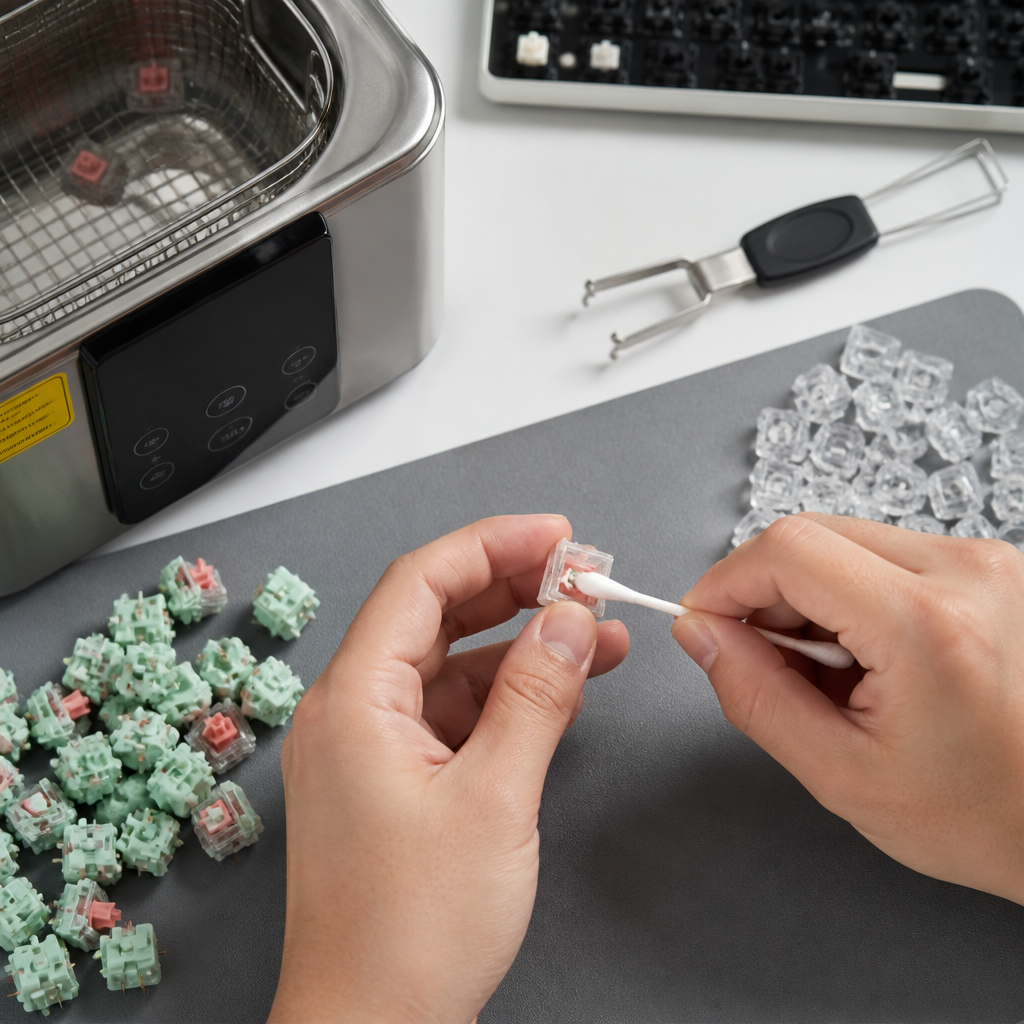
First, use a switch opener to separate the top housing, bottom housing, stem, and spring of each switch. The most effective and commonly recommended cleaning agent for dissolving switch lubricants is isopropyl alcohol (IPA). Dampen a cotton swab or cloth with IPA and carefully wipe every surface where lubricant was applied. For cleaning large quantities, an ultrasonic cleaner filled with IPA can clean many components in just a few minutes.
After cleaning, allow all parts to air dry completely. _This is a crucial step, as any leftover moisture can lead to electrical shorts or corrosion once the switch is reassembled._
"Never use water-based cleaners or acetone on switches. Water can cause corrosion of the metal contacts, and acetone will damage the plastic housing, causing cracks and discoloration."
— Taeha Types, Professional Keyboard Builder
Once the components are clean and fully dry, the switch is restored to its factory condition. You can then reassemble it or apply a fresh, even coat of new lubricant to achieve your desired typing feel.
FAQ
Q1: What is the main difference between removing switches from a hot-swappable keyboard versus a soldered keyboard?
A1: The main difference is how they are attached and removed. Hot-swappable keyboards use special sockets that let switches be pulled out directly with a switch puller, without needing any soldering. Soldered keyboards, however, have switches permanently attached to the PCB with solder, so you need to use a soldering iron and desoldering tools to melt and remove the solder before the switches can be taken out.
Q2: What tools are absolutely essential for removing switches from a hot-swappable keyboard?
A2: For hot-swappable keyboards, the most important tool is a dedicated switch puller. This tool is designed to squeeze the small clips on the sides of the switch housing, allowing for safe and easy removal from the hot-swap socket. While you might sometimes use improvised tools, a proper switch puller greatly reduces the risk of damaging both the switch and the socket.
Q3: Can I remove switches from a soldered PCB without desoldering?
A3: No, it is not possible to remove switches from a soldered PCB without desoldering them first, at least not without causing significant damage to the switches or the PCB. The solder physically bonds the switch pins to the board, and this bond must be melted and removed to free the component. Trying to force a soldered switch out will very likely result in bent pins or damaged PCB pads.
Q4: What are the risks of using improvised tools like knives or scissors to remove keyboard switches?
A4: Using improvised tools like knives or scissors to remove keyboard switches is highly risky and not recommended. These tools can easily slip, potentially causing personal injury. More importantly, they can severely damage the keyboard's PCB by scratching conductive pathways (traces), creating accidental short circuits, or bending switch pins, which could make the keyboard stop working entirely.
Q5: How do I clean lubricant off my keyboard switches after removing them?
A5: To remove lubricant from keyboard switches, you first need to open the switch housing and separate all its parts (top housing, bottom housing, stem, spring). Then, thoroughly wipe each part with a cloth or cotton swab dampened with 90%+ isopropyl alcohol (rubbing alcohol). For larger batches, an ultrasonic cleaner with isopropyl alcohol can be very efficient. Make sure all components are completely dry before putting them back together to prevent electrical shorts or corrosion (rusting).

Hi, I’m Alex Morgan.
Welcome to my blog! As a dedicated mechanical keyboard enthusiast, I’m passionate about exploring everything from custom builds to the finest details of switches and keycaps. My goal is to break down specs, sound profiles, and ergonomics to help you find the absolute best keyboard for your setup. Whether you’re a gamer, programmer, or desk setup fanatic, I’m here to share honest reviews and practical recommendations.