how to clean keycaps: 7 Safe, Proven Methods That Work
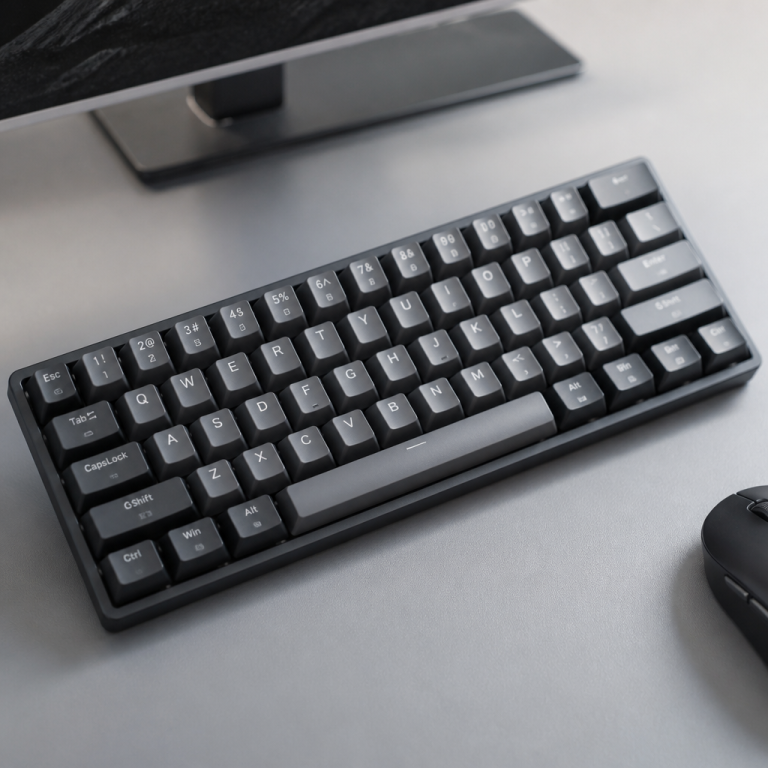
I remember the first time I noticed the state of my keyboard after months of frequent use. It was late one night while gaming when I saw a faint, unsettling sheen on my WASD keys and noticed crumbs lurking under the spacebar. That moment made me realize cleaning my keyboard, especially figuring out how to clean keycaps, wasn’t just about aesthetics; it was crucial for hygiene and performance. It’s surprising how much grime those small plastic caps can collect. In fact, studies suggest keyboards can be far dirtier than a toilet seat! From that point on, I committed to mastering keycap cleaning, understanding it’s a vital step to keep our keyboards functional and germ-free. Manufacturers often suggest this maintenance every one to three months, and from my experience, that’s a solid guideline.
The mechanical keyboard market has grown substantially, reaching $2.35 billion in 2023, which shows a widespread interest in these devices. As more people invest in mechanical keyboards, understanding proper maintenance becomes increasingly relevant. Scientific research supports the benefits of regular cleaning; studies in the International Journal of Environmental Research and Public Health demonstrate that proper keyboard cleaning can reduce bacterial load by 80% to 100%. This also significantly lowers the risk of cross-contamination, particularly in shared workspaces.
When choosing cleaning solutions, several common options exist, each suited for specific applications. Mild dish soap and warm water are generally safe for most keycap materials. Isopropyl alcohol, usually at a 70% concentration, effectively disinfects. For tougher stains, denture cleaning tablets can be a useful tool for a deeper clean. Ultrasonic cleaners also offer professional-level results for a thorough cleaning. Understanding how these cleaning agents and methods work with different keycap materials helps ensure your keyboard stays clean and functional long-term.
Cleaning Keycaps by Material Type
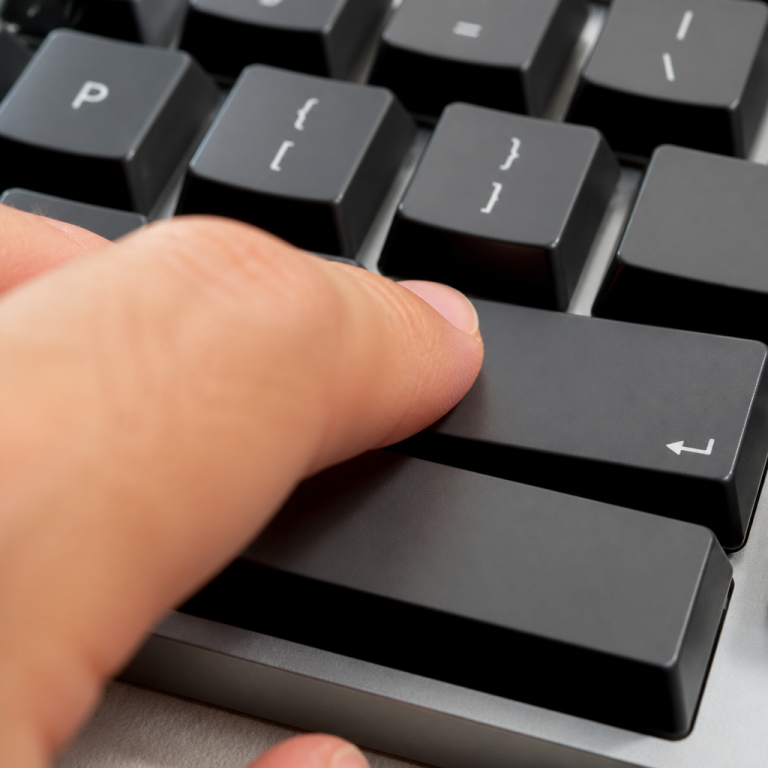
Different keycap materials require specific cleaning approaches to maintain their appearance and structural integrity. Understanding the characteristics of PBT, ABS, and the unique needs of white or oily keycaps is key to effective and safe cleaning.
| Feature | PBT Keycaps | ABS Keycaps |
|---|---|---|
| Heat Resistance | High (Melting point ~223°C) | Low (Melting point ~105°C) |
| Water Temperature | Warm, below 60°C (140°F) | Lukewarm, below 40°C (104°F) |
| Chemical Resistance | High (Resistant to Isopropyl Alcohol) | Lower (Can be damaged by >70% Isopropyl Alcohol) |
| Soaking Time | 30-60 minutes | 15-20 minutes |
| Common Issues | N/A (Very durable) | Shine, yellowing, warping from heat |
How Do You Clean PBT Keycaps?
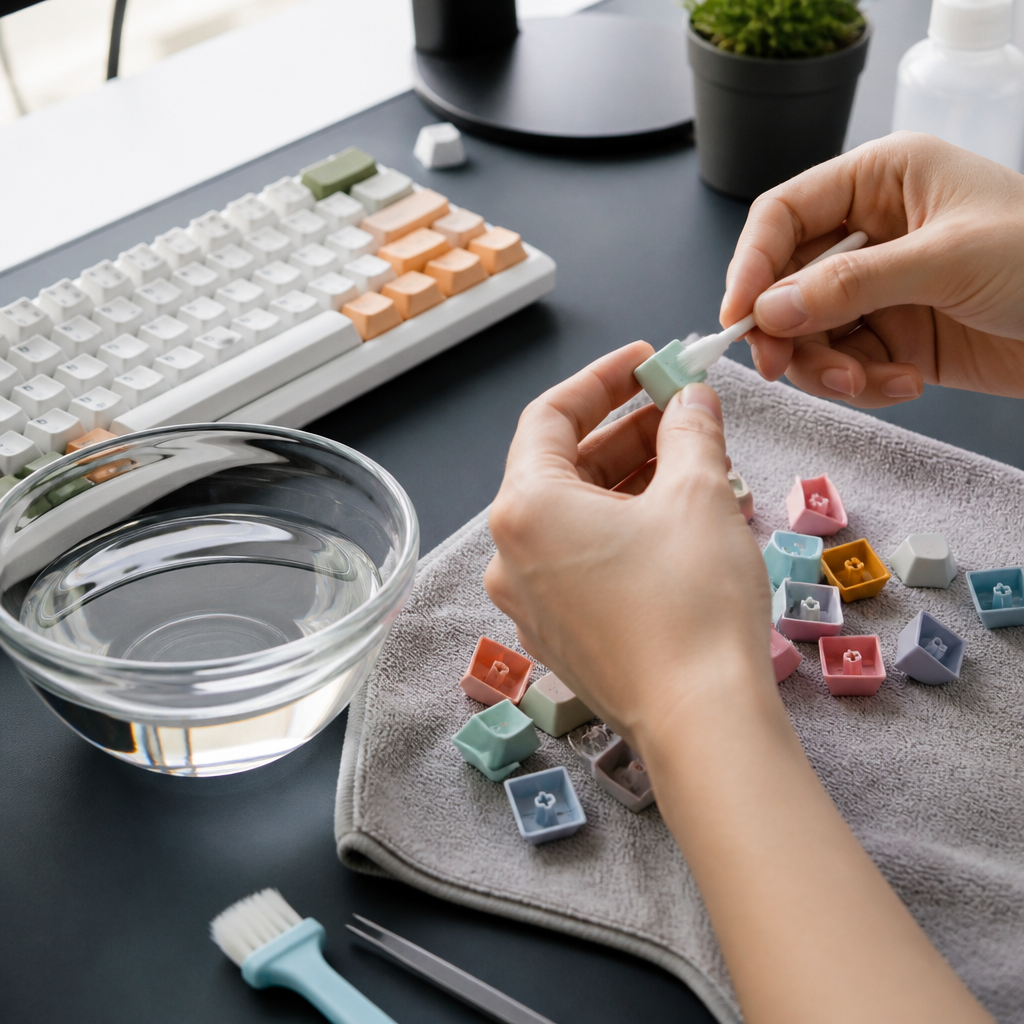
PBT, or Polybutylene Terephthalate, keycaps are known for their durability and textured finish. Unlike some other materials, PBT keycaps resist developing a greasy shine and repel oils, which helps maintain their matte appearance over time. This material also has impressive heat resistance, with a melting point around 223°C (433°F), and shows high resistance to most common cleaning chemicals. These properties make PBT keycaps generally more robust and forgiving during cleaning than plastics like ABS.
For cleaning PBT keycaps, a gentle soaking method works well.
- Place your PBT keycaps in warm water, keeping the temperature below 60°C (140°F), with a small amount of mild dish soap.
- Let them soak for 30 to 60 minutes to loosen accumulated dirt and oils.
- Use a soft-bristled brush to gently scrub away any remaining grime.
- Rinse the keycaps thoroughly to remove all soap residue.
PBT’s chemical resistance allows for the safe use of isopropyl alcohol for disinfection or targeted cleaning. Material testing shows that PBT keycaps can be cleaned with isopropyl alcohol without degrading, which is a notable advantage over ABS keycaps, as they can become brittle or discolored with similar treatment.
Denture cleaning tablets can tackle stubborn stains that soap and water might miss. Dissolving these tablets in warm water and soaking the PBT keycaps provides an effective deep cleaning solution. This method is particularly useful for lifting tough stains without damaging the material’s texture or the legends (the letters and symbols), which are often “dye-sublimated” on PBT keycaps.
Proper drying is essential after cleaning to prevent moisture issues. Ensuring the keycaps are thoroughly dry before reinstalling them on your keyboard is important to prevent potential problems with the switches or the keyboard’s electronics. PBT keycaps should air dry completely, which usually takes about four to six hours. Alternatively, you can pat them dry with a clean microfiber cloth to speed things up.
How to Clean ABS Keycaps
ABS, or Acrylonitrile Butadiene Styrene, keycaps are common and known for their smooth, often glossy finish. However, this material is more prone to developing a shiny appearance over time, as well as yellowing and potential damage from certain chemicals. These characteristics mean ABS keycaps generally require a gentler and more cautious cleaning approach than PBT keycaps. The material’s properties, including a lower melting point of around 105°C (221°F) and increased chemical reactivity, make ABS vulnerable to damage from hot water, strong solvents, and prolonged exposure to cleaning solutions.
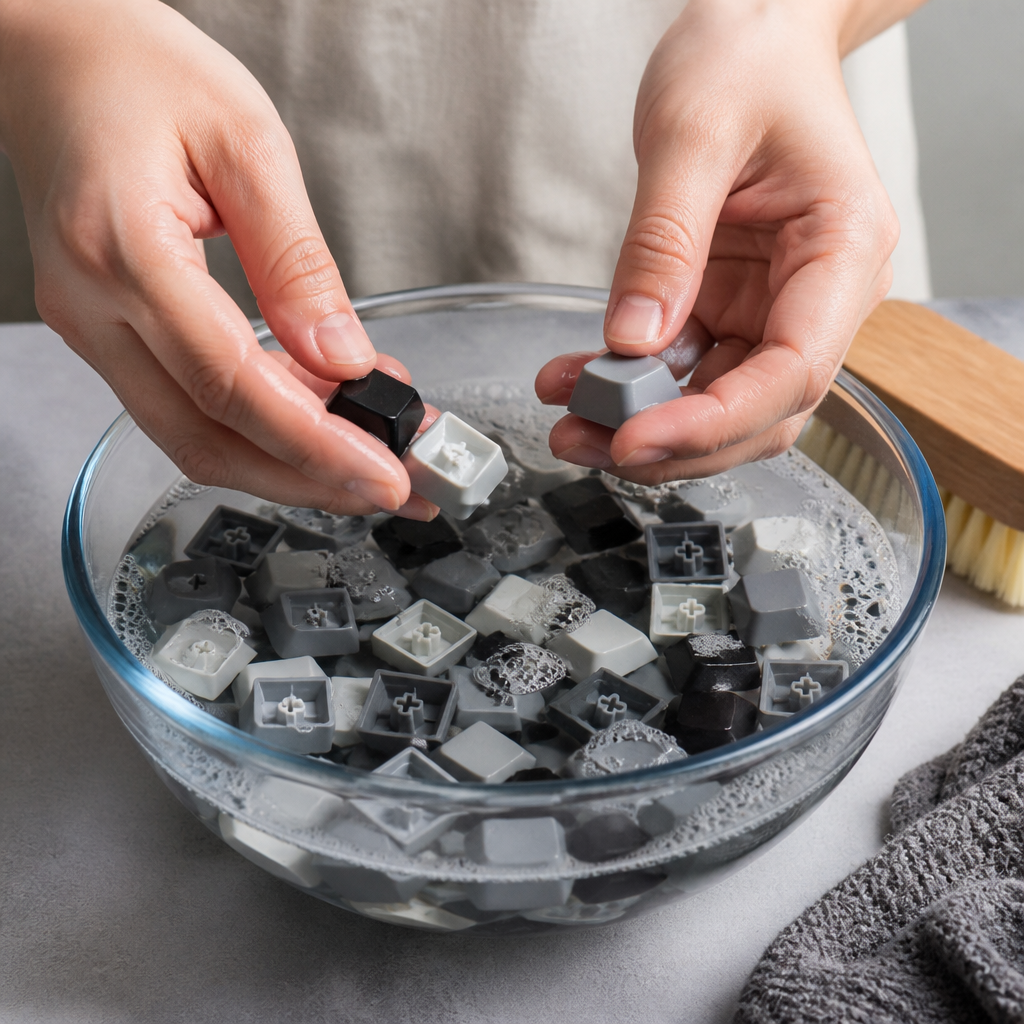
Given these sensitivities, the best cleaning method for ABS keycaps involves lukewarm water. It’s crucial to keep the water temperature below 40°C (104°F) to prevent warping or deformation of the plastic. Add mild dish soap to the water and soak the keycaps for a short period, typically 15 to 20 minutes. This shorter soak time helps prevent potential damage, such as warping or fading of legends, which can occur with extended exposure to water and cleaning agents.
When using isopropyl alcohol to clean ABS keycaps, it’s vital to stick to a specific concentration limit. The concentration of isopropyl alcohol shouldn’t exceed 70%. Higher concentrations can lead to undesirable effects like “surface crazing” (a network of fine cracks), discoloration, or degradation of legends. This is particularly true for “pad-printed” or “laser-etched” legends, which are more delicate than “molded” legends.
Taeha Types, a professional keyboard builder, recommends hand-washing individual keycaps rather than soaking them all together. This allows for better control and reduces the risk of damage.
Furthermore, it’s advised to air-dry ABS keycaps away from direct sunlight. Direct UV exposure can speed up yellowing, a common issue with ABS plastic. It’s worth noting that “double-shot” ABS keycaps tend to be more resistant to cleaning issues than pad-printed versions because the legends are an integral part of the keycap, allowing for a slightly more aggressive cleaning approach without the risk of fading.
How to Clean White Keycaps
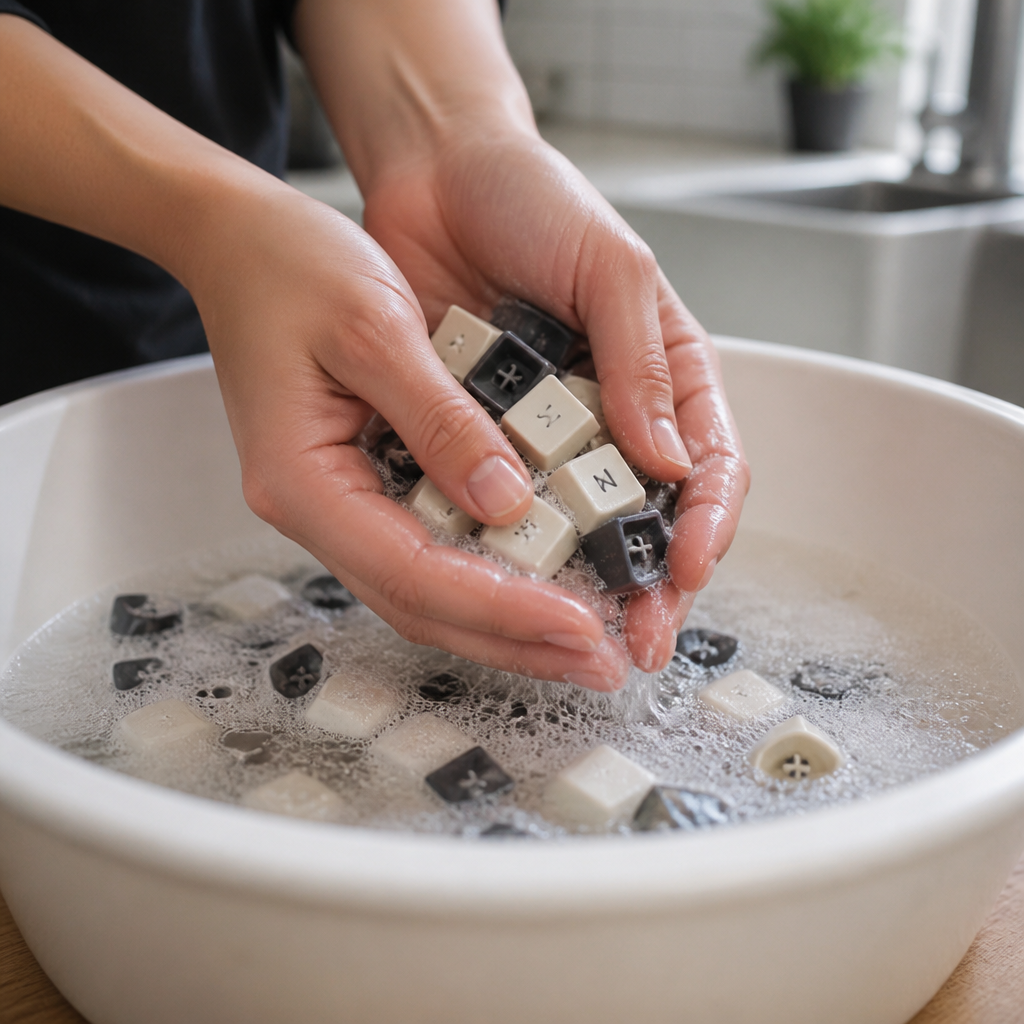
Cleaning white keycaps presents unique challenges due to their susceptibility to visible yellowing, staining, and discoloration. Specialized techniques are often needed to maintain and restore their pristine appearance, which can be affected by factors like UV exposure (from sunlight) and oxidation (a chemical reaction with oxygen). A primary reason white ABS keycaps tend to yellow is the presence of bromine-based flame retardants in the plastic, which react with UV light and oxygen through “photodegradation.”
A well-known method for reversing this yellowing is the “Retr0bright” method. This technique, developed by computer restoration enthusiasts, uses a hydrogen peroxide solution (typically 3% to 12%) combined with UV light exposure. This process reverses the oxidation that causes yellowing and has been shown to achieve significant color restoration, often between 80% and 95%.
For routine cleaning and mild brightening of white keycaps, oxygen-based cleaners like OxiClean or denture tablets can be effective. These products provide mild bleaching without the harshness of traditional bleach, which can damage plastics. Soaking white keycaps in a solution of these cleaners for two to four hours can help remove surface stains and brighten their appearance.
Preventive measures are also crucial for maintaining the whiteness of keycaps. Storing keyboards away from direct sunlight is a simple yet effective way to reduce UV exposure, a major contributor to yellowing. Using UV-filtering keyboard covers can offer an additional layer of protection.
While effective for surface stains, “Magic Erasers,” made of melamine foam, should be used with caution on white keycaps. _Use these abrasive cleaners gently and sparingly, as their nature may dull keycap legends or create microscopic scratches on the surface over time._ By combining careful cleaning techniques with preventive strategies, you can help keep your white keycaps looking clean and vibrant.
How to Clean Oily Keycaps
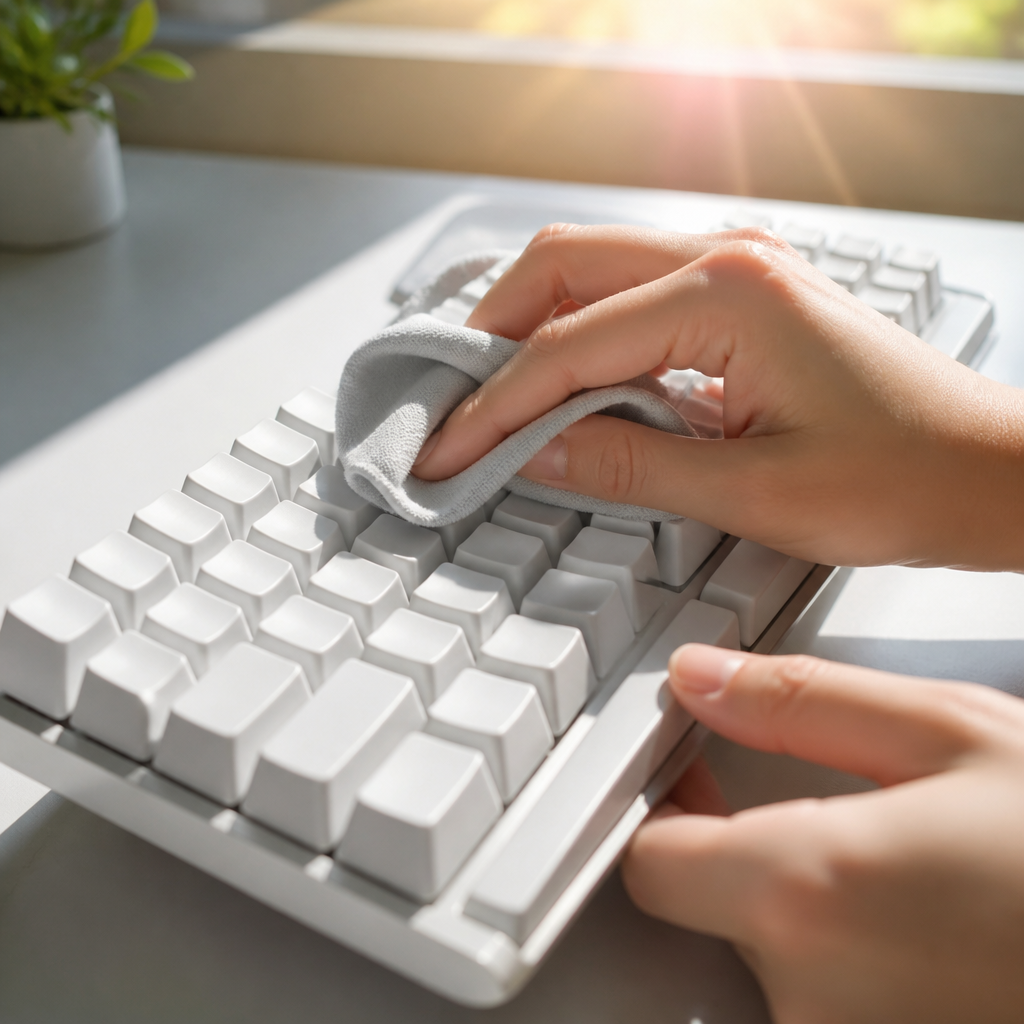
Cleaning oily keycaps specifically targets the common issue of greasy film buildup on their surfaces. This film typically consists of sebum (natural skin oils), hand lotions, and food oils, and it’s especially noticeable on frequently used keys like WASD and the spacebar. The constant transfer of oils from fingertips can lead to a visible shine on keycaps within just two to three months of regular use.
One of the most effective degreasers for oily keycaps is common dish soap, such as Dawn or Fairy. These detergents contain “surfactants,” specialized compounds designed to break down lipid molecules (fats and oils), making them highly efficient at cutting through grease. For optimal results, oily keycaps typically require at least 30 minutes of soaking in warm, soapy water to allow the surfactants to work effectively.
For quick spot cleaning or immediate oil removal without taking off the keycaps, isopropyl alcohol, in a 70-90% concentration, can be very useful. It evaporates quickly, leaving no residue, which makes it ideal for rapid maintenance.
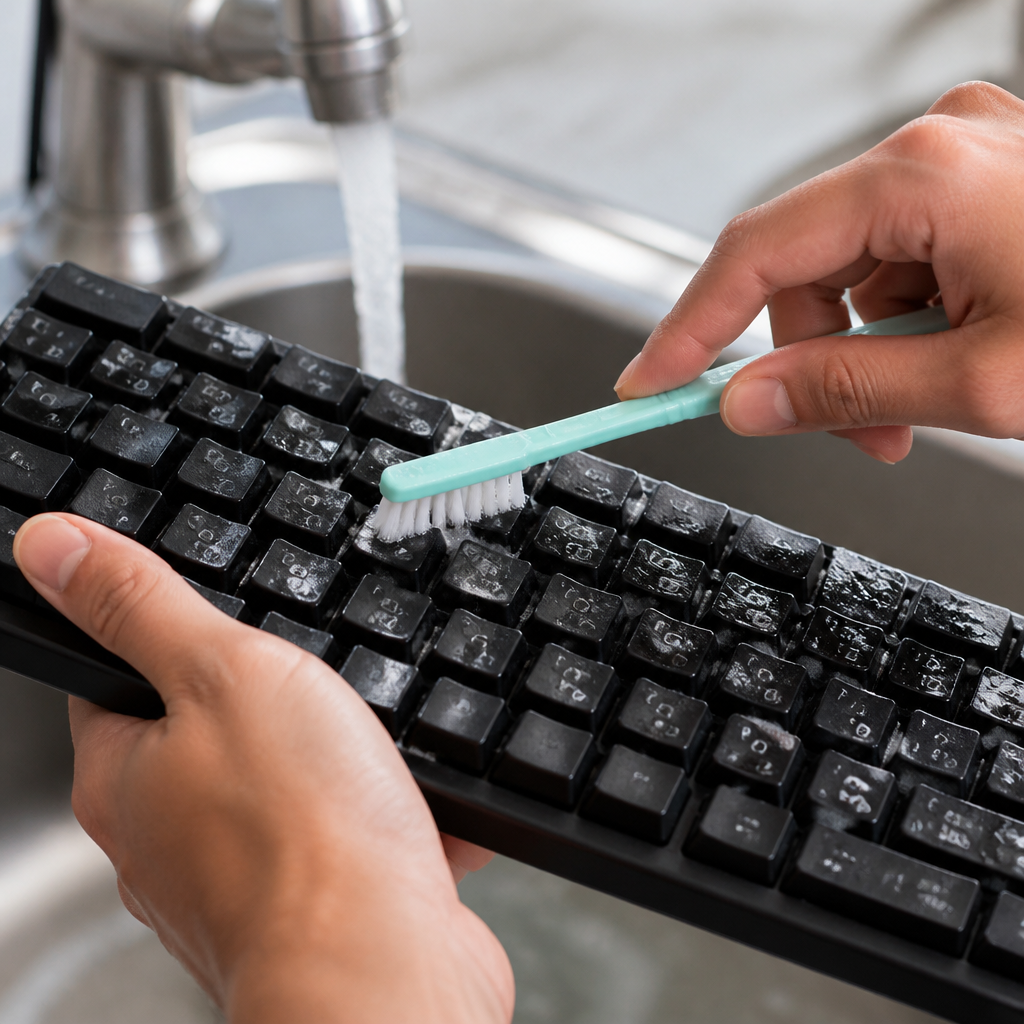
In cases of severe oil buildup, a more intensive, two-step process is often recommended. This begins with a pre-soak in warm water mixed with dish soap for about 30 minutes. Following this initial soak, individual keycaps can be scrubbed gently with a soft-bristled toothbrush, using more degreasing dish soap if necessary. This combination of soaking and mechanical scrubbing helps break down and remove deeply embedded oils and grime.
Preventive measures can significantly reduce the frequency of oily keycap cleaning. Simple habits like washing your hands thoroughly before typing can minimize the transfer of oils. Using keyboard covers, especially during meals, can protect keycaps from food oils and spills. Additionally, performing weekly wipe-downs of your keycaps with alcohol wipes can help prevent oil buildup.
Cleaning Methods and Techniques
Beyond understanding keycap materials, various cleaning methods and techniques can be employed, ranging from quick surface cleanings to comprehensive deep cleans that involve removing all keycaps. Each method serves a different purpose and offers varying levels of effectiveness.
Can You Clean Keycaps Without Removing Them?
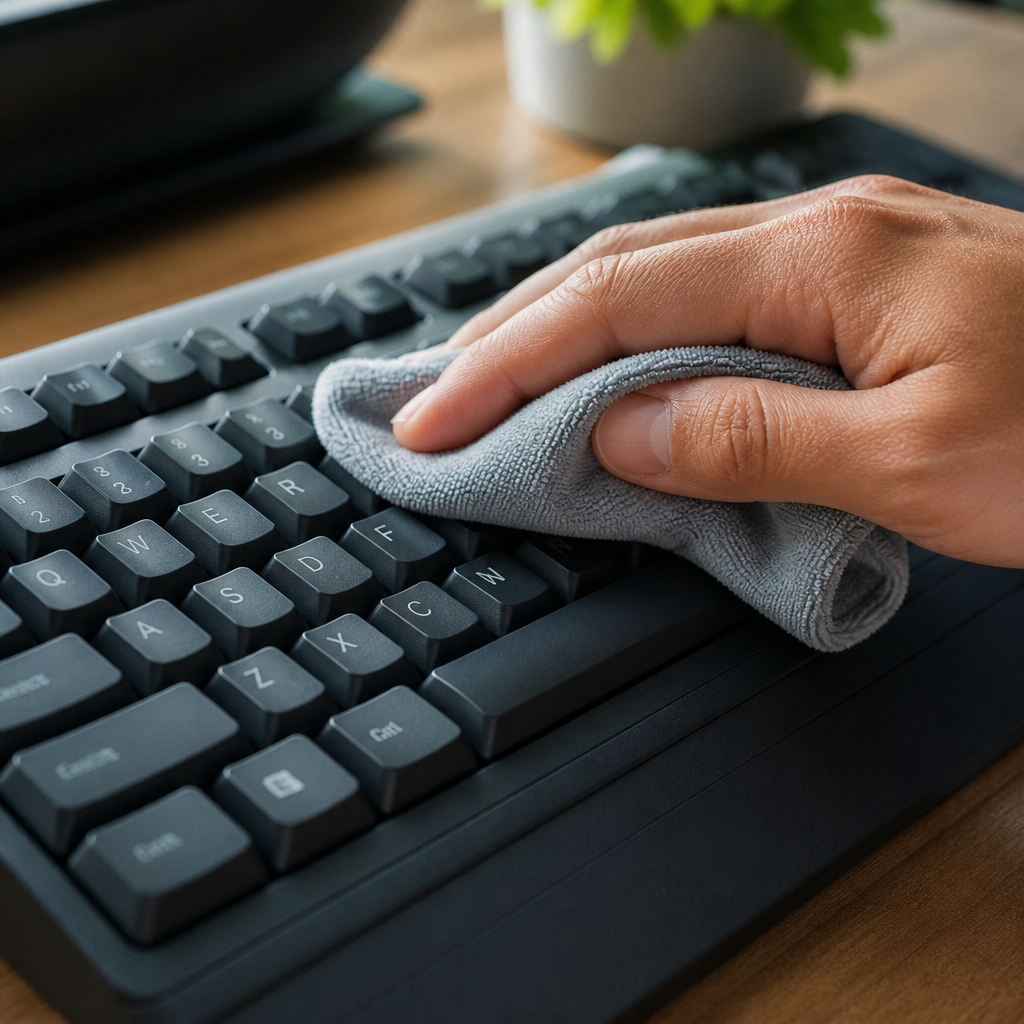
In-place keycap cleaning refers to maintenance methods that allow you to clean the surfaces of your keycaps and surrounding areas without removing them from the keyboard. This approach is suitable for quick clean-ups or routine maintenance. However, this method is primarily effective for surface cleaning and cannot address debris that settles under the keycaps. Consequently, in-place cleaning typically achieves only 40% to 60% of the cleanliness level that a full keycap removal cleaning can provide.
The primary technique involves using a damp microfiber cloth or a cotton swab with 70% isopropyl alcohol to wipe down each keycap surface. It’s crucial to ensure the keycaps are completely dry before you resume typing. To address loose debris trapped between keycaps, compressed air or an electric air duster can be highly effective.
Another useful tool is cleaning slime, a putty-like substance that conforms to the keyboard. When pressed onto the keycaps and into the gaps, it effectively picks up dust and crumbs without leaving residue.
Chyrosran22, a respected keyboard reviewer, suggests that in-place cleaning is a convenient method for weekly maintenance but emphasizes that it should not replace a thorough deep cleaning.
Disinfecting wipes can also be used, but ensure they are wrung out to prevent excess liquid from seeping into the keyboard’s switches. For mechanical keyboards, a soft-bristled brush combined with vacuum suction can effectively remove debris from the sides of keycaps and from crevices.
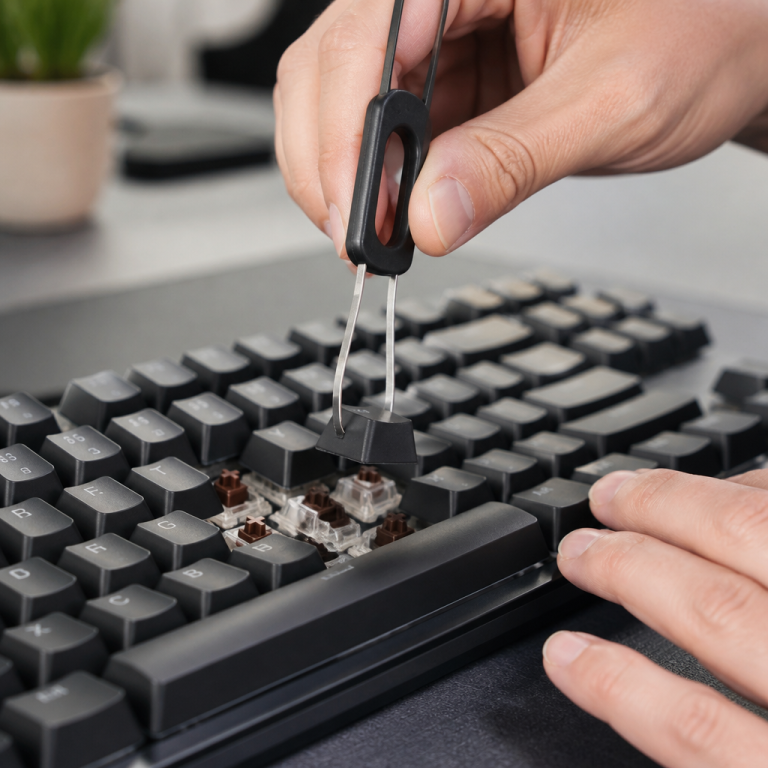
How to Clean Under Keycaps
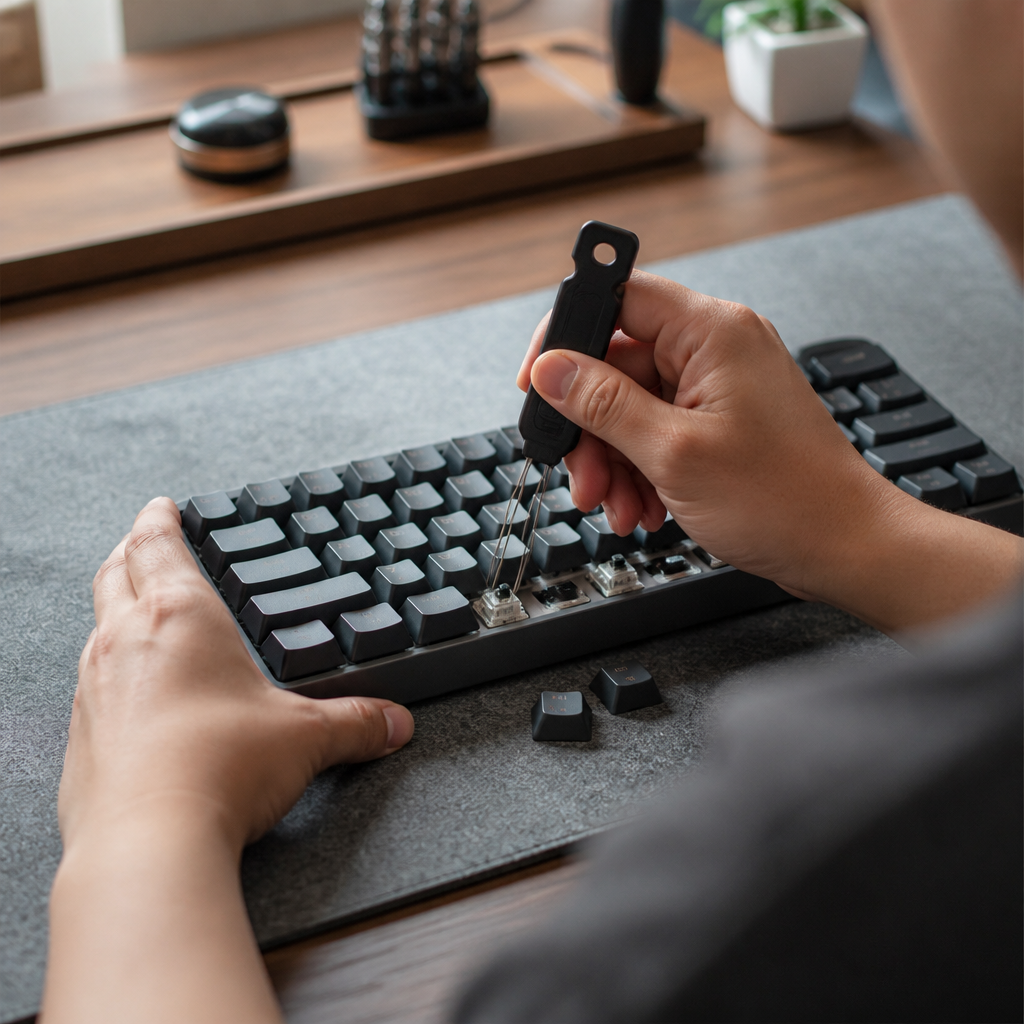
Cleaning under keycaps is a critical maintenance task that involves removing accumulated debris, dust, and hair from the area beneath the keycaps. Failing to clean under the keycaps can affect keyboard switch performance, leading to issues like sticking, inconsistent actuation, or a gritty feel.
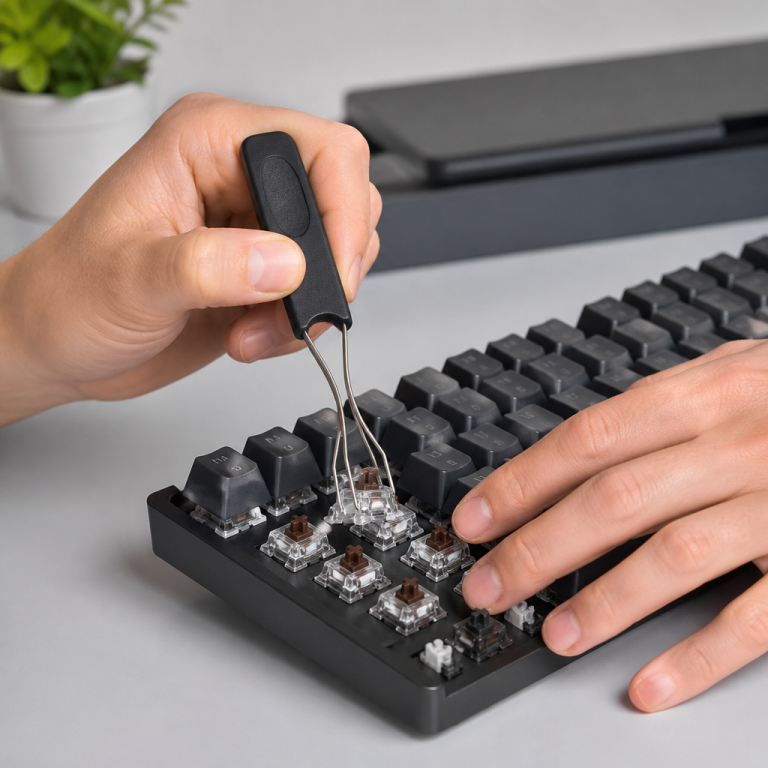
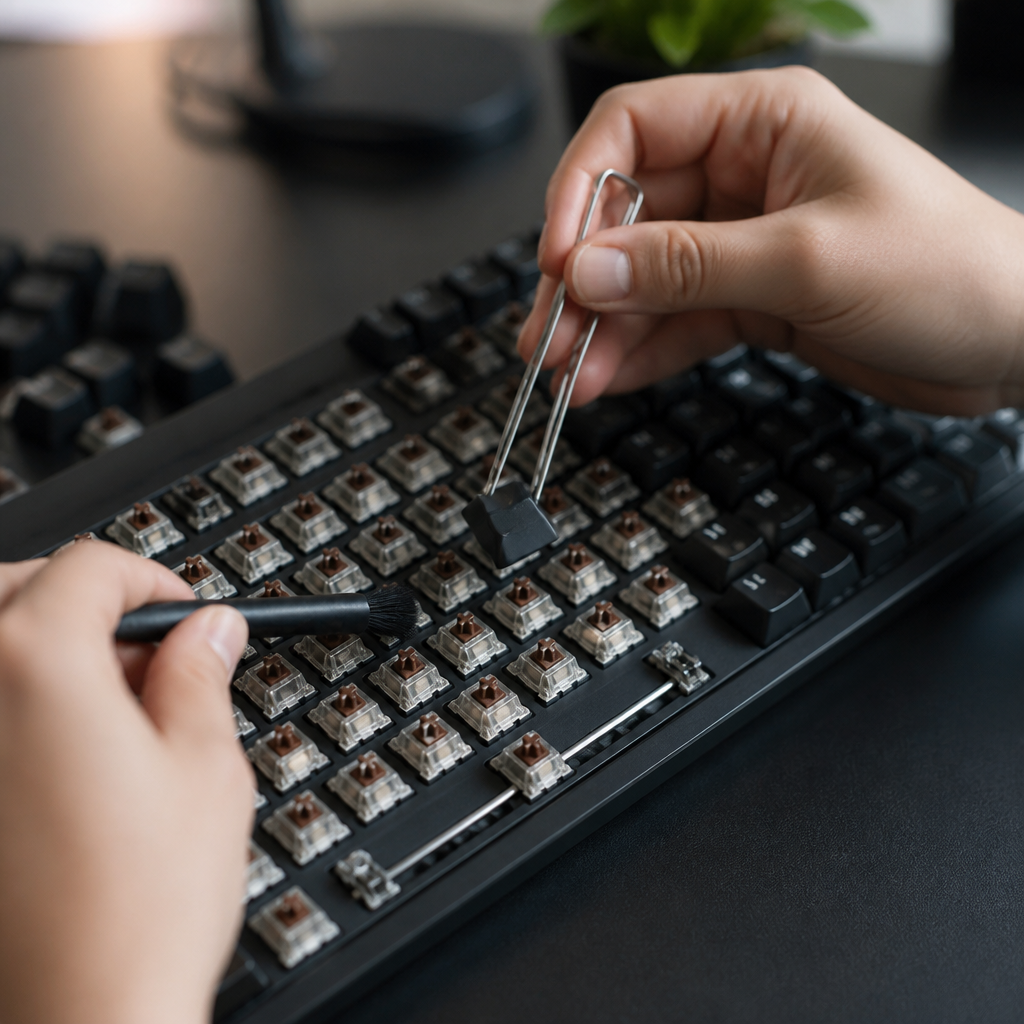
The process requires a keycap puller, compressed air, isopropyl alcohol (preferably 90% or higher), cotton swabs, and a soft brush. For a full-size keyboard, the entire process usually takes about 30 to 45 minutes.
Once the keycaps are removed, start with compressed air to dislodge any loose debris from the keyboard plate. Following that, use a vacuum cleaner with a narrow nozzle to capture the dislodged particles. Cotton swabs dampened with 90-99% isopropyl alcohol are effective for cleaning switch housings and plate surfaces. The high alcohol concentration ensures rapid evaporation, minimizing moisture risk.
Scientific evidence underscores the importance of cleaning under keycaps. Research has shown that this area can harbor significant bacterial populations, highlighting the hygiene benefits of regularly cleaning these often-overlooked areas.
TaeKeyboards, a mechanical keyboard modder, emphasizes avoiding excessive liquid near the switches. _Use barely-damp swabs and work systematically in small sections to prevent liquid from seeping into sensitive switch mechanisms._ For stubborn sticky residue, a plastic “spudger” or a wooden toothpick can be safely used to gently scrape it away. Before reinstalling keycaps, test each switch to ensure it operates smoothly.
How to Clean Keyboard After Removing Keycaps
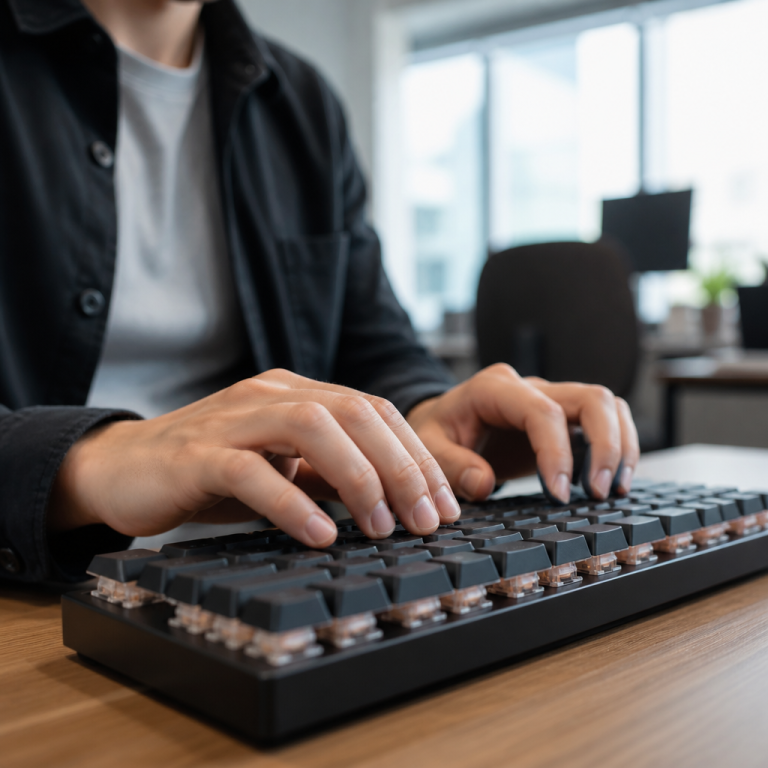
Post-keycap-removal keyboard cleaning is a comprehensive process to thoroughly clean the exposed plate, switches, stabilizers, and PCB surface. For regular users, performing this deep clean every six to twelve months is recommended. For heavy users, a more frequent schedule of every three to six months is advisable.
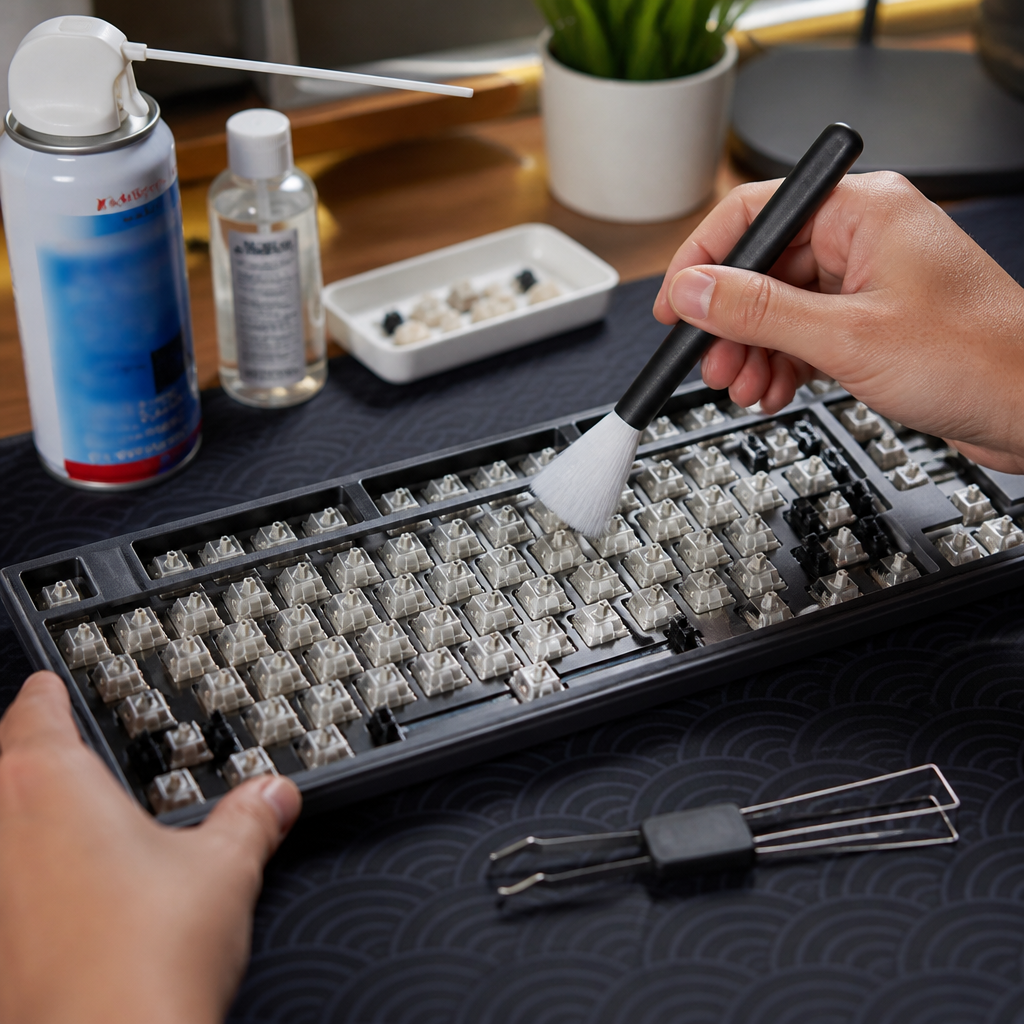
The recommended cleaning sequence is systematic to ensure all areas are addressed effectively:
- Use compressed air to blow away loose debris from the plate and around the switches.
- Follow up with a vacuum cleaner to collect these dislodged particles.
- Employ a soft brush to tackle any stubborn dust or grime that remains.
- Wipe down surfaces with a high-concentration (90-99%) isopropyl alcohol.
- Finally, clean and lubricate the stabilizers if necessary.
An isopropyl alcohol concentration of 90% to 99% is preferred because it evaporates rapidly and leaves no conductive residue, preventing potential electrical shorts.
Stabilizers, which ensure larger keys move smoothly, also require attention. Remove them, clean them with soapy water, dry them completely, and then relubricate them with dielectric grease or a suitable lubricant. This prevents rattling noises and ensures a smooth keypress feel.
Taeha Types emphasizes using an anti-static brush when cleaning the keyboard plate and switch tops. This helps prevent electrostatic discharge (ESD) damage to the PCB. For keyboards with RGB lighting, gently clean the LED lenses with a dry microfiber cloth to restore their original brightness. After all steps are complete, let the keyboard air dry for at least an hour before reinstalling keycaps.
How to Clean Keycaps Fast
Fast keycap cleaning refers to efficient methods designed to achieve cleanliness within 15 to 30 minutes. These methods are ideal for users who need a quick turnaround or for frequent, routine maintenance.
One rapid hand-wash method involves filling a large bowl with warm, soapy water and agitating the keycaps for two to three minutes. After this, rinse the keycaps thoroughly under running water, and spread them on a towel to air dry. The active cleaning time totals around 15 to 20 minutes.
Keyboard enthusiast Hamaji Neo suggests a “salad spinner technique” to reduce drying time. After washing, transfer the keycaps to a salad spinner with clean water for rinsing, then use the spinner to remove excess water using centrifugal force.
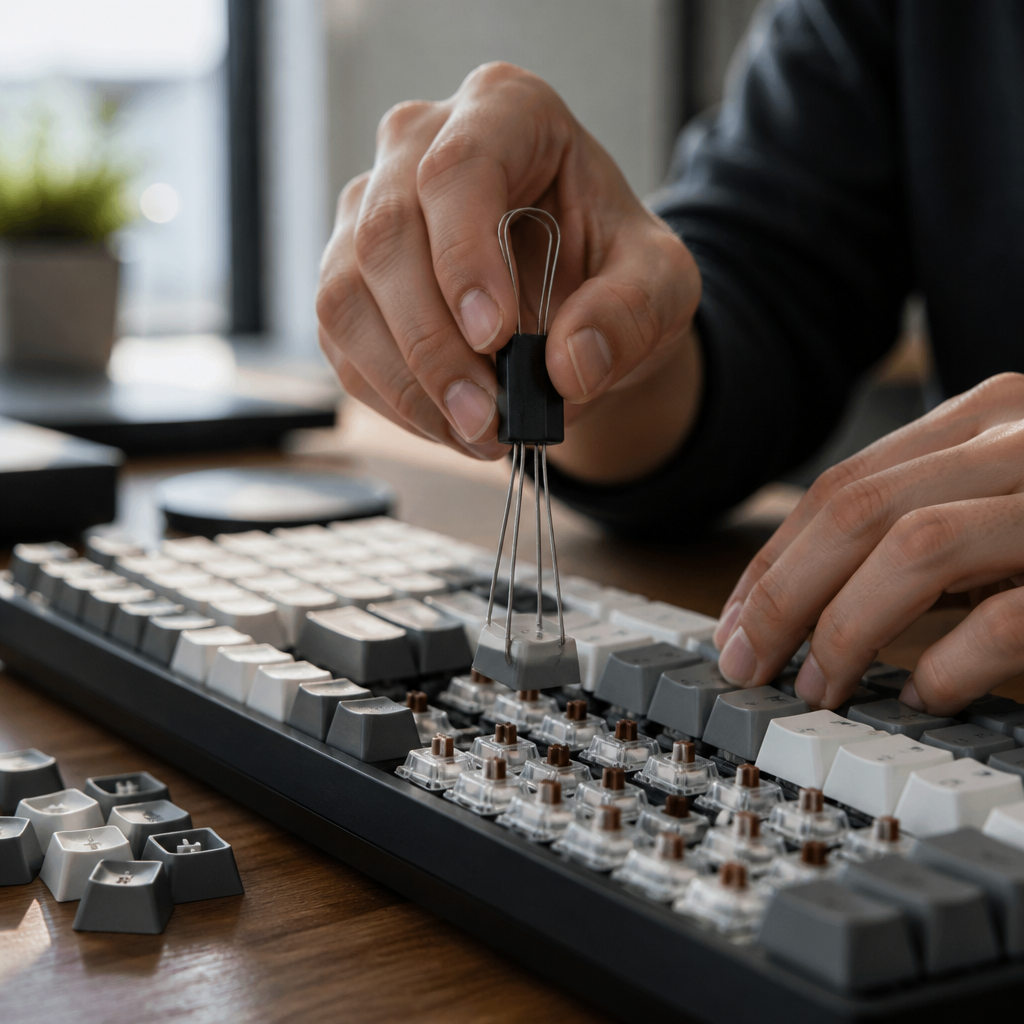
Batch processing can also speed up the operation. Remove all keycaps at once using a wire keycap puller, clean them in groups, and use a photo of your layout for quick reinstallation. To further reduce air-drying time, use a hairdryer on a cool setting. _It is critical to only use the cool setting on a hairdryer, as heat can cause keycaps, especially ABS plastic, to warp or deform._ Another strategy is to pre-soak the keycaps while you are cleaning the keyboard base, which reduces the total time spent on the entire process.
—
Keeping your keyboard clean is more than just a matter of appearance; it’s a practice that contributes to both hygiene and your device’s longevity. From understanding the specific needs of different keycap materials like PBT and ABS to employing various cleaning techniques, there are many ways to keep your keyboard in top condition. Whether you opt for a quick surface wipe-down or a comprehensive deep clean, regular attention to your keycaps can help reduce bacterial buildup and ensure a consistent typing experience. By integrating these cleaning methods into your routine, you can unlock a cleaner, more functional, and more pleasant interaction with your keyboard for years to come.
FAQ
Q1: How often should I clean my keycaps?
A1: Many manufacturers suggest cleaning keycaps every 1-3 months for optimal hygiene. For heavy users (8+ hours daily), a deep clean every 3-6 months is advisable, with surface cleaning done weekly or as needed.
Q2: Can I use hot water to clean my keycaps?
A2: It depends on the keycap material. PBT keycaps can handle warm water up to 60°C (140°F). However, ABS keycaps are more sensitive and should only be cleaned with lukewarm water below 40°C (104°F) to prevent warping or legend fading.
Q3: Is isopropyl alcohol safe for all keycaps?
A3: Isopropyl alcohol is generally safe, but its concentration matters, especially for ABS keycaps. For ABS, don’t exceed 70% concentration to prevent “surface crazing” (fine cracks) or discoloration. PBT keycaps are more chemically resistant and can safely handle higher concentrations.
Q4: How can I remove yellowing from white keycaps?
A4: White ABS keycaps yellow due to “photodegradation” (damage from light). The “Retr0bright” method, using hydrogen peroxide (3-12%) with UV exposure, can reverse yellowing by 80-95%. For routine cleaning, oxygen-based cleaners or denture tablets can provide mild bleaching.
Q5: What’s the fastest way to dry keycaps after washing?
A5: While air-drying takes 4-6 hours, you can speed up the process using a hairdryer on a cool setting, which can reduce drying time to 30-45 minutes. It’s crucial to use only cool air to prevent warping, especially for ABS keycaps. A salad spinner can also help remove significant amounts of water after rinsing.

Hi, I’m Alex Morgan.
Welcome to my blog! As a dedicated mechanical keyboard enthusiast, I’m passionate about exploring everything from custom builds to the finest details of switches and keycaps. My goal is to break down specs, sound profiles, and ergonomics to help you find the absolute best keyboard for your setup. Whether you’re a gamer, programmer, or desk setup fanatic, I’m here to share honest reviews and practical recommendations.