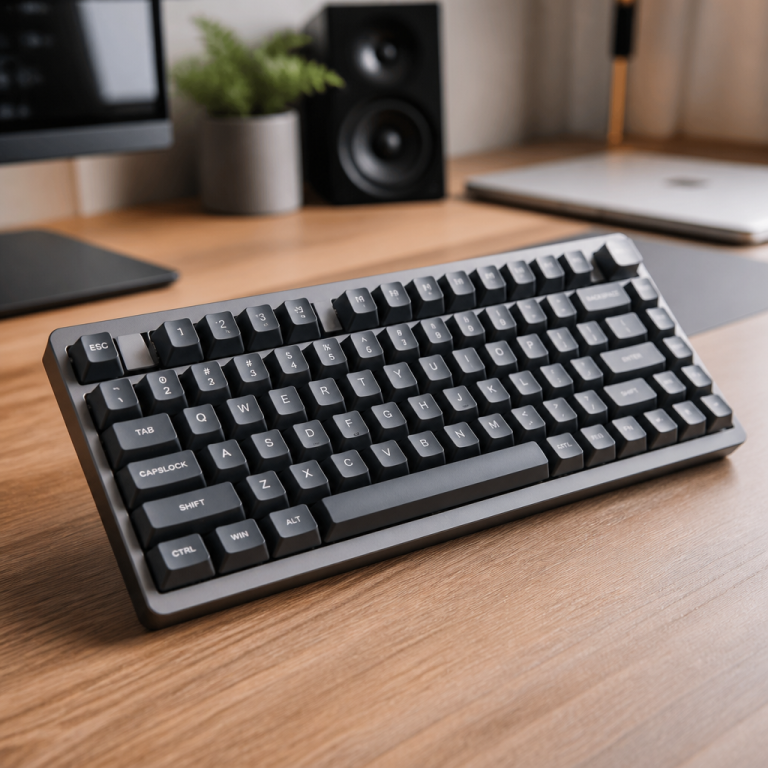
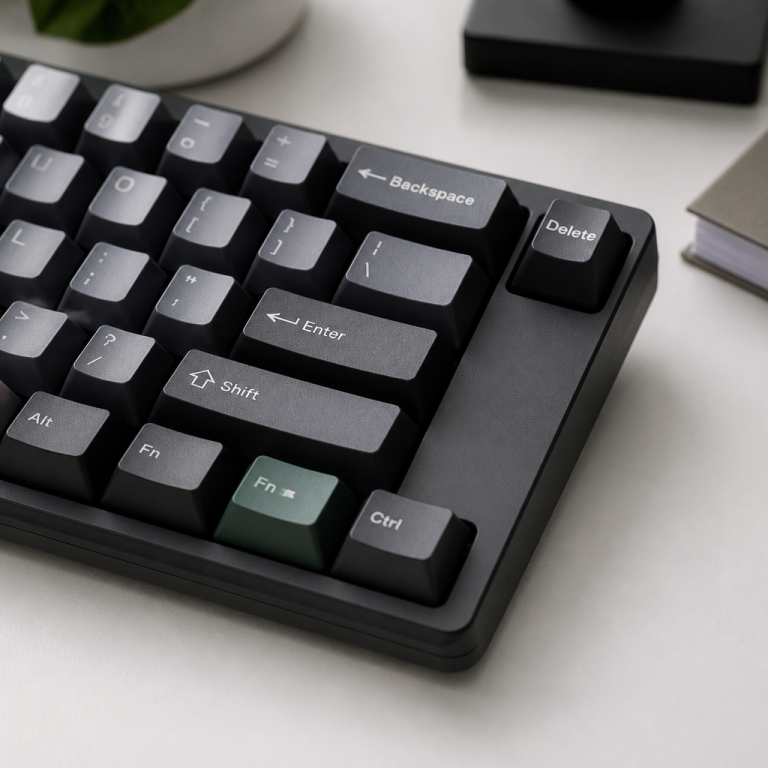
How to Clean Mechanical Keyboard: 7 Easy Cleaning Steps
Mechanical keyboards offer a superior typing experience, but their open design makes them prone to collecting dust, crumbs, and oils. Over time, this buildup can affect performance and hygiene. Regular cleaning not only keeps your keyboard looking pristine but also preserves its satisfying feel and extends its lifespan. Whether you need a quick surface dusting or a complete deep clean, this guide will walk you through the best methods to effectively remove dirt and grime from every component of your keyboard. Discover the exact steps to restore your keyboard to its former glory.
Preparation: Tools and Keyboard Selection
Before you begin cleaning, gathering the right supplies and understanding your keyboard’s design will make the process much smoother. Proper preparation ensures a thorough clean and minimizes the risk of damaging your valuable equipment.
Tools Needed to Clean Mechanical Keyboard
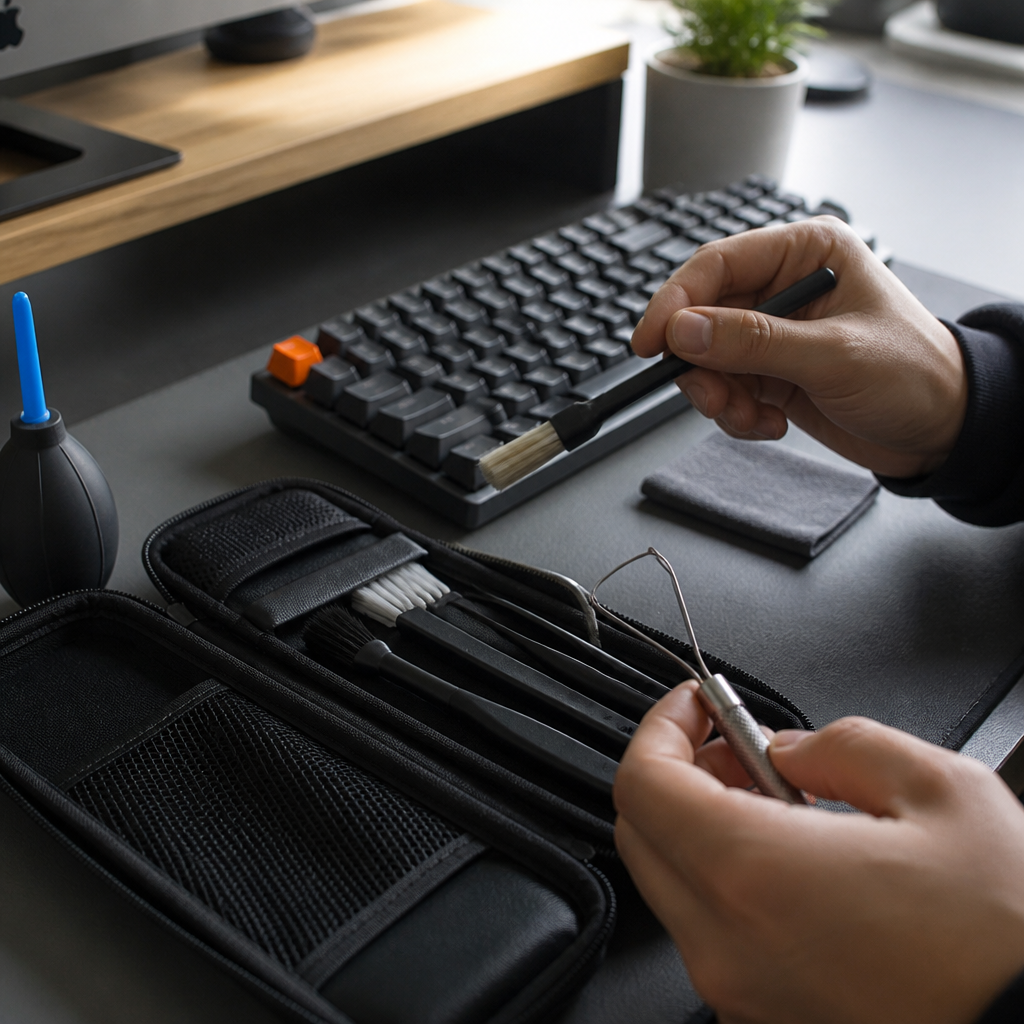
Having the correct tools is essential for cleaning your mechanical keyboard safely and effectively. A basic kit will allow you to tackle everything from surface dust to deep-set grime in all the nooks and crannies.
| Tool | Primary Use | Pro Tip |
|---|---|---|
| Wire Keycap Puller | Safely removing keycaps without scratching. | A worthy investment over free plastic pullers. |
| Compressed Air | Blowing out loose dust and crumbs. | Use in short bursts and keep the can upright. |
| Isopropyl Alcohol (70-99%) | Cleaning surfaces and dissolving grime. | Apply to a cloth, never directly to the keyboard. |
| Microfiber Cloths | Wiping surfaces without leaving lint. | Essential for applying alcohol and drying parts. |
| Small Soft Brushes | Sweeping debris from tight spaces. | A clean paintbrush or makeup brush works perfectly. |
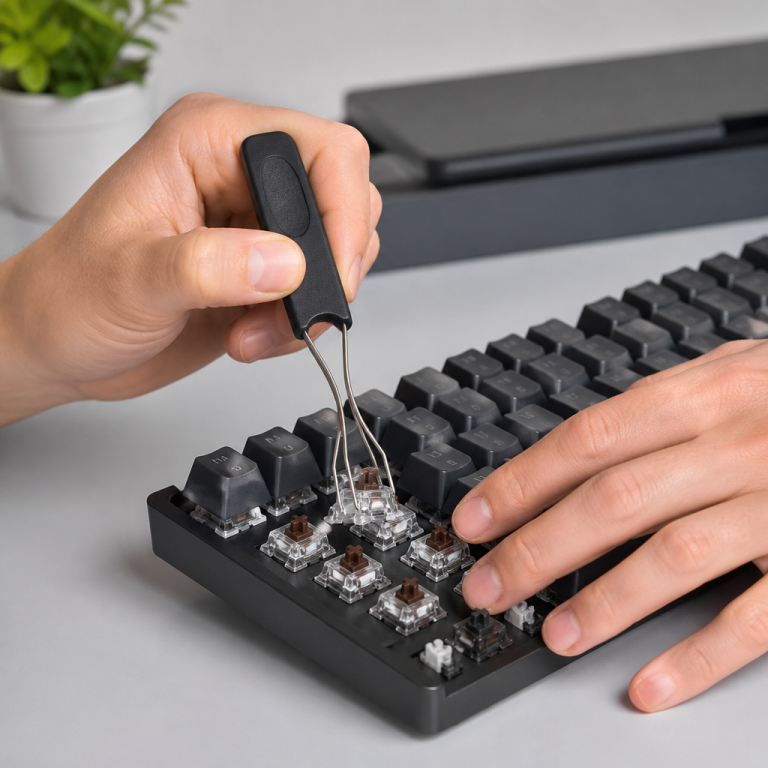
Keycap pullers are a must-have for removing keycaps without causing damage. _Plastic pullers, which often come with new keyboards, can sometimes leave tiny scratches and might break more easily with repeated use._ Wire pullers are gentler on the sides of your keycaps and are far more durable. Spending a little extra on a good wire keycap puller is definitely worth it to protect your keycaps during cleaning. For sanitizing and cutting through oils, isopropyl alcohol is ideal. A 70% concentration is great for general cleaning, while a 90-99% concentration evaporates faster, making it safer for electronics.
How to Choose a Mechanical Keyboard That Is Easy to Clean?
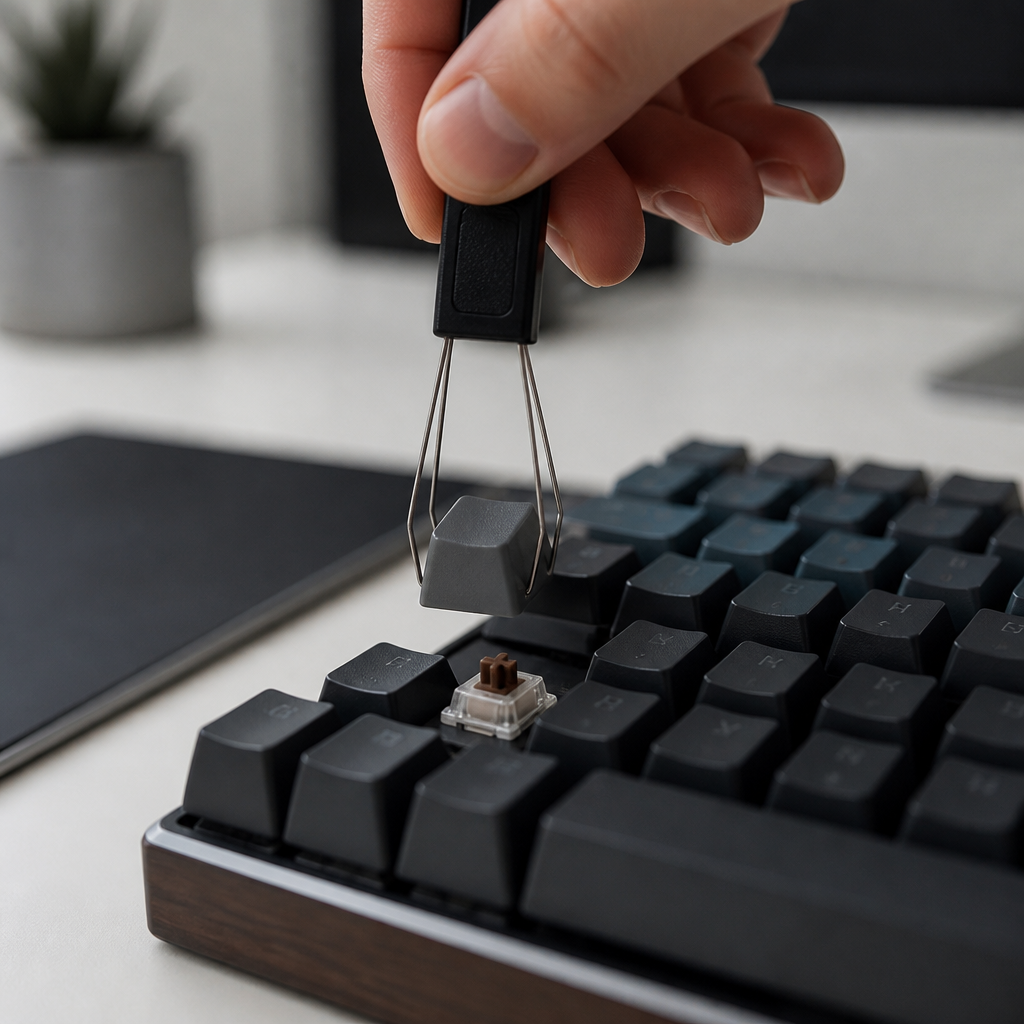
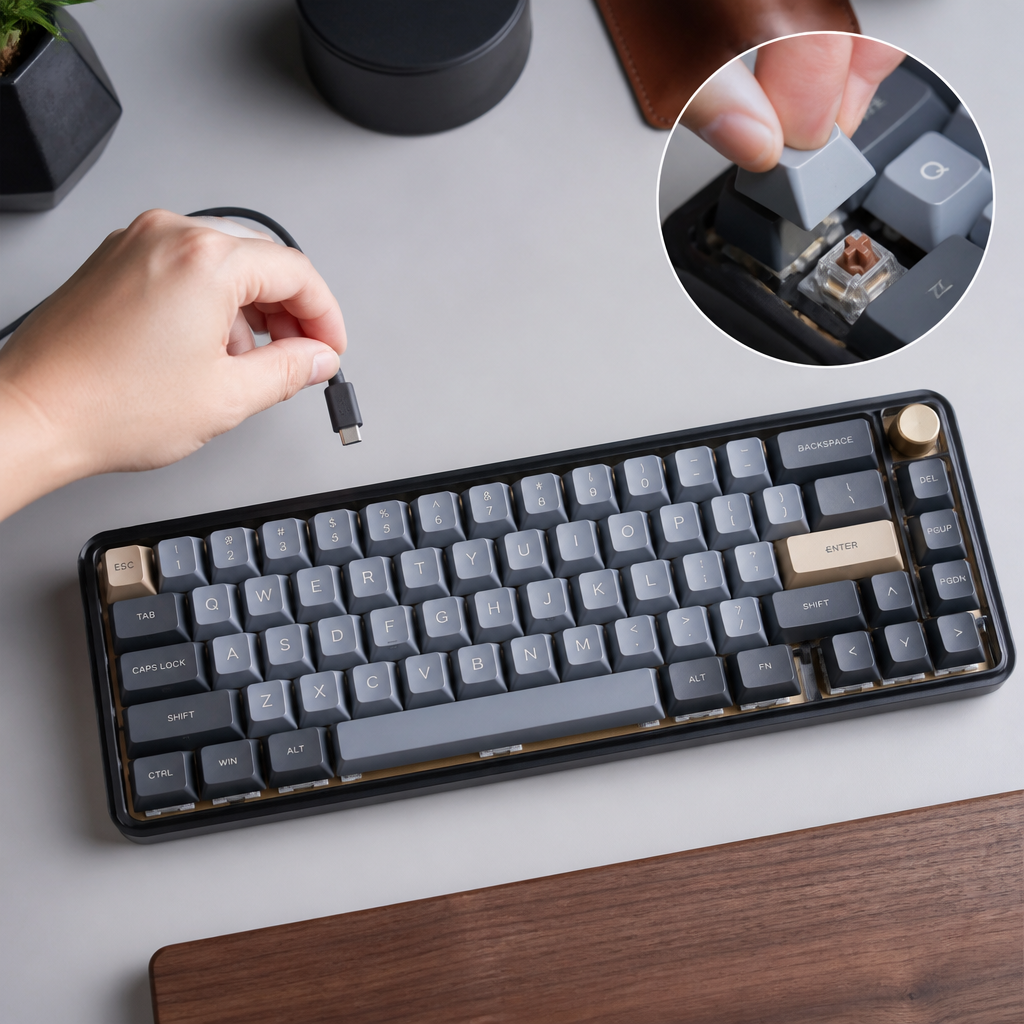
A keyboard’s design can significantly impact how easy it is to maintain. If hassle-free cleaning is a priority, consider models with features that simplify disassembly and prevent debris buildup. Keyboards with features like hot-swappable switches and open-frame designs dramatically reduce the effort required for a thorough deep clean.
Here are some key features to look for:
- Hot-swappable switches: These allow for the easy removal of individual switches without soldering, giving you unparalleled access to the keyboard plate for cleaning.
- Open-frame or “floating key” designs: On these keyboards, switches sit on top of the case rather than being recessed. This design prevents debris from getting trapped in hard-to-reach crevices.
- PBT keycaps: Polybutylene terephthalate (PBT) keycaps are more durable and resistant to the shine caused by oils than Acrylonitrile Butadiene Styrene (ABS) keycaps. They also stand up better to cleaning chemicals.
- Detachable cable: This simple feature makes the keyboard much easier to handle and move around during the cleaning process.
Cleaning Methods and Techniques
The right cleaning method depends on the level of dirt and the amount of time you have. A quick surface wipe-down is great for regular maintenance, while a periodic deep clean is necessary to address accumulated grime.
How to Clean a Mechanical Keyboard Without Removing Keys
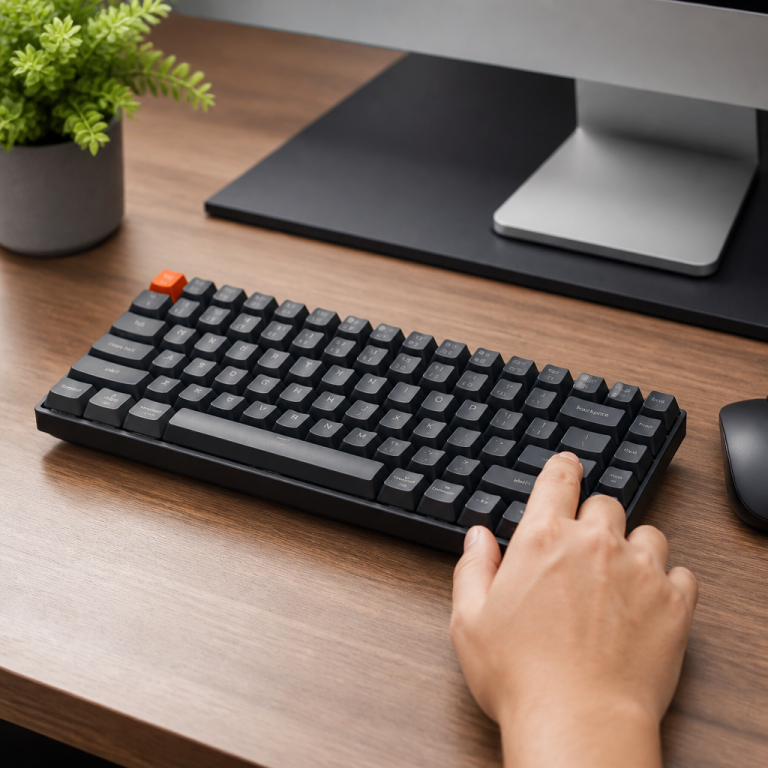
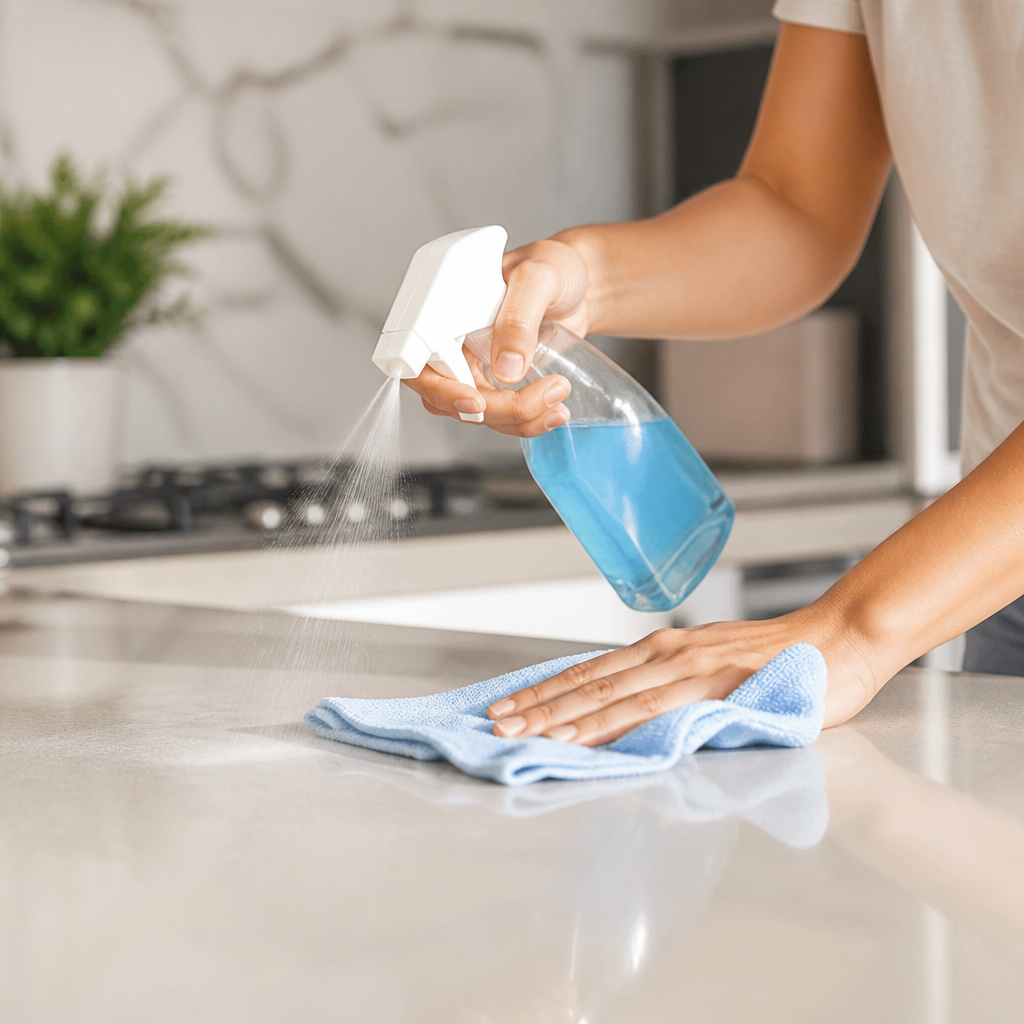
For routine upkeep, you can effectively clean your keyboard without a full disassembly. This method focuses on removing surface dust, crumbs, and fingerprints from on and between the keys.
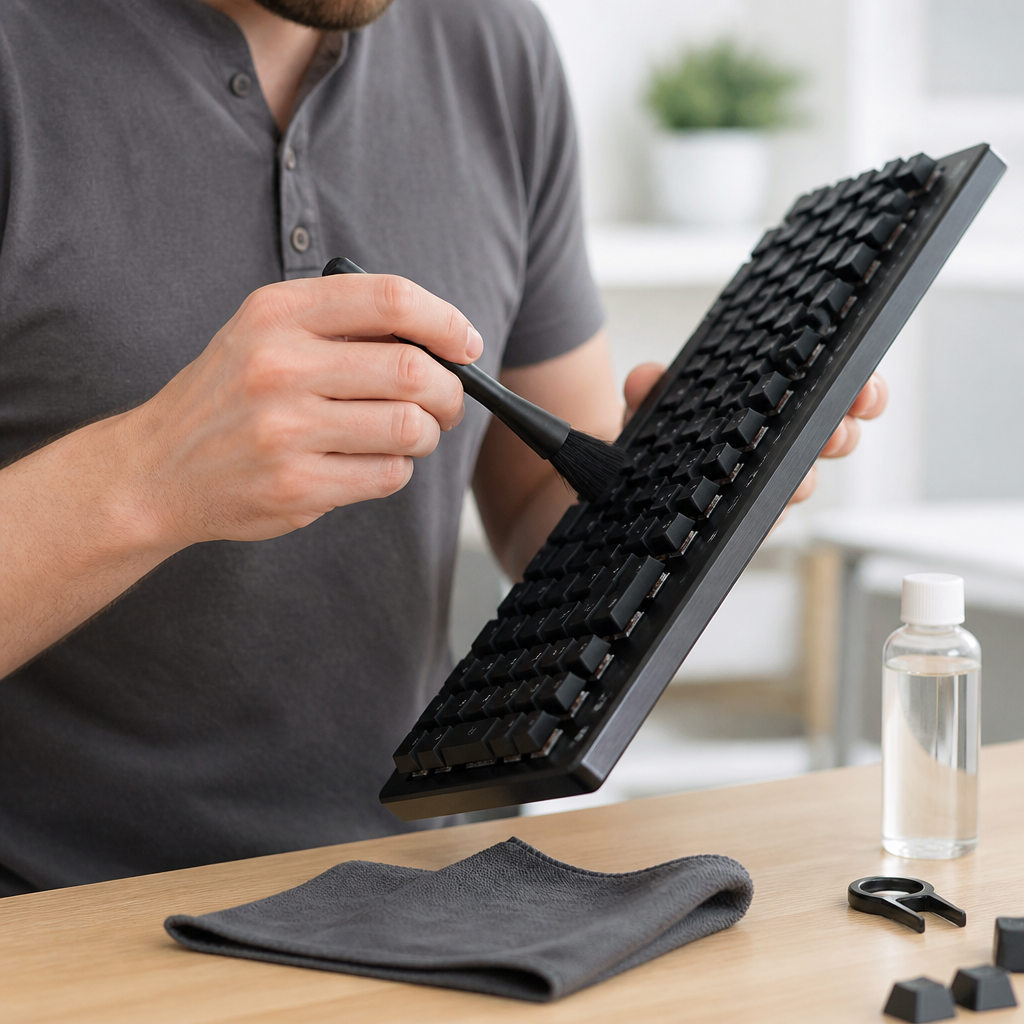
First, hold your keyboard at a 75-degree angle to let gravity assist in debris removal. Use short, controlled bursts of compressed air to blow out any loose particles, working systematically across the keyboard. _It’s really important to dampen the cloth first rather than spraying the cleaning solution directly onto the keyboard._ Gently wipe the top and sides of each keycap with a microfiber cloth lightly dampened with isopropyl alcohol to remove oils and smudges. A soft-bristled brush can help sweep out any remaining dust from the gaps between keys.
As many technicians would advise, consistent small cleanings are the key to preventing big problems and extending the life of your keyboard.
How to Deep Clean a Mechanical Keyboard
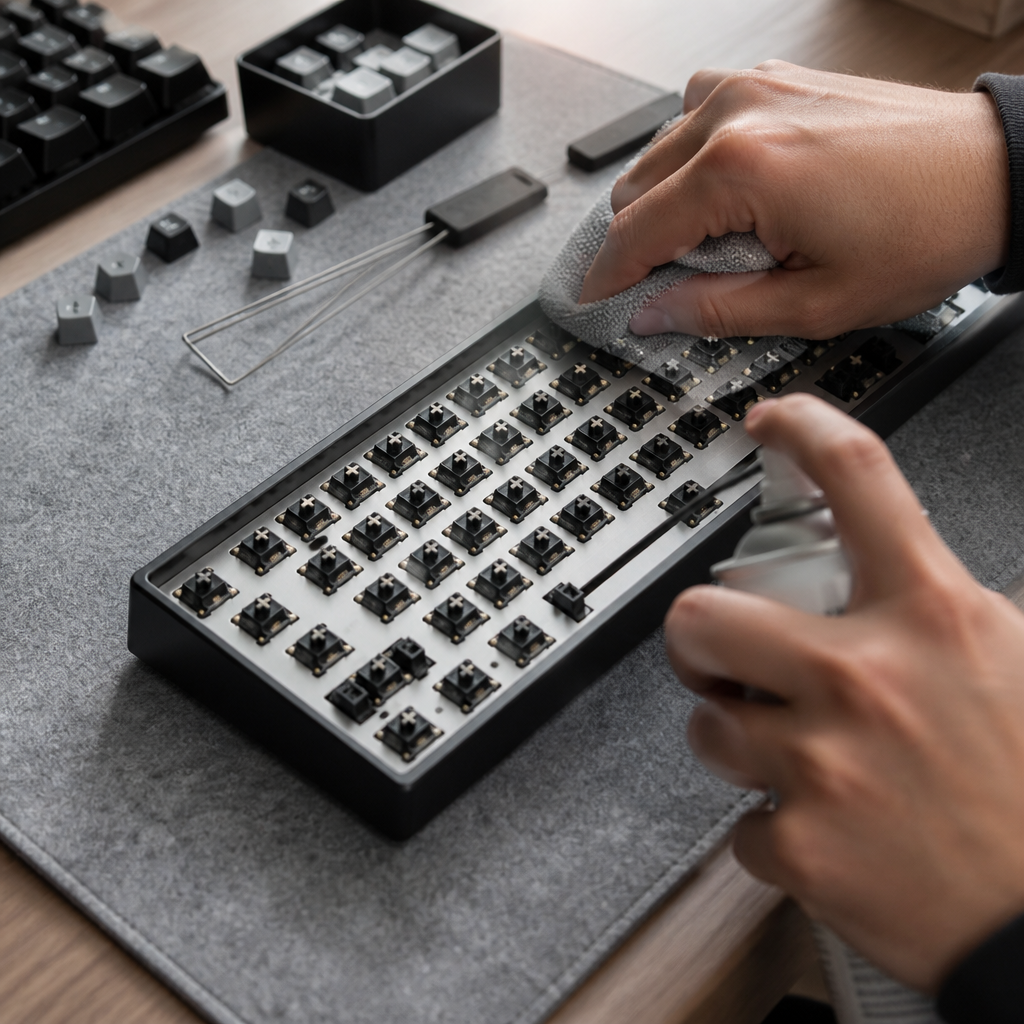
When a quick wipe-down isn’t enough, a deep clean is necessary to restore your keyboard to a like-new condition. This process involves disassembling the keyboard to clean each part individually. Before you begin, unplug the keyboard and take a clear photo of the layout to serve as a reference for reassembly.
The deep cleaning process follows these steps:
- Remove All Keycaps: Use a wire keycap puller to carefully lift each keycap. Keep them organized in a tray or bowl.
- Clean the Keyboard Body: With the keycaps off, use compressed air and a brush to remove loose debris from the exposed plate. Wipe the plate down with a microfiber cloth and 90%+ isopropyl alcohol.
- Wash Keycaps: Clean the keycaps separately in a bowl of warm water with a few drops of dish soap or a denture cleaning tablet.
- Dry All Components: Ensure every component, especially the keycaps, is completely dry before reassembly. This can take 24-48 hours.
- Reassemble: Carefully place each keycap back onto its switch, using your reference photo to ensure the correct placement.
Warning: Patience during the drying phase is absolutely critical, as plugging in a damp keyboard can cause irreversible damage to its electronics.
How to Clean Mechanical Keyboard Keycaps
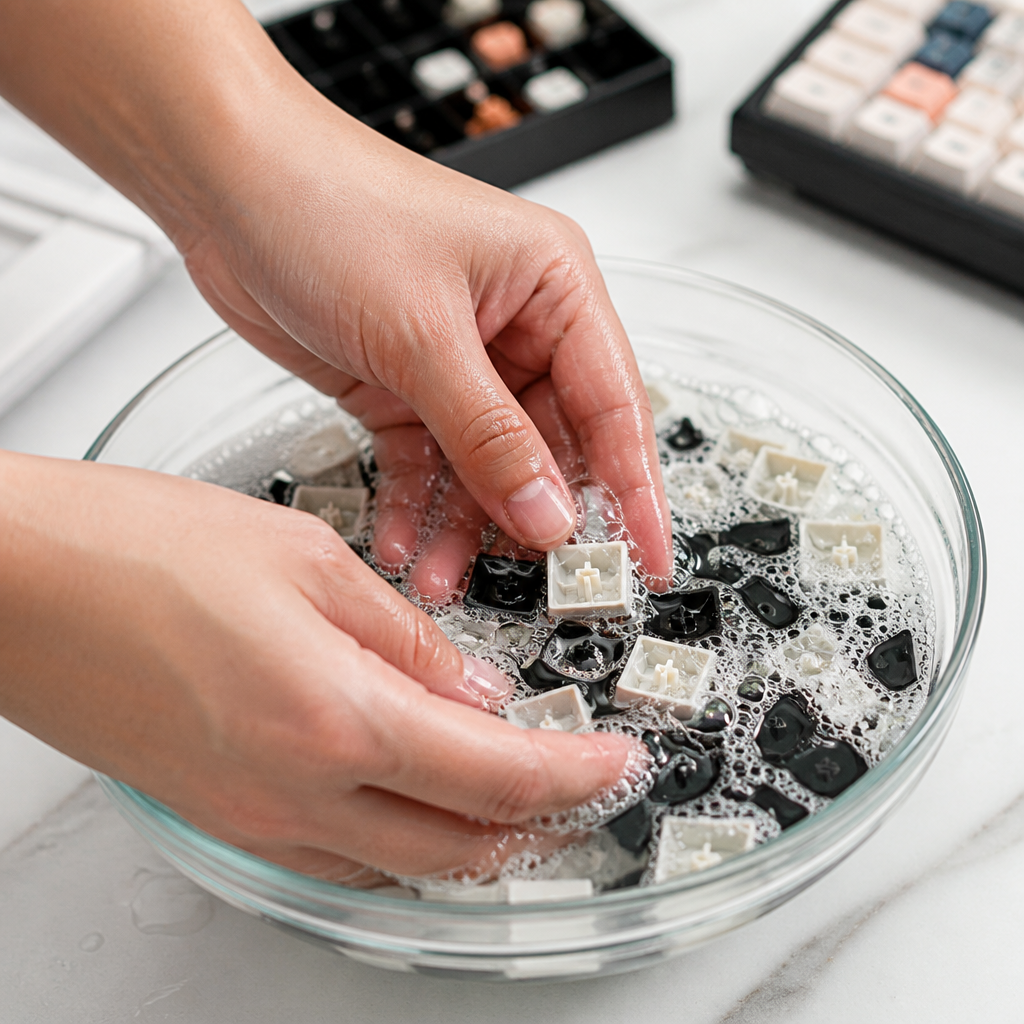
Since keycaps are the primary point of contact, they accumulate the most oil and grime. After removing them from the keyboard, submerge them in a bowl of warm (not hot) water mixed with mild dish soap or denture cleaning tablets. Let them soak for 30-60 minutes to loosen dirt.
After soaking, use a soft brush to gently scrub any remaining stains. Rinse them thoroughly under clean water to remove all soap residue. Finally, spread the keycaps on a towel and let them air-dry completely for 24-48 hours. Ensure the inside of the stems is bone dry before putting them back on the keyboard.
How to Clean Mechanical Keyboard Switches
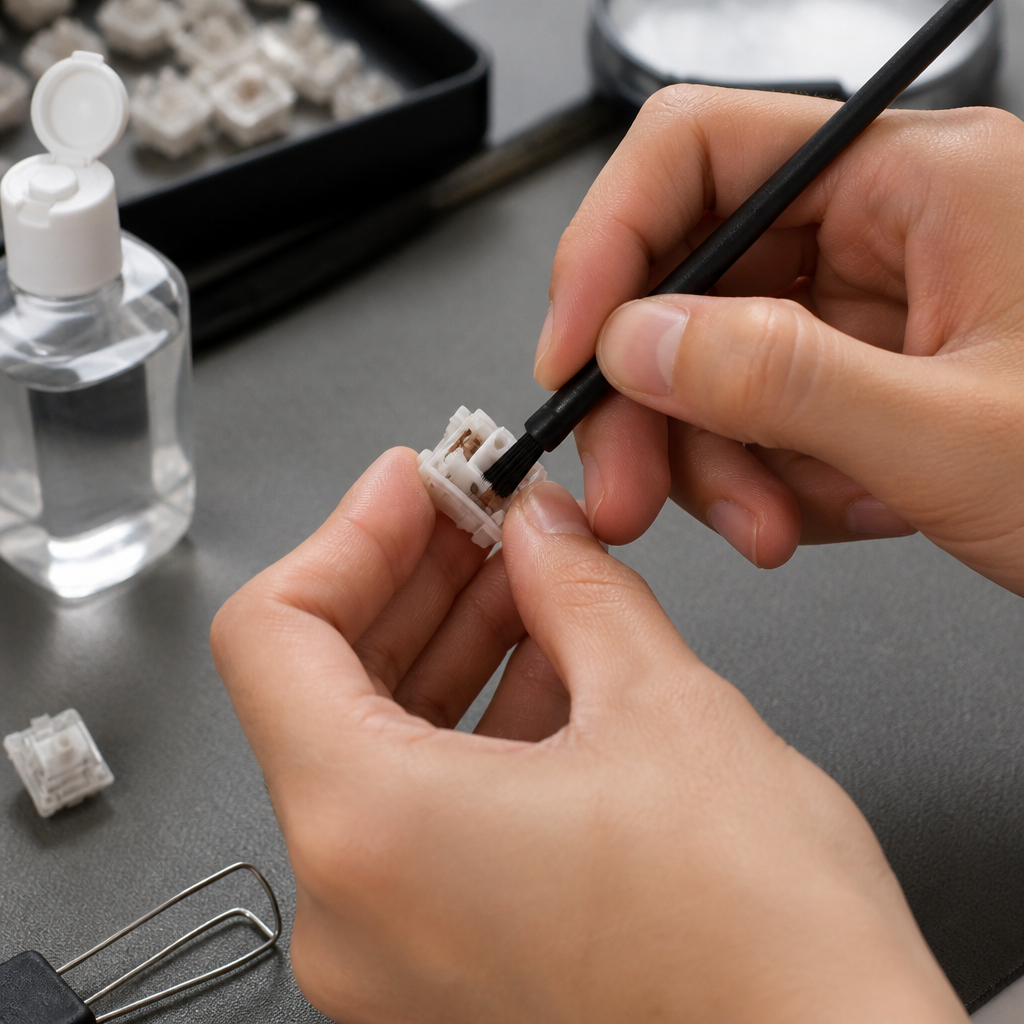
Cleaning switches can resolve issues like stickiness or unresponsiveness. For a surface clean, use a cotton swab dampened with 90%+ isopropyl alcohol to wipe around the switch stem. Press the switch multiple times to work the alcohol into the mechanism and let it dry completely.
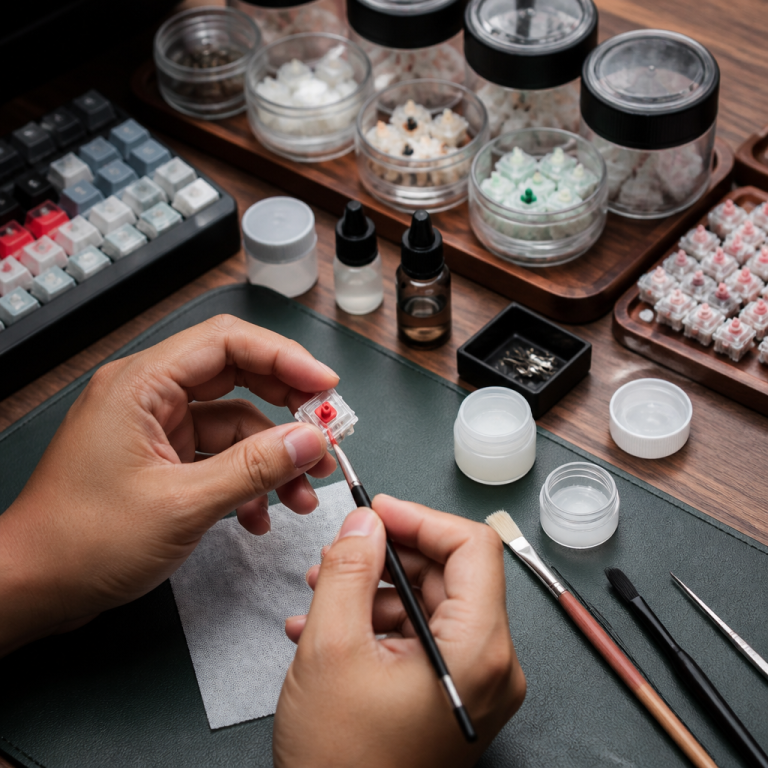
For a deeper clean on hot-swappable keyboards, you can remove the switches and open them with a switch opener tool. Clean the individual components (housing, stem, and spring) with isopropyl alcohol and a small brush. This is also the perfect opportunity to apply lubricant for a smoother feel. Be very careful not to get any lubricant on the metal contact leaves, as this can cause electrical issues and make the switch stop working.
FAQ
Q1: How often should I clean my mechanical keyboard?
A1: A quick cleaning with compressed air is recommended weekly, with a surface wipe-down monthly. A full deep clean is typically needed every 3-6 months or immediately after a spill.
Q2: Can I put my keycaps in the dishwasher?
A2: It is strongly advised not to use a dishwasher. The high heat can warp ABS keycaps, and harsh detergents may damage the legends. Manual washing in warm, soapy water is the safest method.
Q3: What type of isopropyl alcohol is best for cleaning electronics?
A3: For sensitive parts like the PCB and switches, 90% or higher isopropyl alcohol is best because it evaporates quickly, minimizing moisture risk. For general cleaning of keycaps and the case, 70% is also effective.
Q4: What should I do if I spill liquid on my mechanical keyboard?
A4: Immediately unplug the keyboard. Turn it upside down to drain the liquid and remove keycaps to absorb as much as possible with a cloth. Clean the affected area with 90%+ isopropyl alcohol to dissolve sticky residue. Allow all components to dry for at least 48 hours before reassembly.
Q5: Is it safe to lubricate switches after cleaning?
A5: Yes, lubricating switches can improve their feel and sound. However, use a lubricant designed for switches (e.g., Krytox 205g0) and apply a very thin layer. Avoid getting any lubricant on the metal contact leaves inside the switch to prevent malfunction.

Hi, I’m Alex Morgan.
Welcome to my blog! As a dedicated mechanical keyboard enthusiast, I’m passionate about exploring everything from custom builds to the finest details of switches and keycaps. My goal is to break down specs, sound profiles, and ergonomics to help you find the absolute best keyboard for your setup. Whether you’re a gamer, programmer, or desk setup fanatic, I’m here to share honest reviews and practical recommendations.