How to Lube Keyboard Switches: Smooth, Quiet Typing Bliss
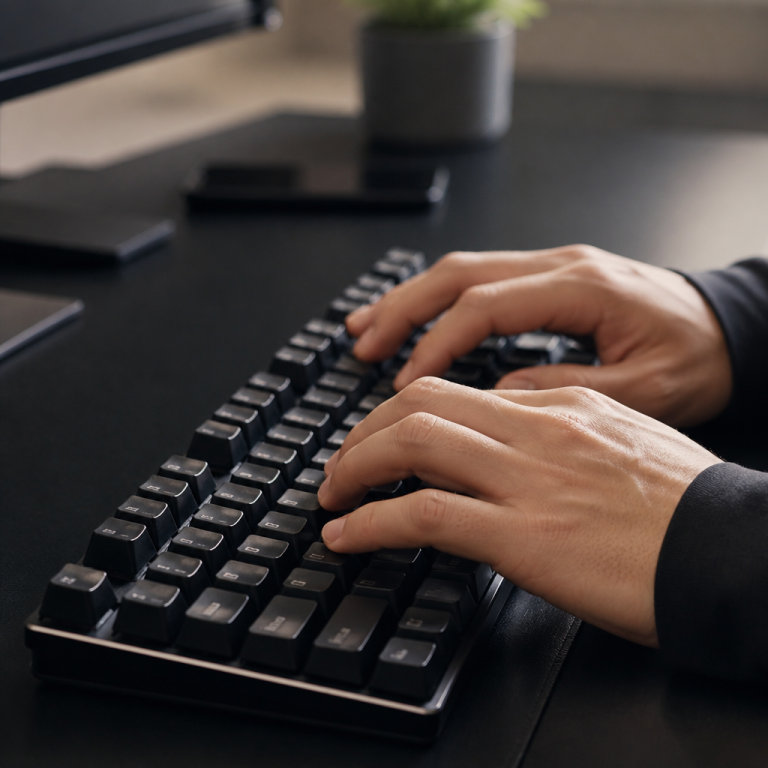
I still remember the day I first tried a properly lubed mechanical keyboard. Before that, my own keyboard felt, well, fine. It clicked and clacked, but there was a certain grating, sandy feeling with every keypress, and the springs had this annoying metallic “ping” sound that echoed in my quiet office. It wasn’t until a friend let me try their custom build that I truly understood the difference. My fingers glided across the keys effortlessly; it felt like typing on clouds, with a satisfyingly muted thock. That moment sparked my own journey into keyboard modification. Discover the secret to transforming a good keyboard into an amazing one.
Lubing is a popular modification aimed at enhancing the typing experience by applying specialized lubricant to the internal components of mechanical keyboard switches—specifically the stem, spring, and housing—to reduce friction and eliminate unwanted sounds. The result is a smoother keystroke and quieter operation. While it might seem complex, with the right tools and a methodical approach, anyone can learn to lube their switches. This guide will walk you through everything you need to know, from gathering supplies to understanding the process.
Getting Started: What You Need Before Lubing Switches
Before diving into the intricate world of switch lubing, it’s essential to understand the basics, gather the right materials, and set realistic expectations. Preparing adequately can make the difference between a frustrating experience and a rewarding one. Taking the time to organize your workspace and gather every tool beforehand saves a lot of headaches later on. This section will cover the foundational knowledge and necessary equipment to ensure a smooth start to your lubing journey.
Lubing Keyboard Switches for Beginners
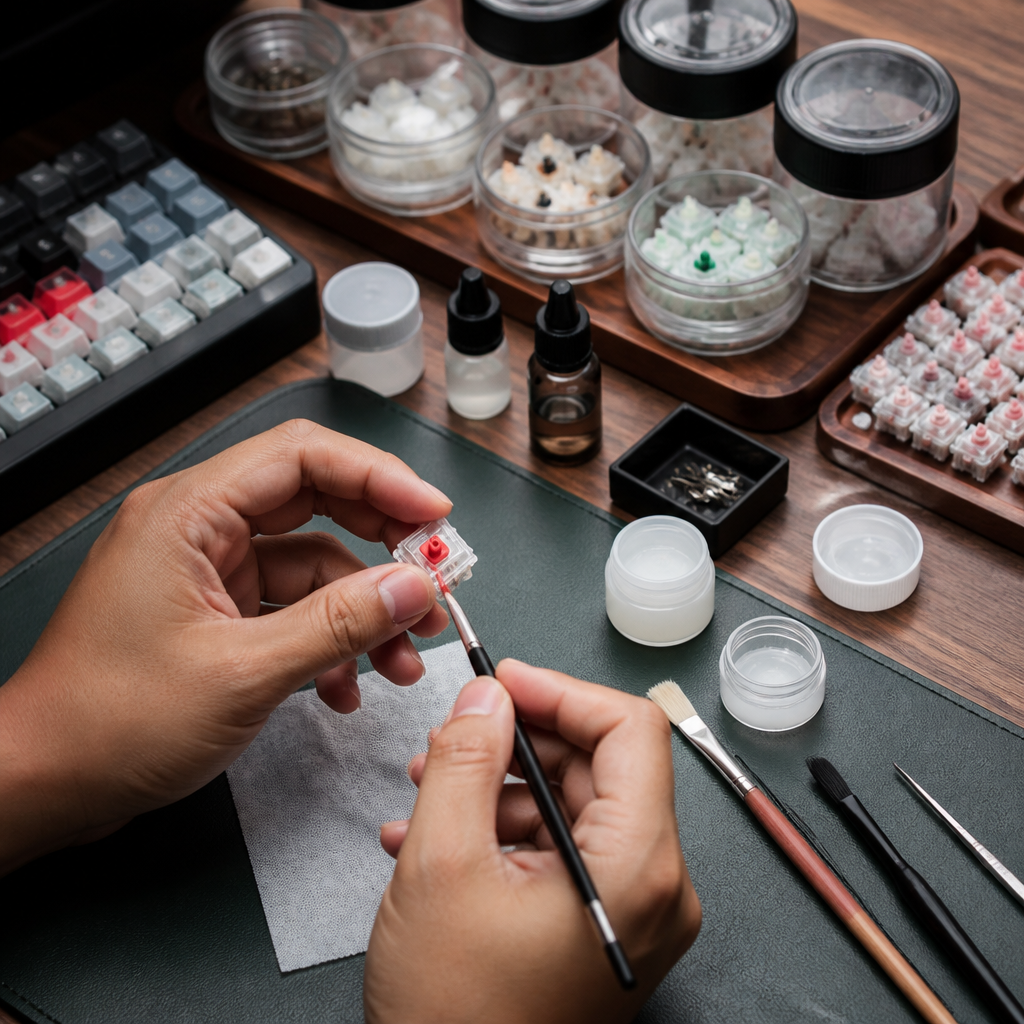
For those new to the mechanical keyboard hobby, lubing switches is a highly rewarding process that significantly improves the feel and sound of your keyboard. It involves applying a specialized, thin grease or oil to the moving parts of a switch: the stem, the spring, and the housing. This reduces friction, gets rid of any scratchy feeling, and minimizes the metallic “ping” from the springs.
When starting out, it is wise to begin with linear switches rather than tactile or clicky ones. Linear switches offer a consistent press and are more forgiving to lube since the goal is simply to reduce friction. With tactile switches, _lubing them incorrectly can accidentally reduce or even remove that bump_. Clicky switches are almost never lubed because it would silence their key feature.
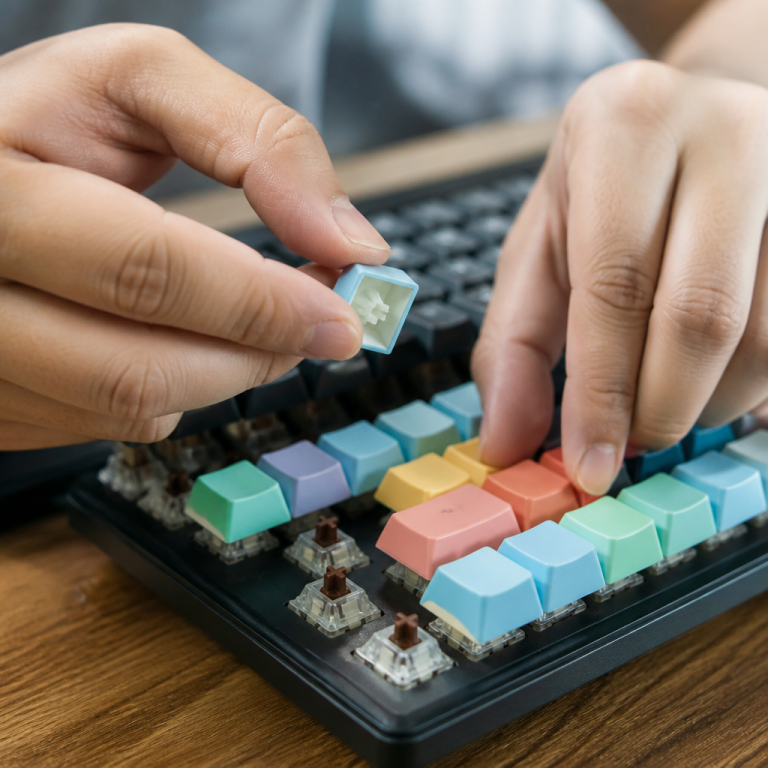
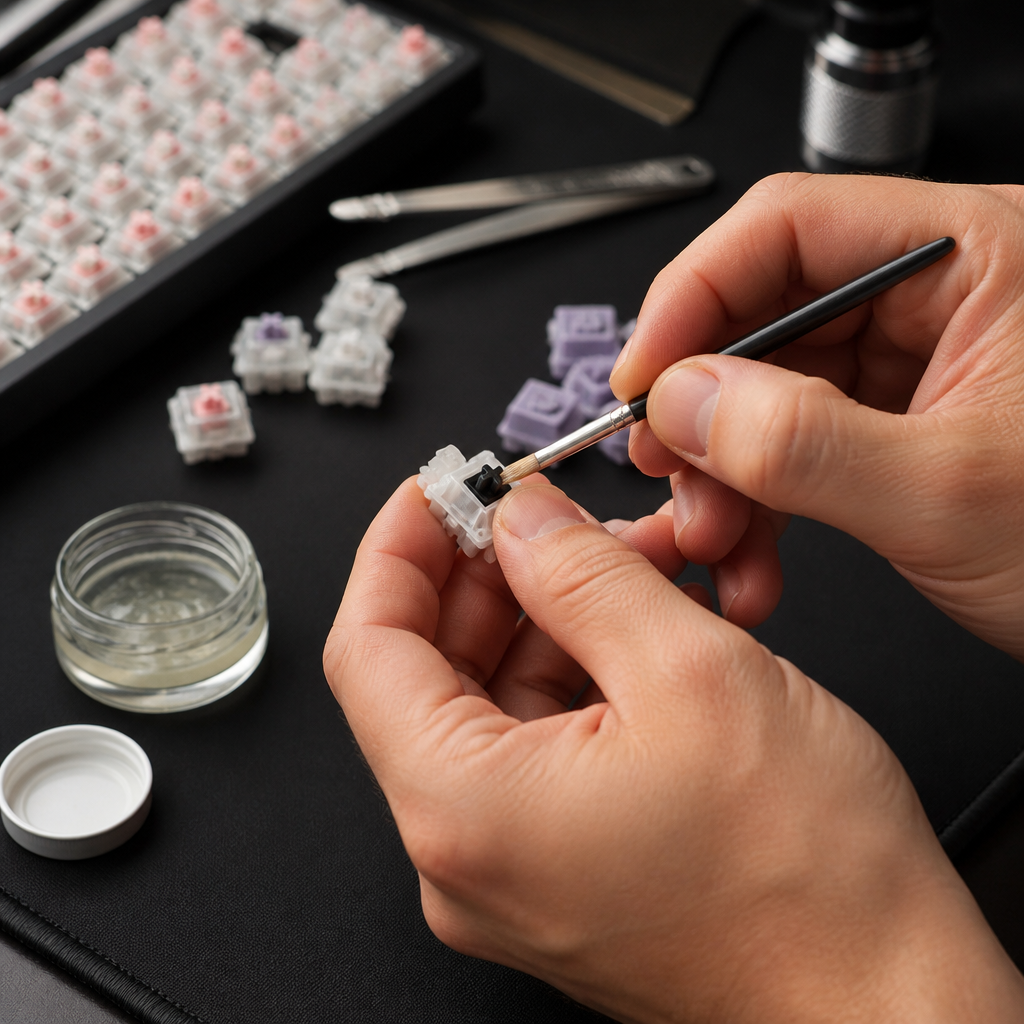
The basic process involves disassembling each switch, applying a very thin, even layer of lubricant to the stem rails and the interior of the switch housing, lubing the spring, and then carefully reassembling the components. One of the most common mistakes beginners make is over-lubing, which can lead to sluggish or mushy-feeling keys. The goal is to apply thin, even coats; less is more.
Mechanical keyboard content creator Nathan Kim often advises beginners to start small, recommending practice on just 10-20 switches before committing to a full keyboard. This allows you to develop muscle memory and refine your technique on a smaller batch, which is invaluable before tackling an entire keyboard.
Best Lube for Keyboard Switches
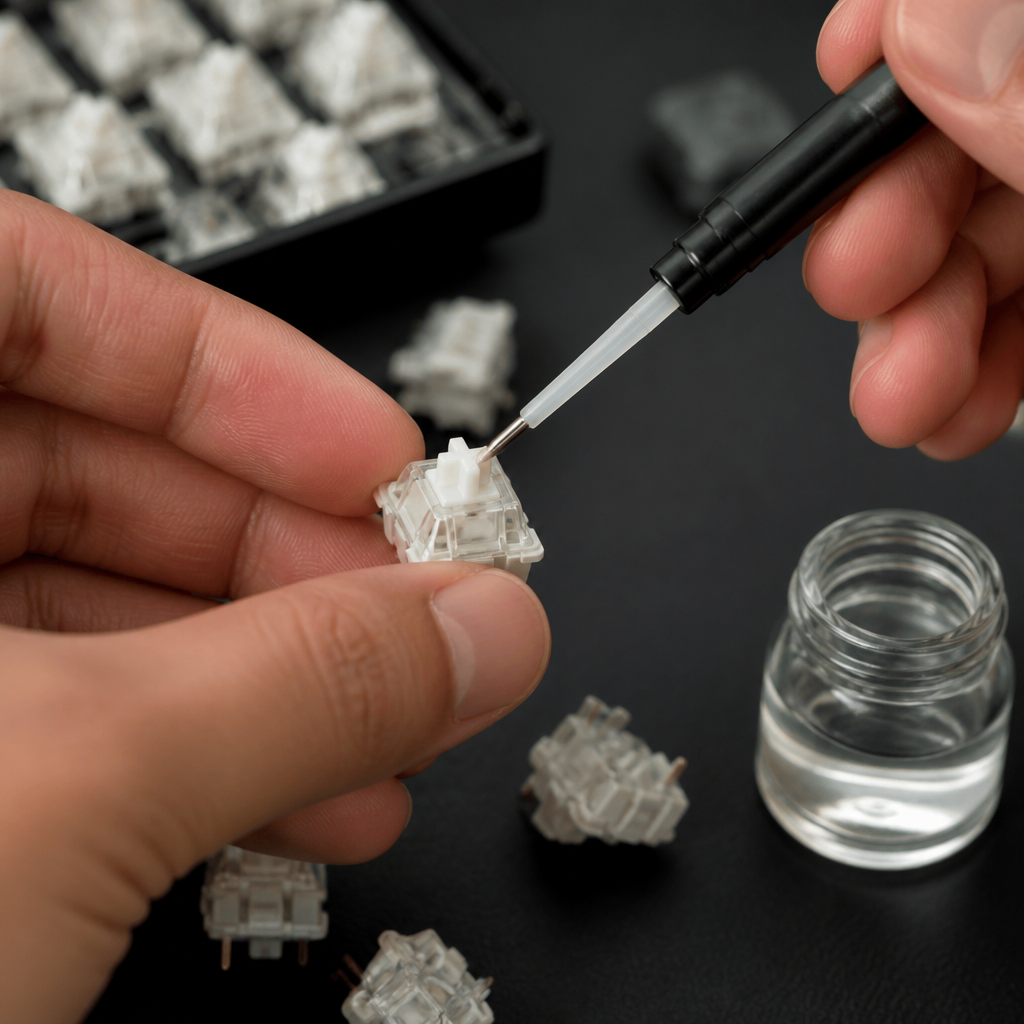
Selecting the right lubricant is a critical step in achieving the desired feel and sound. Keyboard switch lubricants are specialized greases with specific viscosity grades, formulated to reduce friction without damaging the plastic parts over time.
Among the vast array of options, Krytox GPL 205 Grade 0 (205g0) stands out as the most widely recommended lubricant, particularly for linear switches. Professional keyboard builder Taeha Types emphasizes its qualities:
Krytox GPL 205g0 has become the de facto standard in the enthusiast community because it’s a PFPE-based lubricant that’s chemically inert, won’t break down plastics, and maintains consistent performance across temperature ranges.
For tactile switches, which require a thinner lubricant to preserve their bump, a product like Tribosys 3203 is often recommended. For springs, thinner oils like Krytox GPL 105 or 107 are preferred to eliminate ping without adding sluggishness.
Here is a quick comparison of common lubricants:
| Lubricant | Common Use Case | Viscosity | Notes |
|---|---|---|---|
| Krytox GPL 205g0 | Linear Switches | Medium-Thick | The community standard; provides a very smooth feel. |
| Tribosys 3203 | Tactile Switches | Thin | Preserves the tactile bump better than thicker lubes. |
| Krytox GPL 105/107 | Springs | Very Thin (Oil) | Ideal for bag-lubing to eliminate spring ping. |
It is crucial to avoid certain products for switch lubing. Dielectric grease, WD-40, and other general-purpose lubricants are not suitable as they can degrade switch plastics, attract dust, or have an inappropriate viscosity.
Tools Needed to Lube Keyboard Switches
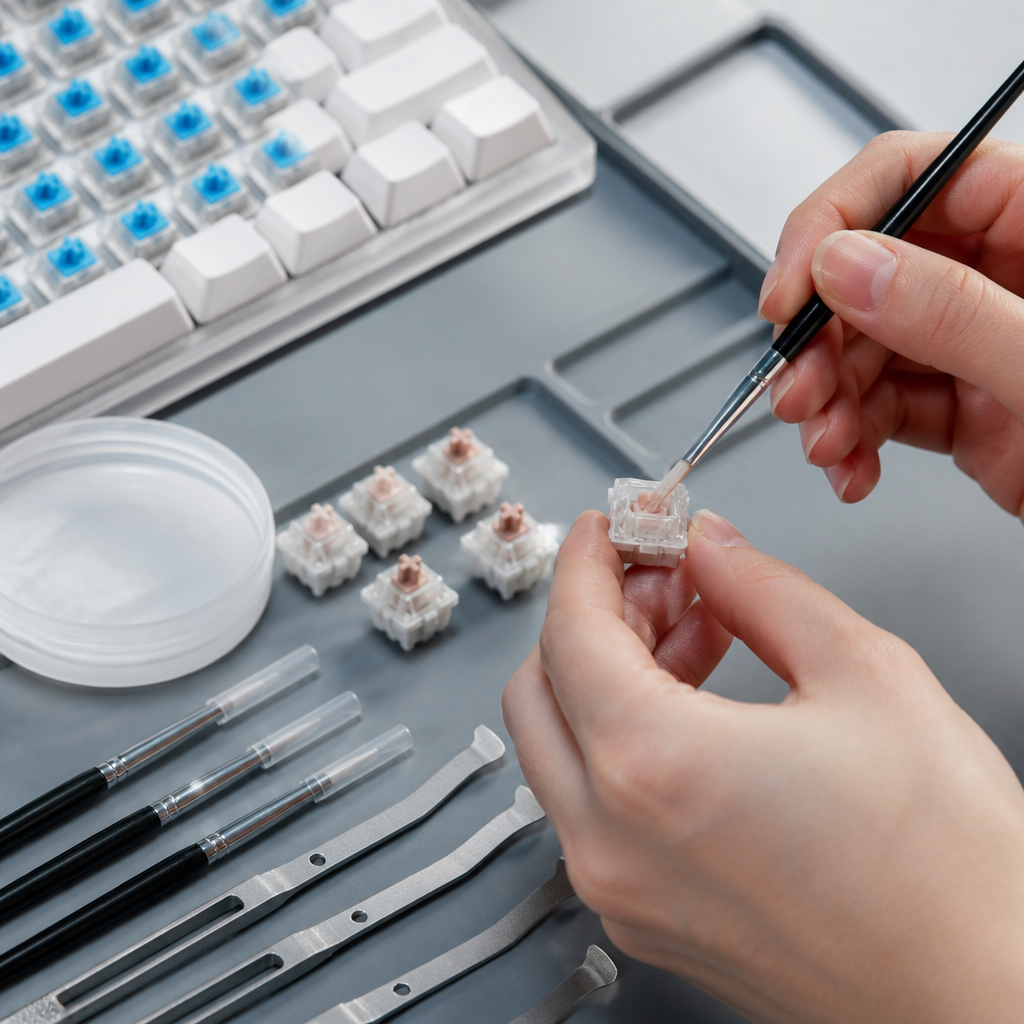
Embarking on the journey of lubing keyboard switches requires a specific set of tools to ensure precision and efficiency. Having the right equipment makes the process significantly more manageable and enjoyable. A complete beginner toolkit is a relatively affordable one-time investment, typically ranging from $25-50.
Here are the essential tools you will need:
- Switch Opener: Essential for safely and quickly disassembling switches. Aluminum models ($15-30) are more durable than 3D-printed plastic ones ($5-10).
- Precision Brush: A size 00 or 000 synthetic brush is vital for applying thin, even coats of lube. Natural hair brushes are not recommended as they may shed bristles.
- Lubricant: The chosen lube for your switch type, such as Krytox 205g0 for linears or Tribosys 3203 for tactiles, plus a thin oil like Krytox 105 for springs.
- Organization Trays: Small containers, a tackle box, or a dedicated lubing station to keep stems, housings, and springs separated and organized.
- Switch Films (Optional): These thin plastic sheets are placed between the top and bottom housings to reduce wobble, improving the sound and feel.
- Clean Workspace: A well-lit, clean surface like a silicone mat is paramount to prevent dust contamination and keep small parts from rolling away.
The Lubing Process: Time, Effort, and Expectations
Understanding the time and effort involved in lubing keyboard switches is crucial for setting realistic expectations and planning your project effectively. This section will delve into how long the process typically takes, how often you might need to re-lube, and what to do if you need to remove lubricant. Approaching this as a weekend project, rather than a quick fix, makes it much more enjoyable.
How Long Does It Take to Lube Keyboard Switches?
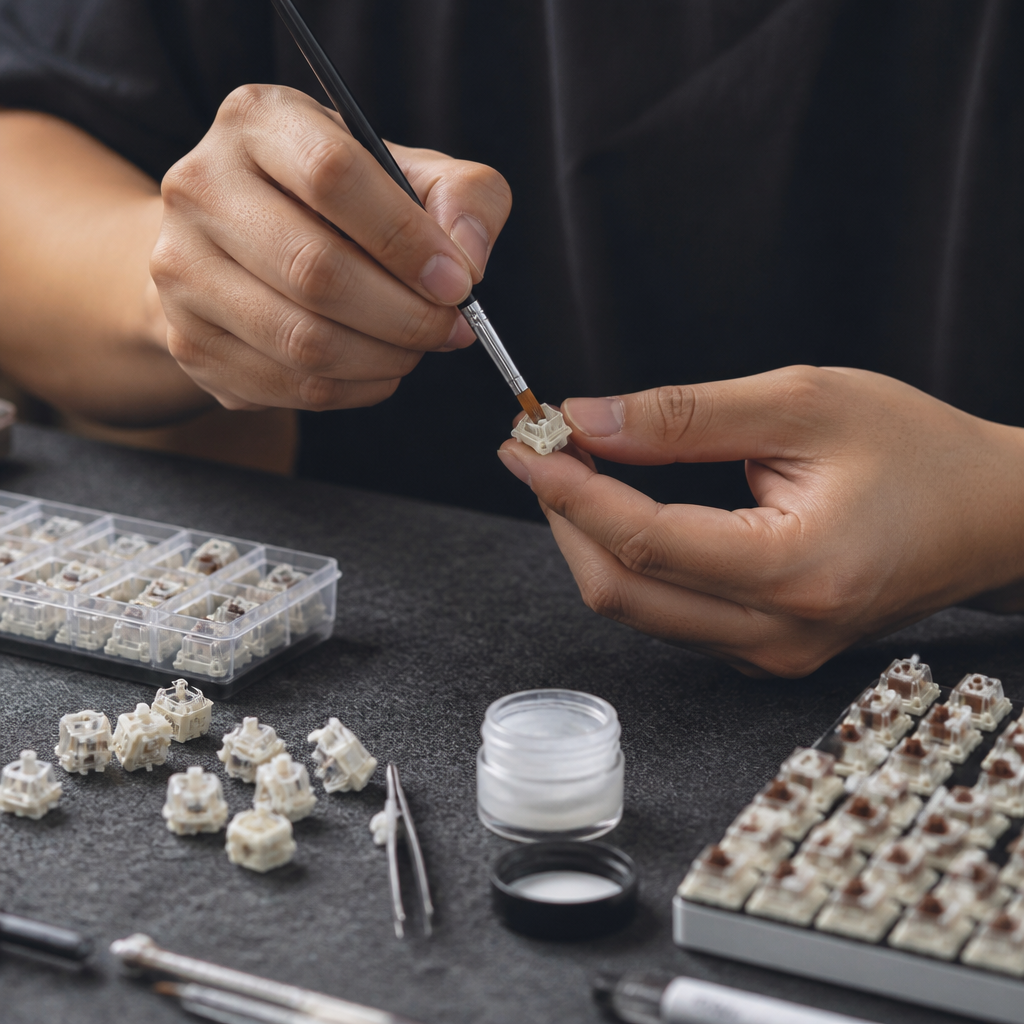
The time investment for lubing keyboard switches can vary significantly depending on your experience and methods. For a full keyboard (60 to 110 switches), the entire process can take anywhere from 2 to 8 hours.
Beginners generally average about 3-5 minutes per switch, while experienced modders can reduce this time to 30-60 seconds. Alexotos, a well-known mechanical keyboard designer, offers practical advice on time budgeting:
When people ask me how long it takes, I tell them to budget an entire afternoon or evening for their first keyboard. You’re looking at 4-6 hours for a 65% keyboard as a beginner. Rushing leads to inconsistent results and over-lubing.
Efficiency can be greatly improved through batch processing—disassembling all switches first, then lubing all stems, and so on. The method of spring lubing is also a significant factor; bag lubing is a considerable time-saver compared to lubing each spring individually.
Here are some estimated times for a beginner:
- 60% keyboard (~61 keys): 3-4 hours
- 65% keyboard (~68 keys): 3.5-5 hours
- TKL keyboard (~87 keys): 5-7 hours
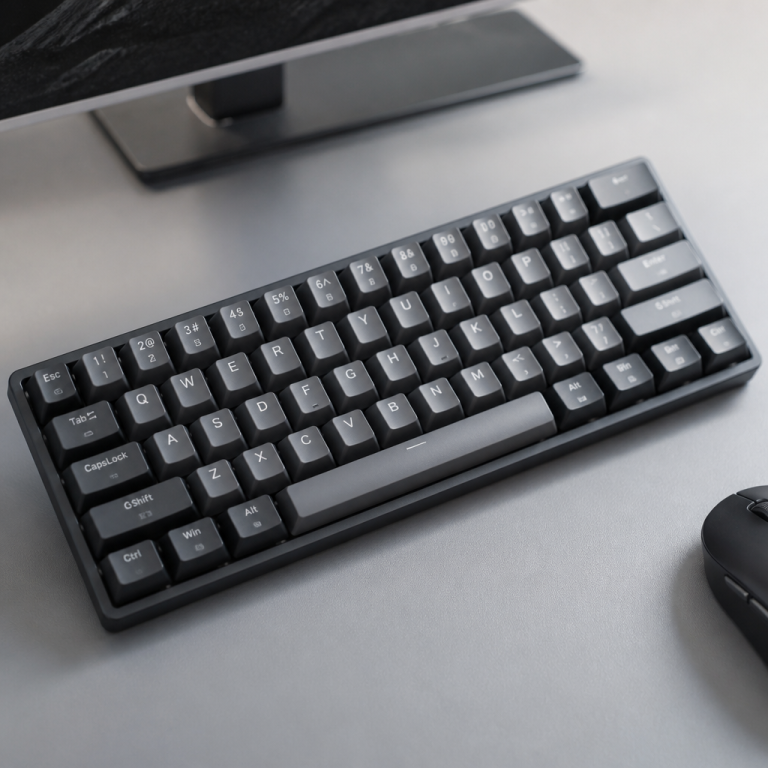
- Full-size keyboard (~104 keys): 6-8 hours
How Often to Lube Keyboard Switches?
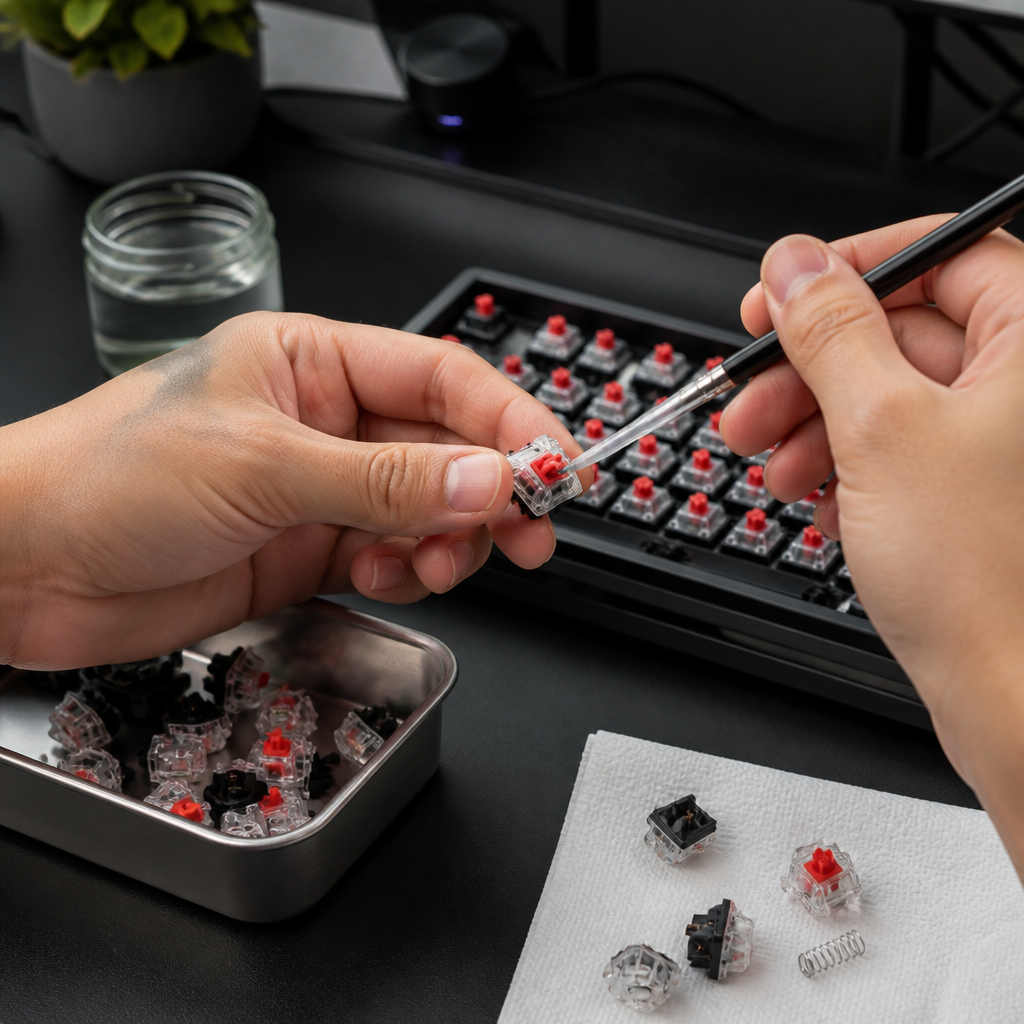
The good news is that properly lubed keyboard switches generally don’t require re-lubing for a very long time. Under normal use conditions, you can typically expect consistent performance for 3-5 years, with many users reporting that their switches maintain their feel and sound even longer.
This longevity is due to the chemical stability of high-quality lubricants like Krytox, which are designed for industrial applications and resist degradation, breakdown, and evaporation. Unlike components in high-stress machinery, keyboard switches operate at low speeds and pressures, placing minimal strain on the lubricant. Re-lubing is typically only necessary if the switches were over-lubed initially, if there was a spill, or if scratchiness returns after many years of heavy use. For most users, a single, well-executed lubing session will provide years of enhanced typing enjoyment.
How to Remove Lube from Keyboard Switches
While the goal is to enhance performance, sometimes it becomes necessary to remove lubricant. This might be done to correct over-lubing, restore a switch’s original feel, or prepare switches for a fresh application.
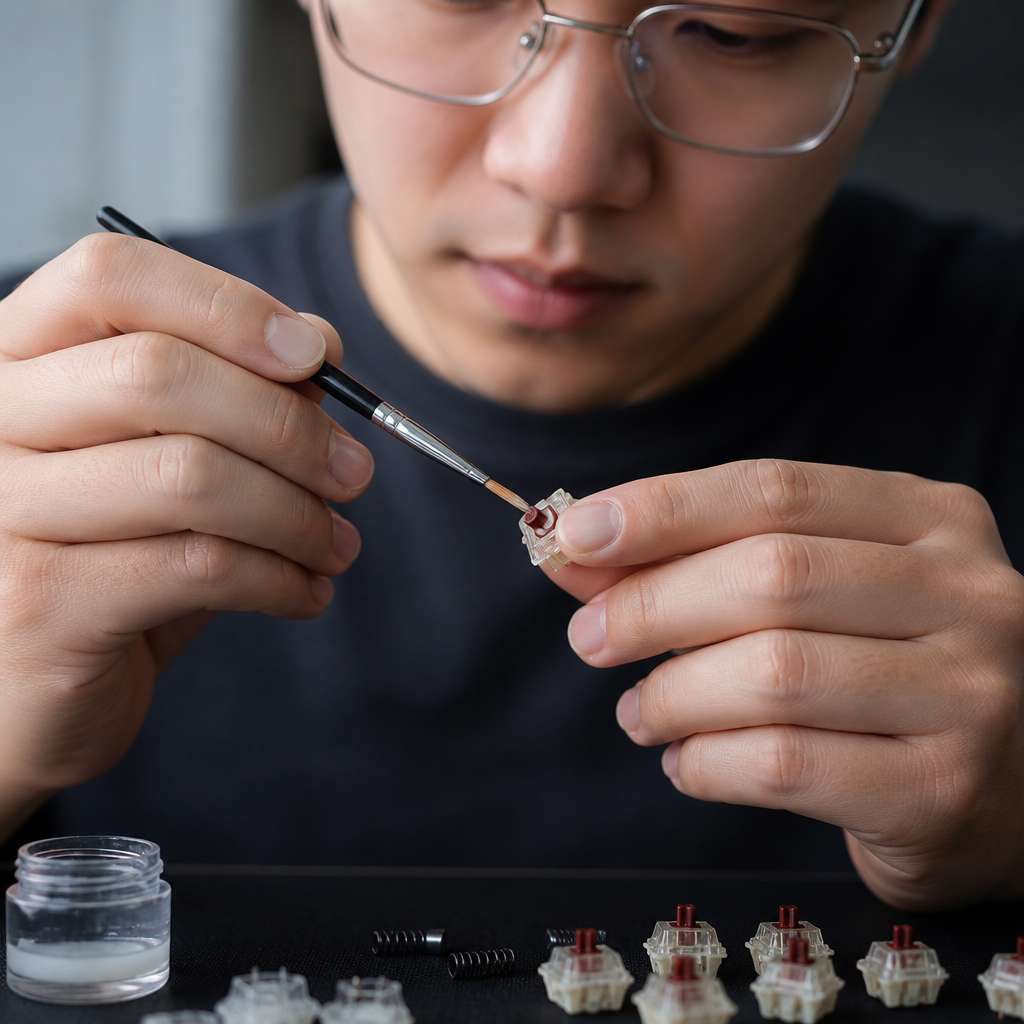
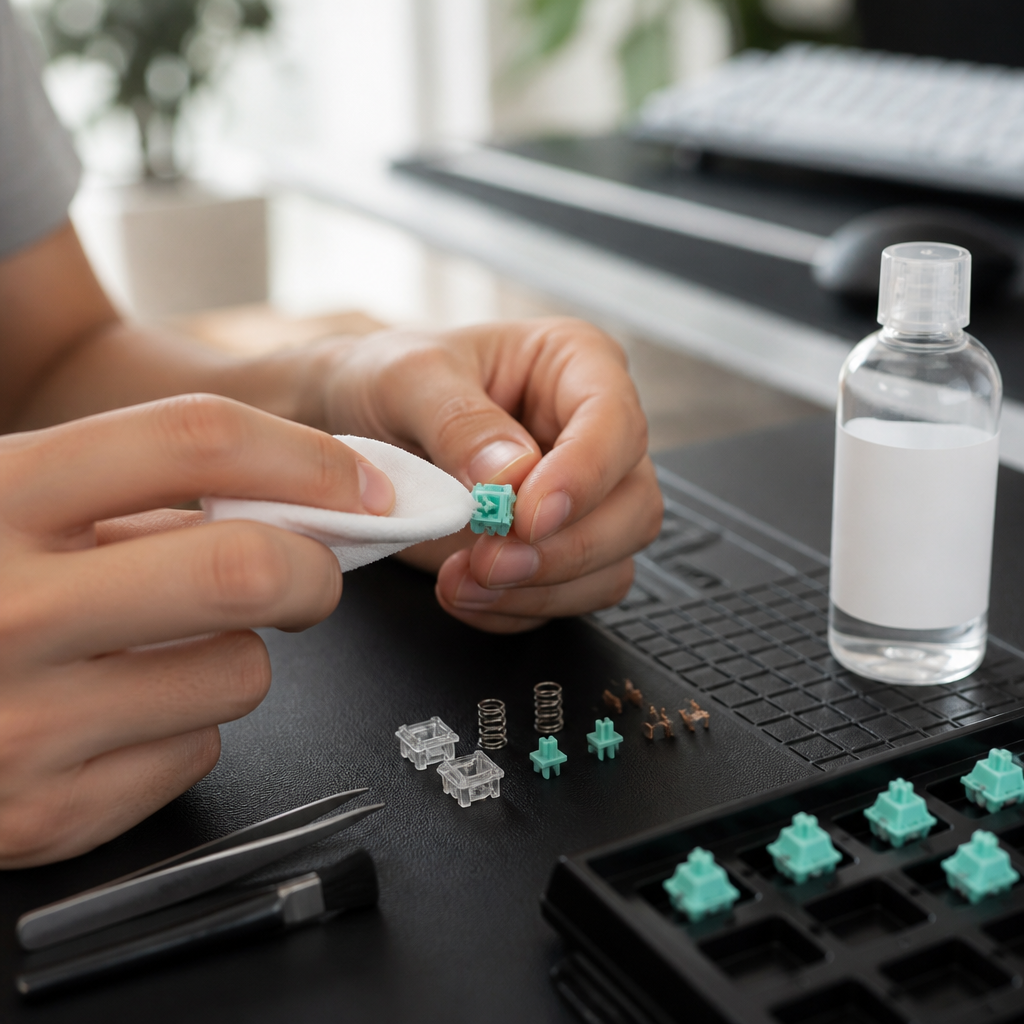
The most effective method involves disassembling the switch and cleaning each component with isopropyl alcohol (IPA). The high concentration of isopropyl alcohol (90% or higher) is crucial because it evaporates quickly, leaves virtually no residue, and is highly effective at dissolving lubricants without damaging switch plastics.
The process is methodical: disassemble the switches, wipe the stems and housings with an IPA-dampened cloth, clean the springs, and allow all components to air dry thoroughly. _If components are reassembled before the isopropyl alcohol has fully evaporated, it could negatively affect performance or electrical contacts._ This manual process can take 2-3 minutes per switch, so cleaning an entire keyboard is a significant time commitment, similar to the initial lubing process. For large batches, an ultrasonic cleaner filled with IPA can greatly speed up the process. The best solution, however, is prevention through proper initial application technique.
FAQ
Q1: What is the primary benefit of lubing keyboard switches?
A1: The primary benefit of lubing keyboard switches is to reduce friction between moving parts, which results in smoother keystrokes, eliminates scratchiness, and minimizes spring ping noise, leading to a quieter and more satisfying typing experience.
Q2: What type of lubricant is most recommended for linear switches?
A2: Krytox GPL 205 Grade 0 (often called “205g0”) is the most widely recommended lubricant for linear switches. It offers an optimal viscosity that provides smooth operation without being too thick or too thin.
Q3: How long does it typically take a beginner to lube a full-size keyboard?
A3: For a beginner, lubing a full-size keyboard (around 104 keys) can typically take 6-8 hours. This time includes disassembling, lubing each component, and reassembling all the switches.
Q4: How often do I need to re-lube my keyboard switches after the initial application?
A4: Properly lubed keyboard switches generally don’t require re-lubing for 3-5 years under normal use conditions, with many users reporting consistent performance beyond 5 years. High-quality PFPE lubricants are very durable and don’t easily degrade.
Q5: What should I use to remove lubricant from keyboard switches if I over-lubed them?
A5: The most effective method for removing lubricant is to disassemble the switches and clean each component with isopropyl alcohol (90%+ concentration) using lint-free cloths or cotton swabs. This effectively dissolves the lubricant without damaging the switch plastics.

Hi, I’m Alex Morgan.
Welcome to my blog! As a dedicated mechanical keyboard enthusiast, I’m passionate about exploring everything from custom builds to the finest details of switches and keycaps. My goal is to break down specs, sound profiles, and ergonomics to help you find the absolute best keyboard for your setup. Whether you’re a gamer, programmer, or desk setup fanatic, I’m here to share honest reviews and practical recommendations.