How to Make Custom Keycaps: 7 Creative Methods That Work
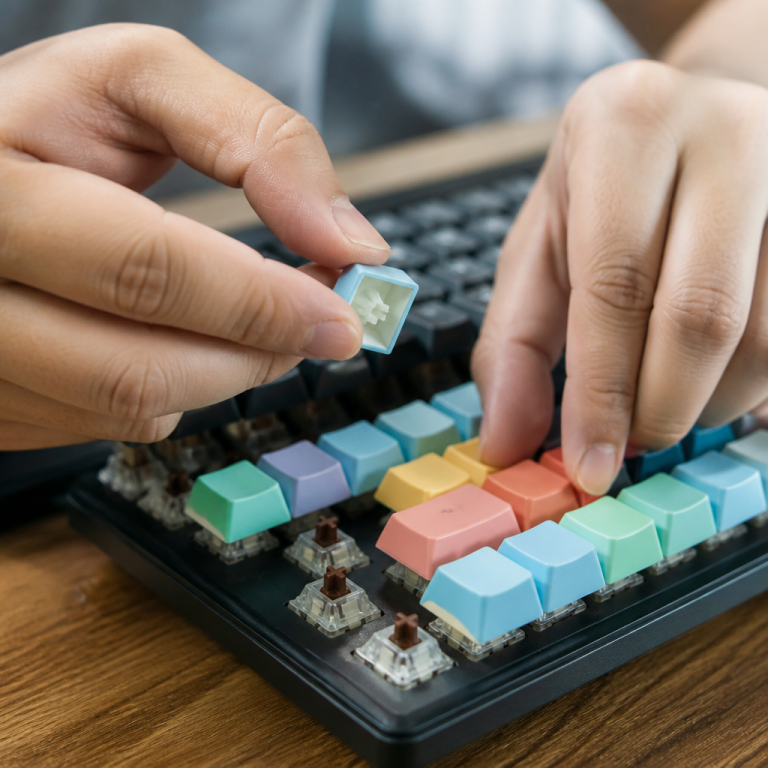
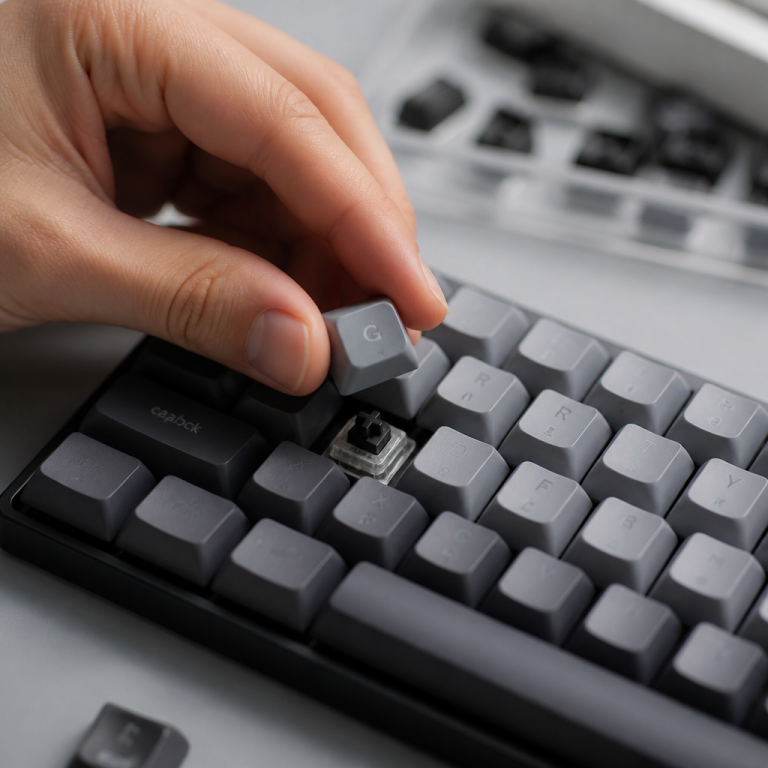
I still vividly remember the excitement, and a little bit of fear, when I mixed my first batch of resin for a keycap. The idea of transforming a simple block of plastic into something uniquely "me" for my keyboard was incredibly appealing. It was a Saturday afternoon, about two years ago, when I decided to dive into the world of custom keycap making right in my small apartment's spare room. I quickly learned it's not just about pouring liquid into a mold; it's a blend of art, science, and a whole lot of patience. This world of personalized keyboard caps has truly exploded, becoming a huge part of the mechanical keyboard community, allowing people to craft their own unique pieces through methods like resin casting, 3D printing, painting, or sculpting. Discover how to give your keyboard a personality makeover; believe me, it’s a journey worth taking.
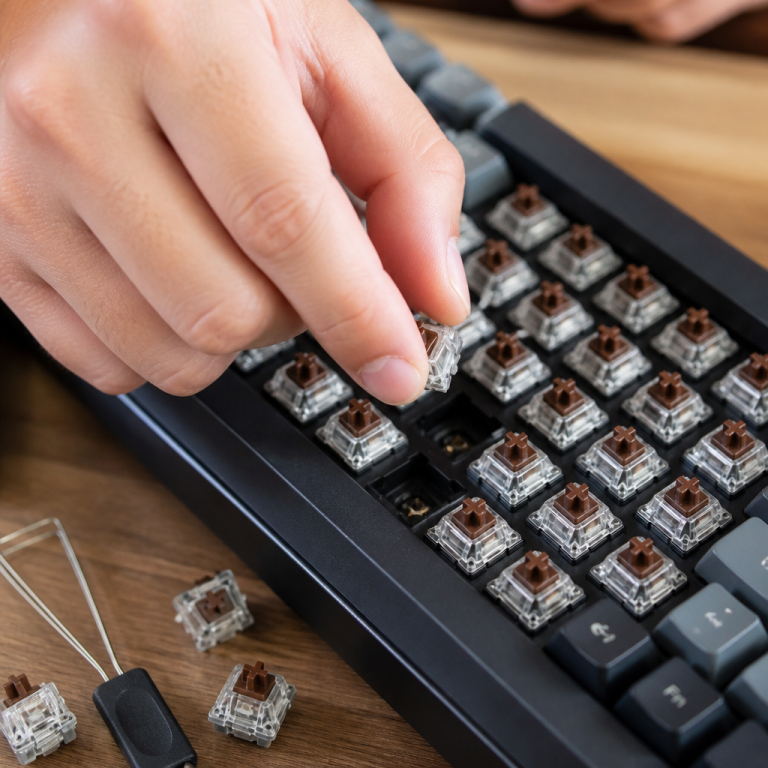
When you're starting out in custom keycap creation, one of the most important things to think about is compatibility. You see, custom keycaps need to fit specific types of keyboard switches. The most common kind, found in most mechanical keyboards, is called the Cherry MX-style stem. This name comes from a popular switch manufacturer, and it refers to the distinctive cross-shaped connection point on the bottom of a keycap that slots onto your keyboard switch. Keycaps also come in different shapes and heights, known as profiles, like OEM, Cherry, SA, DSA, and XDA. Each profile offers varying heights and angles, which can change how your keyboard feels and looks. For a Cherry MX-compatible keycap, the cross-shaped hole on the bottom typically needs to be about 4x4mm, with each "arm" of the cross around 1.2mm thick.
Understanding these technical details is essential to make sure your custom creations actually work on your keyboard. It's a bit like buying the right size shoes for your feet! The whole process of making custom keycaps is a wonderful mix of artistic expression and hands-on crafting. It lets enthusiasts, like me, explore a fascinating hobby that brings together design, understanding materials, and precision. Personally, I find the research phase almost as enjoyable as the making, getting to know all the tiny details that make a good keycap great.
Getting Started: Materials, Tools, and Design
Creating custom keycaps is an exciting adventure that begins with gathering the right materials and tools, followed by thoughtful design. Whether you're aiming for a simple color change or an intricate sculpted piece, having a solid foundation in these areas is essential for success. This section will guide you through the necessary components and help spark your creative process.
Custom Keycaps Materials and Tools Needed
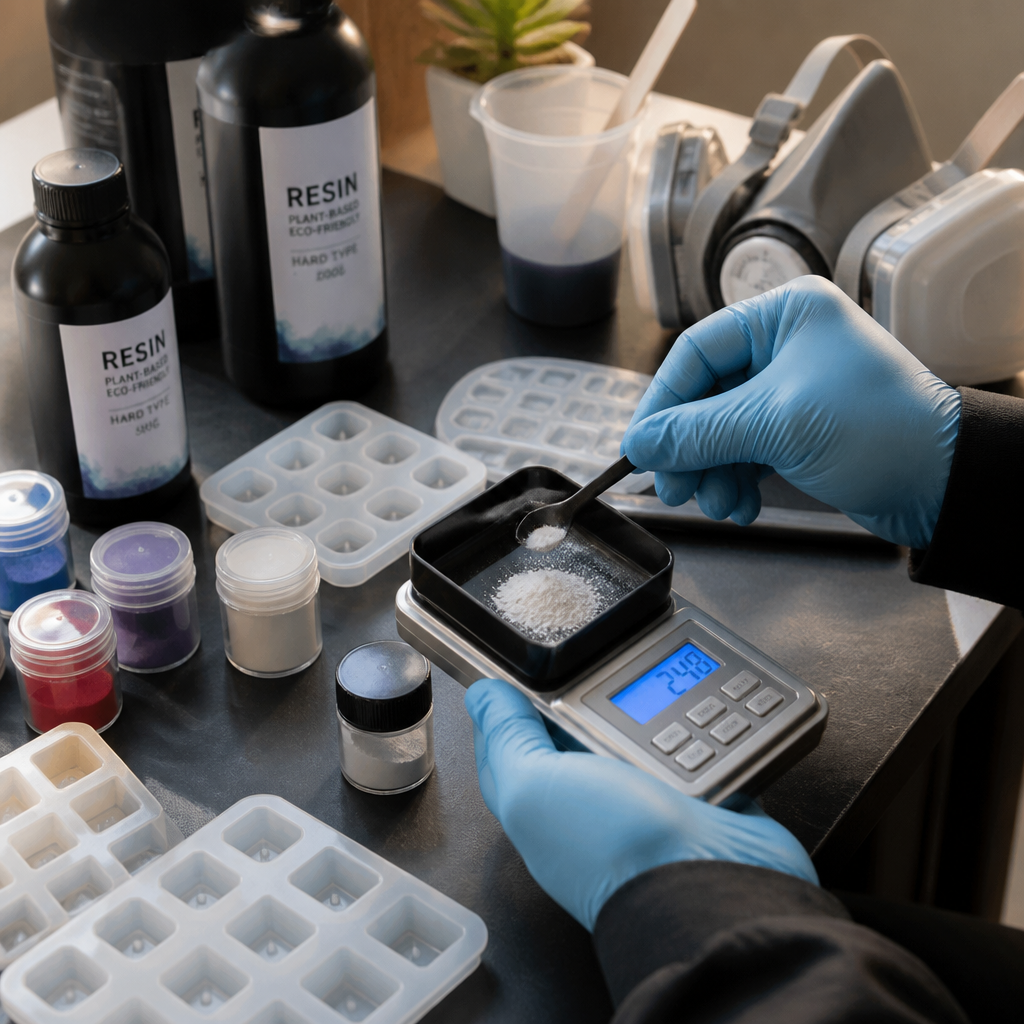
The journey into custom keycap creation requires a specific set of materials and tools, each playing a vital role in bringing your designs to life. At its core, making custom keycaps means you'll need base materials (like resin or clay), molds (or 3D printer files), ways to add color, finishing supplies, and those crucial Cherry MX stems that connect your keycap to your keyboard. These elements are the backbone of any keycap project, no matter which method you choose.
For those, like me, who venture into resin casting—a really popular and flexible method—the essential materials list is quite specific. You'll typically need a two-part epoxy resin or polyurethane resin. These are liquids that, when mixed, harden to form the body of your keycap. You'll also need silicone mold-making compound to create the squishy molds that will give your keycaps their shape. To make sure your keycaps fit most mechanical keyboards, you’ll need those Cherry MX-compatible stems; you can buy these ready-made or even 3D print them yourself. Pigments or dyes are used to add color to your resin, allowing for a huge range of aesthetic possibilities. Release agents are also important; these are special sprays or liquids that stop your hardened keycaps from sticking to the mold, making them easy to pop out. Finally, finishing materials like sandpaper (from rough 400 grit to super-fine 3000 grit) and polishing compounds are key for getting a smooth, professional-looking surface.
Beyond the materials, a set of specialized tools is required to do the job effectively and safely. A digital scale that can measure tiny amounts (like 0.01g) is absolutely necessary for accurately measuring your resin parts, as precise ratios are critical for the resin to harden correctly. You'll also need mixing cups and stir sticks for preparing the resin and pigments. While not absolutely necessary, a pressure pot is highly recommended. This is a special container that uses air pressure to squeeze out tiny air bubbles in resin, leading to clearer and much more professional-looking keycaps. A UV or heat lamp might be needed depending on the type of resin you use, as some resins need specific light or heat to cure (harden). A rotary tool (like a Dremel) or various files are essential for shaping the keycap and removing any extra material after you take it out of the mold. Crucially, safety equipment is mandatory when working with resins and solvents. This includes nitrile gloves to protect your hands and a respirator mask with organic vapor cartridges to prevent you from breathing in harmful fumes.
Investing in good safety gear from the start is the smartest decision any beginner can make. Don't skimp on a proper respirator; your lungs will thank you!
The initial startup costs for resin casting can typically range from $100-$300, depending on the quality and quantity of materials and tools you choose. This investment covers the basic things you need to start your custom keycap journey. However, it's really important to put safety first from the very beginning. Proper ventilation (making sure fresh air comes in and fumes go out) is a must when working with resins and solvents. Respirators with organic vapor cartridges are highly recommended, often paired with P100 pre-filters for particulate protection, to ensure a safe working environment. This isn't just a suggestion; _it's a crucial safety rule to protect your health._
While resin casting is a very common method, other materials offer different creative avenues. Polymer clay, like Sculpey or Fimo, is a soft, moldable material that’s great for sculpting intricate designs without needing molds or long waiting times for it to harden. For those with woodworking or metalworking skills, materials like wood, metal (like aluminum or brass), or even concrete and stone can be used to craft unique, artistic designs. Additionally, 3D printing filaments like PLA, ABS, or specialized resins open up possibilities for complex shapes and precise reproductions. Each material presents its own set of challenges and rewards, allowing makers to choose a path that best suits their skills and artistic vision. Working with polymer clay is a fantastic way to quickly test out sculptural ideas before committing to the more involved resin casting process.
Custom Keycaps Design Ideas
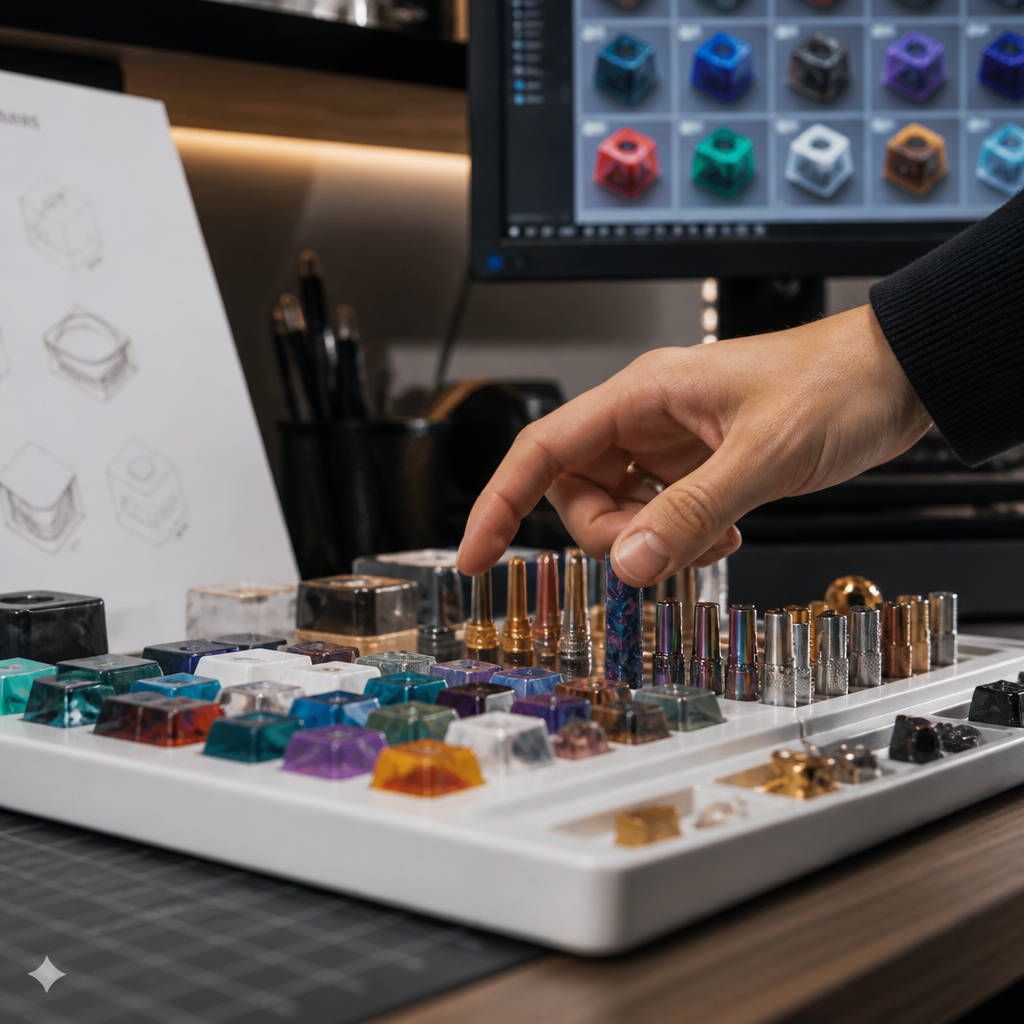
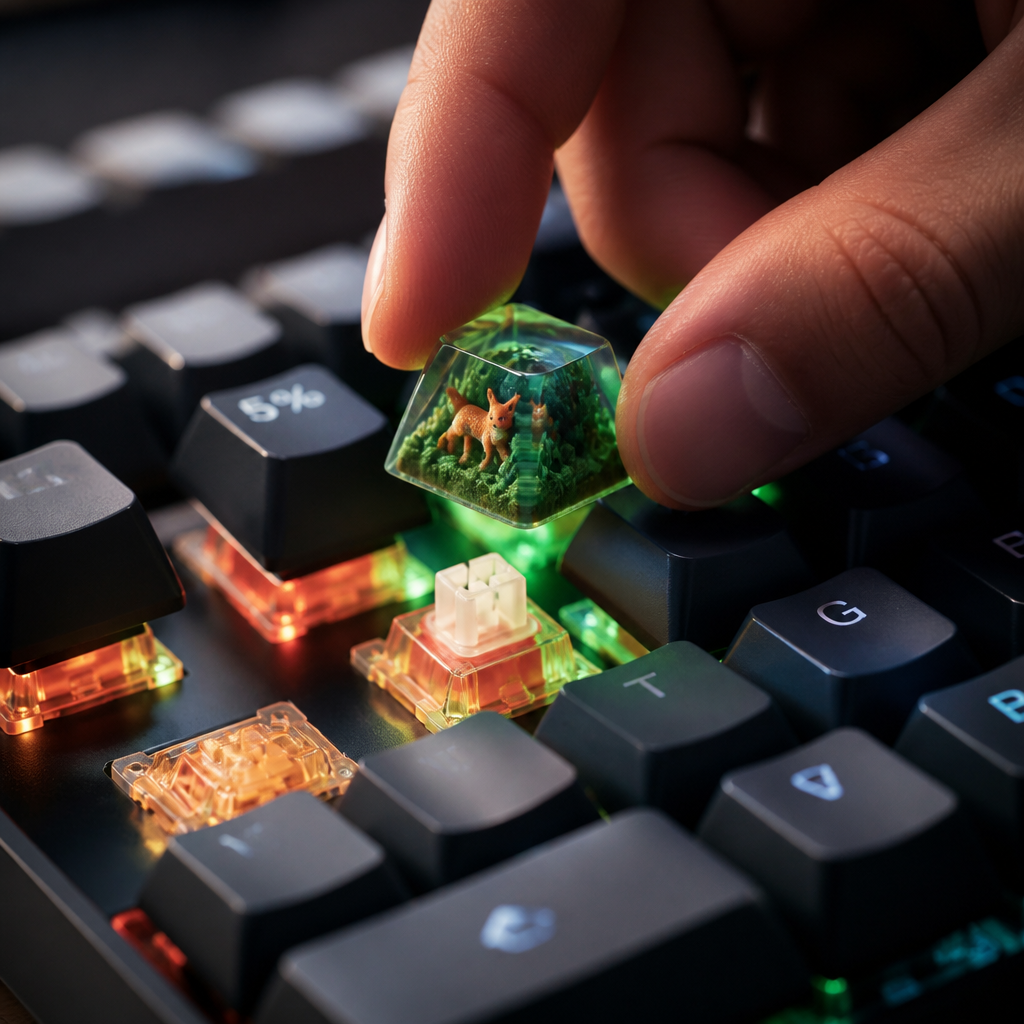
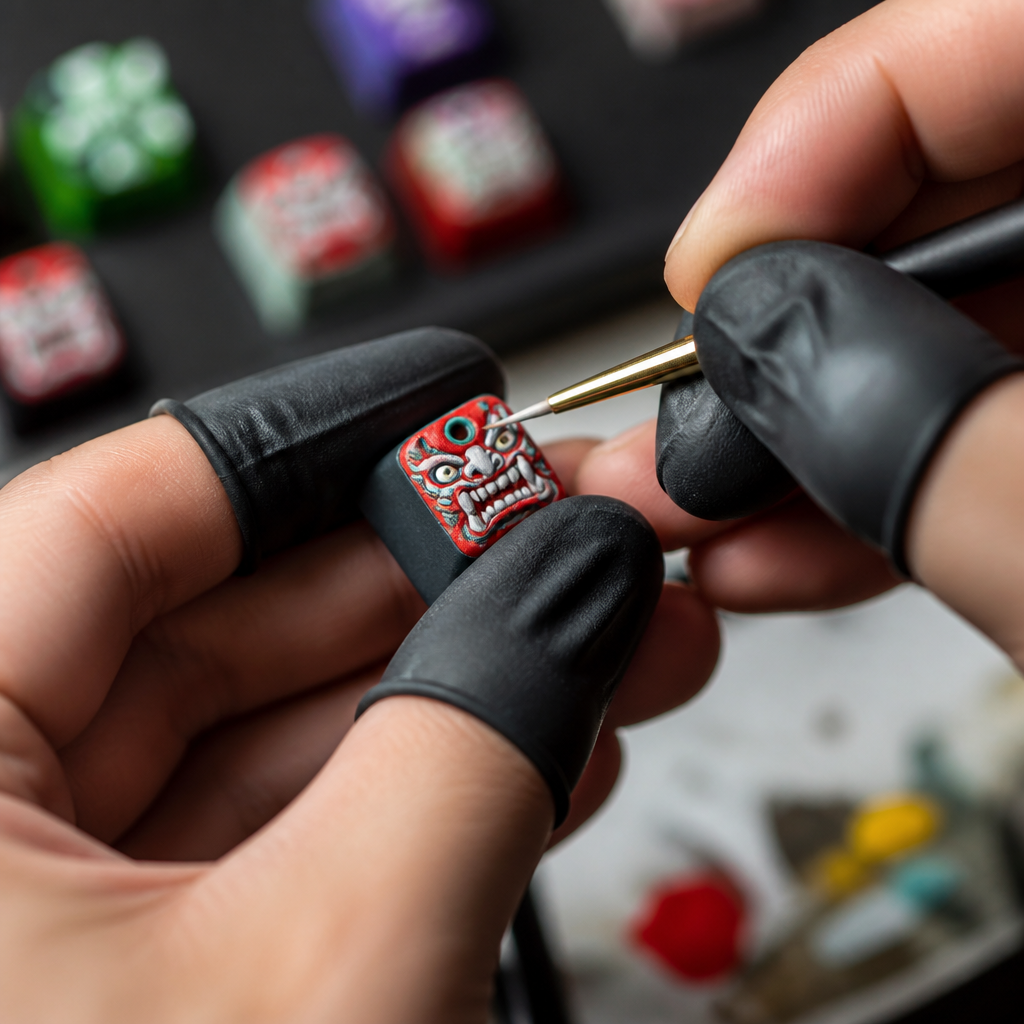
The world of custom keycap design is as limitless as your imagination, covering a huge range of looks, themes, and visual styles. From simple color schemes that subtly improve a keyboard's appearance to elaborate sculpted artisan keycaps that feature tiny characters, miniature landscapes, or abstract art, the possibilities are vast. A well-designed keycap can turn a keyboard into a personal statement, showing off the user's interests, personality, or even a specific mood.
Several popular design categories consistently grab the attention of enthusiasts.
- Artisan sculpted keycaps are highly sought after; these often show characters, mythical creatures, tiny landscapes, or abstract shapes.
- Minimalist geometric designs appeal to those who prefer clean lines and subtle elegance, focusing on gentle textures or precise angles.
- Translucent or backlit compatible designs are popular for keyboards with RGB lighting, allowing the light to shine through the keycap and create stunning visual effects.
- Themed sets transport users to different worlds, with designs inspired by cyberpunk looks, retro gaming, natural elements, or specific cultural motifs.
- Novelty keycaps often feature fun designs like food items, animals, or pop culture references, adding a touch of fun to a keyboard.
- Functional designs prioritize comfort or feel, such as textured gaming keys for better grip or uniquely shaped keys for improved typing comfort.
Successful keycap designs often use established rules of color theory to create visually appealing and harmonious sets. Monochromatic schemes use different shades of a single color, offering a sophisticated and unified look. Complementary color schemes, which use colors opposite each other on the color wheel (like blue and orange), create high contrast and visual excitement. Analogous schemes use colors next to each other on the color wheel (like blue, green, and yellow-green), resulting in a calm and harmonious feeling. Triadic schemes, using three colors evenly spaced on the color wheel (like red, yellow, and blue), provide a vibrant and balanced look. Understanding these principles can help designers choose color palettes that create specific emotions or match particular themes, making their keycaps even more impactful. Using a limited but carefully chosen color palette often results in the most striking designs.
Beyond how they look, technical design considerations are super important to make sure keycaps work correctly and fit. Designers must think about the keycap profile, which means its height and angle; this affects both how comfortable it is to type on and how it looks across the keyboard. Legend placement—where the letters or symbols are placed (on top, on the front, or not at all)—is another critical decision, affecting both how easy it is to read and the overall design. Stem visibility, especially for see-through designs, needs careful planning to make sure the internal cross-shaped structure doesn't distract from the beauty. Furthermore, backlighting compatibility is a key factor for many users; legends printed on the top often need solid, opaque materials, while backlit designs typically require clear resin or a dual-layer construction to allow light to pass through the letters. These technical aspects ensure that the keycap not only looks good but also works as expected.
For those interested in digital design, a variety of software tools can help bring ideas to life. Blender, a free and open-source 3D modeling program, is a powerful tool for sculpting and creating complex keycap shapes. ZBrush offers professional-grade sculpting abilities, ideal for very detailed artistic pieces. Fusion 360 is a popular choice for computer-aided design (CAD), which is especially useful for creating precise 3D printing models. Adobe Illustrator is excellent for 2D design, creating templates, and planning legends. Additionally, specialized keycap design tools like Keyboard Layout Editor can help plan entire keycap sets, ensuring consistent sizing and layout. My personal favorite for sketching out ideas is just good old pencil and paper, before moving to digital tools.
Staying tuned into community trends can also provide a wealth of inspiration and insight. Platforms like Reddit's r/MechanicalKeyboards, with over 2.5 million members, and the Geekhack forums are vibrant places where enthusiasts share their latest creations and discuss what's popular. Current trends often include translucent "jelly" keycaps that show off internal structures or vibrant colors, minimalist Japanese-inspired designs, and a growing interest in eco-friendly and sustainable materials. Engaging with these communities can offer valuable feedback, help you work with others, and keep designers informed about the changing tastes within the mechanical keyboard world.
Methods for Making Custom Keycaps
Once you have your materials, tools, and design ideas in place, the next step is to choose a method for bringing your custom keycaps to life. There are several popular techniques, each with its own advantages, challenges, and unique artistic outcomes. This section will explore various methods, from home-based resin casting to painting and sculpting without a 3D printer.
How to Make Custom Keycaps at Home
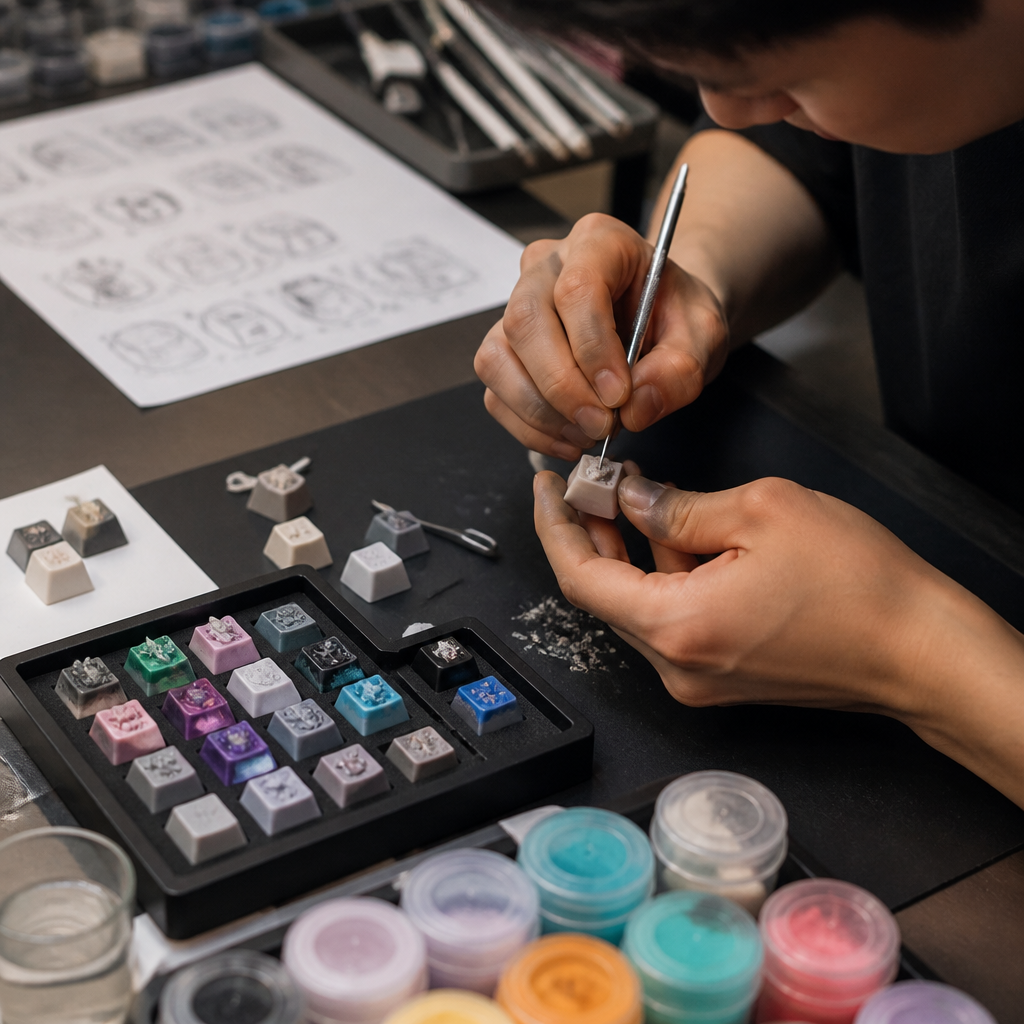
Creating custom keycaps at home is an accessible and rewarding hobby for many enthusiasts, using DIY (Do-It-Yourself) methods that don't require expensive industrial equipment. The main techniques for home production include resin casting, hand painting, sculpting with polymer clay, or affordable 3D printing, all aimed at making personalized keycaps. These methods allow hobbyists to try out various designs and materials, giving them a lot of creative control over how their keyboard looks.
The step-by-step resin casting process is one of the most popular home methods.
- Create a Master: Begin with creating or obtaining a master keycap, which is the original model you'll use to make your mold.
- Make the Mold: Build a small box around this master and pour silicone mold-making compound over it, letting it cure (harden) for about 24 hours.
- Mix Resin: Once the mold is ready, mix your two-part resin with your chosen pigments, usually in a 1:1 ratio by weight, making sure to mix it really well.
- Pour and Degas: Slowly pour the colored resin into the silicone mold. While optional, degassing the resin (e.g., using a pressure pot to remove air bubbles) at this stage can greatly reduce air bubbles.
- Cure: Let the resin cure according to the manufacturer's instructions, which can take anywhere from 24 to 72 hours.
- Demold and Finish: Carefully demold (take out of the mold) the keycap and then finish it by sanding and polishing to get a smooth surface. This is where I find a lot of the magic happens, turning a rough cast into a jewel.
A suitable workspace is crucial for home keycap creation. A minimum home setup requires a well-ventilated area, such as a garage, workshop, or a room with an exhaust fan, to safely remove fumes from resins and solvents. A flat, stable work surface is essential for precise measurements and pouring. Temperature control is also important, as resin often cures best at an ideal temperature range of 70-75°F (21-24°C). Additionally, it's recommended to have dedicated storage for materials, keeping them separate from food preparation areas to prevent contamination.
The time it takes to create custom keycaps can vary a lot. For a beginner, making the first keycap typically takes about 4-6 hours of actual work, not including the 48-72 hours needed for the resin to cure. This initial time accounts for learning the process, preparing materials, and fixing problems. However, as makers gain experience, they can become much more efficient. Experienced artisans might prepare molds in 1-2 hours and cast multiple keycaps at the same time, reducing the active work time per keycap to 30-45 minutes, although the curing time remains the same. I remember my first successful resin pour; it felt like such an accomplishment after several failed attempts!
Beginners often run into common mistakes that can be easily avoided with the right knowledge. Improper resin mixing ratios are a frequent issue, leading to resin that doesn't harden completely and leaves sticky or soft keycaps. Air bubbles are another common problem, which can be minimized by careful pouring, warming the resin slightly, or using a pressure pot. Stem misalignment can happen if you don't use guides or jigs, resulting in wobbly keycaps. Inadequate mold release can cause the keycap to stick or tear the mold when you try to take it out. Most importantly, insufficient safety precautions, such as not wearing a respirator or gloves, can pose health risks. Addressing these common pitfalls early on can greatly improve your success rate with home keycap projects. Personally, I learned the hard way about mixing ratios; my first few batches were a sticky mess!
Finally, home-made keycaps should meet certain quality standards to be considered successful. A smooth surface finish with very few visible sanding marks shows careful finishing. A secure stem fit, meaning the keycap attaches firmly to the switch without wobbling but can still be removed, is essential for it to work correctly. Consistent wall thickness, typically a minimum of 1.5-2mm, helps make the keycap durable and gives it a good feel. Lastly, the keycap should be reasonably durable under normal use without cracking or showing wear too quickly, ensuring it holds up to daily typing. Achieving these benchmarks requires patience, practice, and attention to detail throughout the creation process.
How to Make Custom Keycaps with Resin
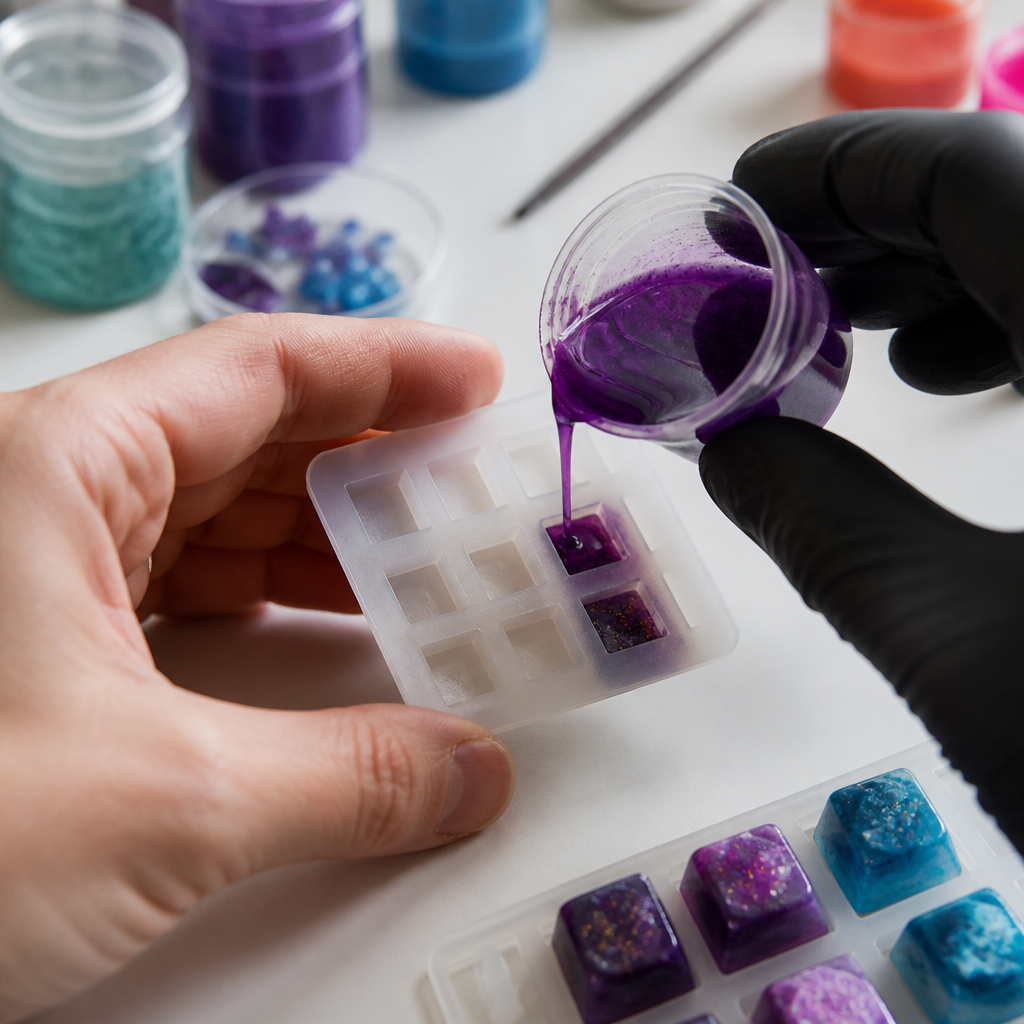
Resin keycap creation is a highly flexible and popular method that uses two-part epoxy or polyurethane resin poured into silicone molds. This technique allows for making transparent, translucent, or opaque designs, offering unique possibilities like embedding small objects, creating intricate color blends, and forming complex shapes that might be hard to achieve with other methods. The clarity, durability, and wide range of looks you can get with resin make it a favorite material for artisan keycap makers.
When choosing resin, understanding the differences between types is crucial. Epoxy resin typically takes longer to cure (24-72 hours), but often results in a harder finish and better clarity, with less odor. Polyurethane resin, on the other hand, cures faster (4-24 hours) and is often more flexible, though it might turn yellow over time. UV resin cures very quickly, often in minutes, under a UV light source, making it excellent for small details, repairs, or quick projects, though it tends to be more expensive. For truly crystal-clear keycaps, epoxy resin, despite its longer cure time, is usually the way to go.
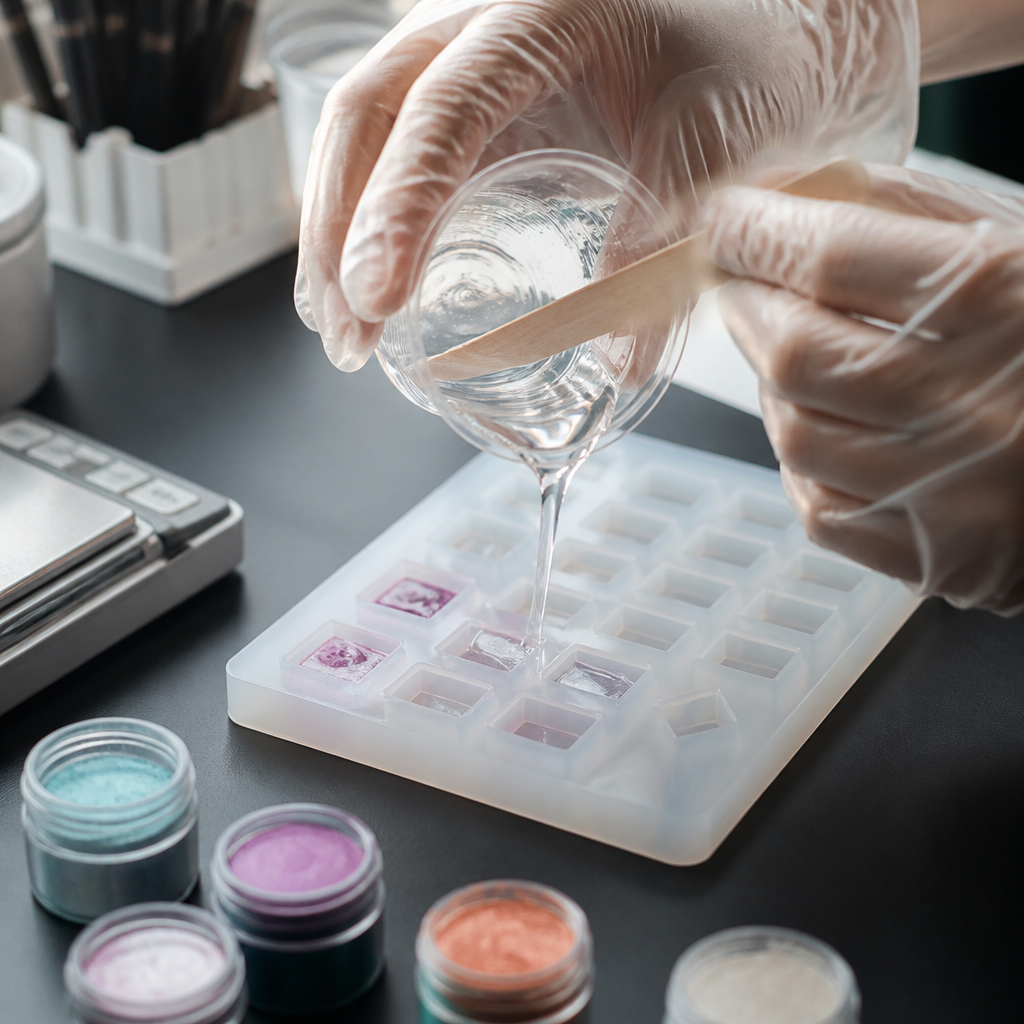
The detailed casting process for resin keycaps involves several critical steps to ensure a high-quality outcome. First, prepare your workspace with protective coverings. Next, measure the resin components precisely using a digital scale. Mix the resin thoroughly for 3-5 minutes. After mixing, add pigments or dyes. Pour the colored resin slowly into the mold at an angle to minimize air bubbles. An optional, but highly recommended, step is to place the mold in a pressure pot at 40-60 PSI for 4-6 hours to compress any remaining air bubbles, resulting in a crystal-clear finish. Allow the resin to cure at room temperature. Once cured, carefully demold the keycap. The final steps involve sanding progressively with various grits (400→800→1500→3000 grit) to smooth out imperfections, followed by polishing with a compound to achieve a glossy finish.
Advanced techniques can turn resin keycaps into true works of art. Layering involves pouring multiple colored resin layers, allowing each to partially cure before adding the next, creating stunning depth effects. Embedding allows you to encase small objects such as dried flowers, glitter, or miniature figures within the keycap. Inclusions involve mixing materials like mica powder, alcohol inks, or glow powder directly into the resin to achieve special effects. Reverse painting is a technique where you paint the inside of the mold before casting, resulting in a protected surface design that is durable and smooth.
A key fact in resin casting is the immense benefit of pressure casting for producing bubble-free keycaps. This method works by compressing tiny air bubbles to invisible sizes, significantly improving the clarity and strength of the casts. A basic pressure pot, often around 2.5 gallons, can be a worthwhile investment, typically costing $100-$200, and can dramatically enhance the quality of your resin creations. I’d recommend it to anyone serious about making clear resin keycaps.
Several bubble prevention methods can be used to achieve pristine results. Primary techniques include slow pouring, which reduces the amount of air trapped in the resin. Vacuum degassing can remove air from the resin before pouring. Pressure casting, as mentioned, is highly effective at compressing bubbles. Warming the resin slightly can reduce its viscosity, allowing bubbles to escape more easily. Using thin layers of resin also provides more opportunities for bubbles to dissipate.
Color techniques offer a wide range of aesthetic possibilities. Pigment options include opaque pigments for solid colors, transparent dyes for translucent effects, metallic powders for a shimmering finish, and glow-in-the-dark powder. Color-shifting interference pigments offer dynamic visual changes depending on the viewing angle. In my workshop, I always keep a variety of pigments; you never know when inspiration will strike for a new color combination!
Stem integration is a critical aspect of resin keycap design. One method is to cast the stem directly into the mold. A more common approach is to insert a pre-made stem into partially cured resin. Alternatively, a 3D printed stem can be glued to the keycap after casting. Some makers also create a stem cavity and then press-fit purchased stems into place.
Optimizing the curing process is essential for durable keycaps. Temperature plays a significant role; warmer temperatures can speed up curing. High humidity can sometimes cause the surface to be sticky with certain resins. Thorough mixing is paramount; incomplete mixing will leave soft spots. The age of the resin also matters, as old resin may not cure properly.
Finally, strict safety protocols are essential when working with resins. Always wear nitrile gloves, as _latex gloves are not good enough for chemical protection_. Use a respirator with organic vapor cartridges during mixing and pouring to protect against harmful fumes. Ensure adequate ventilation with an exhaust fan or work outdoors. Protect your eyes with safety glasses. Avoid skin contact, as some resins can cause sensitization with repeated exposure. Dispose of waste properly according to your local hazardous waste guidelines.
How to Make Custom Keycaps Without a 3D Printer
For those who don't have access to a 3D printer or prefer traditional crafting methods, there are numerous ways to create custom keycaps. Non-3D printing methods include resin casting with handmade or purchased molds, hand-sculpting with polymer clay, painting existing keycaps, modifying commercial keycaps, or even using traditional manufacturing techniques like CNC machining or injection molding for more advanced projects. These approaches offer a diverse range of creative possibilities.
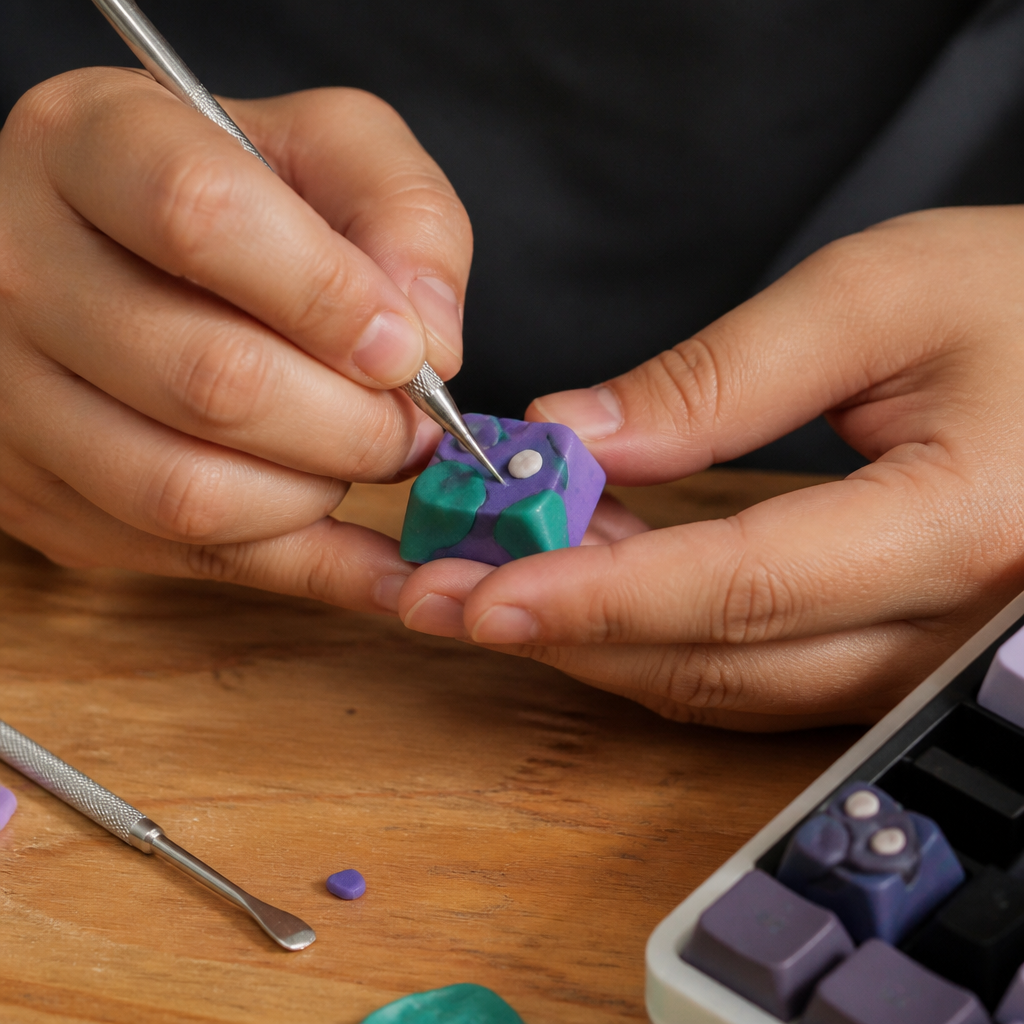
The polymer clay method is an excellent starting point for many crafters. The process involves conditioning polymer clay, such as Sculpey or Fimo, to make it soft and easy to work with. You then sculpt your desired design around a Cherry MX stem or create a cavity for a stem. Use various sculpting tools to add fine details. Once you're happy, bake the clay according to the manufacturer's instructions. After baking, the keycap can be sanded, painted, and sealed with a clear coat for protection. The advantages include no curing times, the ability to change designs immediately, and a low startup cost. I remember making my first few "monster" keycaps from Sculpey, and it was a blast to see them come to life so quickly!
Mold-making without a master keycap is also possible. One approach is to sculpt a positive model of your desired keycap directly in clay. Then, build a mold box around this sculpture and pour silicone mold-making compound over it. After the silicone cures, you remove the clay sculpture, leaving a cavity that can be used for resin casting. Alternatively, for simpler geometric designs, you can carve a mold directly into dense foam or soft stone.
Modification methods offer a cost-effective and beginner-friendly way to customize existing keycaps. You can transform commercial keycaps by removing original legends with acetone or light sanding. Then, add sculpted elements using epoxy putty or polymer clay, paint new designs, or apply vinyl decals. A final coat of resin can be applied for protection. This approach is particularly budget-friendly, making it an attractive option for those just starting out. I'd recommend trying this method first to get a feel for customization before diving into more complex projects.
For those with woodworking skills, a wood crafting approach can produce unique, organic keycaps. The process involves hand-carving keycaps from hardwoods such as maple, walnut, or cherry. Begin by cutting a blank piece of wood, drill the stem hole with a precise jig, and shape the exterior with files and sandpaper. Finally, finish the keycap with wood oil or polyurethane to protect the wood.
To help choose between these methods, this comparison table can be useful.
| Method | Detail Level | Difficulty | Setup Cost | Time per Piece |
|---|---|---|---|---|
| Resin Casting | High | Moderate | $150-300 | 48+ hours |
| Polymer Clay | Moderate | Easy | $20-40 | 2-3 hours |
| Painting Existing | Low-Moderate | Very Easy | $15-30 | 1-2 hours |
| Wood Carving | Moderate | Difficult | $50-100 | 4-8 hours |
Finally, numerous community resources are available to assist makers using non-3D printing methods. Websites like Thingiverse host keycap mold designs suitable for silicone casting. Forums like Geekhack and Reddit's r/ArtisanMacro are rich sources of community-shared techniques and tutorials. YouTube channels also offer specific technique demonstrations. In my early days, I spent hours watching YouTube tutorials; they were a lifesaver!
How to Paint Custom Keycaps
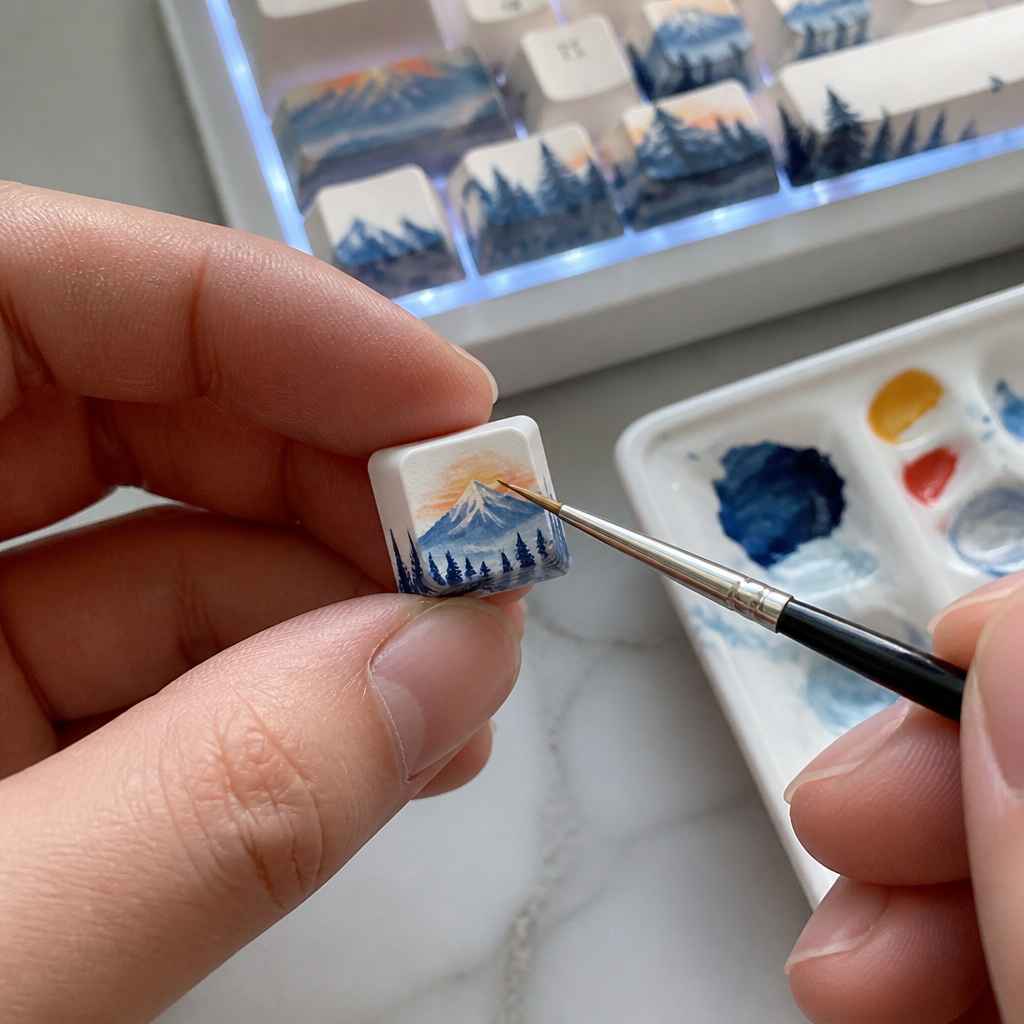
Painting custom keycaps is an accessible and creative method for personalizing your keyboard, allowing you to apply custom colors, intricate designs, new legends, or unique artwork to blank or existing keycaps. This technique typically involves using acrylic, enamel, or specialty paints, which are then sealed with a clear coat to ensure durability. Painting offers a direct and hands-on approach to customization.
Proper surface preparation is a critical step to ensure paint sticks well. First, clean the keycaps thoroughly with isopropyl alcohol. Next, lightly sand the keycap surface with 400-600 grit sandpaper to create a "tooth" for the paint to grip. After sanding, wipe the keycap with a tack cloth to remove any dust. For best adhesion, an optional step is to apply a plastic primer.
When selecting paints, understanding their properties is important. Acrylic paint is water-based, has low odor, and dries relatively fast, making it excellent for hand-painting fine details. Enamel paint is oil-based, known for its durability and hard finish, but it dries slower and has a stronger odor. Spray paint offers fast and even coverage, ideal for base coats, but requires careful masking. Specialty paints, such as glow-in-the-dark, metallic, or color-shifting varieties, can add unique effects. I find acrylics easiest for detailed work, but enamel gives a more professional, hard-wearing finish.
Application techniques vary. For hand painting, use fine detail brushes and apply 2-3 thin layers, allowing each to dry fully. When spray painting, maintain a distance of 6-8 inches and use light, sweeping motions. Airbrushing offers professional results, allowing for smooth color gradients and very fine detail, but it requires specialized equipment.
Creating legends—the letters and symbols—can be achieved through several methods. Hand-painting requires a steady hand. Alternatively, vinyl decals or stickers can be applied before the final clear coat. Stencils can be used with spray paint for consistent lettering. Reverse painting involves painting the legends on the inside of a clear keycap, protecting them from wear. Dry transfer lettering provides a clean, printed look. Crisp legends are one of the hardest parts to get right by hand.
A key fact to remember is that inadequate sealing is a common failure point for painted keycaps. To ensure durability, applying multiple coats of a clear polyurethane or epoxy resin topcoat is crucial. Light sanding between coats can help achieve a smoother finish. A properly sealed painted keycap can potentially last for years of regular use. I once painted a set for my nephew's birthday last May, using a specific two-part clear coat, and when I saw his keyboard over Christmas, they still looked fantastic!
Clear coat options provide the final layer of protection. Spray polyurethane, applied in 3-5 thin coats, offers good protection. Brush-on polyurethane can provide a thick, durable finish. Epoxy resin coating offers maximum durability. UV-resistant clear coats are also available to prevent yellowing. It is essential to allow a full 72 hours for the clear coat to cure completely before using the keycaps.
For multi-color designs, masking techniques are indispensable. Painter's tape is suitable for creating sharp lines. Liquid mask can be painted on and then peeled off after the paint dries, allowing for intricate shapes. Vinyl stencils provide precise and repeatable patterns. It is generally best to remove masks while the paint is slightly tacky to achieve the cleanest edges.
To further enhance durability, several tips can be employed. Always use plastic-specific primers. Apply four or more thin coats of paint rather than two thick ones. Allow full cure time for all layers. Using two-part clear coats can provide superior chemical resistance and hardness. Finally, avoid using silicone-based products near painted keycaps, as silicone can cause adhesion failure.
Common issues can arise during the painting process, but most have solutions. Paint chipping often results from insufficient primer or coats that are too thick. Tackiness can be caused by high humidity during curing. Uneven coverage usually stems from improper technique during spray painting. Bubbling can be due to moisture or contamination on the surface.
Next Steps: Selling and Comparing Custom vs. Pre-Made Keycaps
After mastering the art of creating custom keycaps, you might find yourself at a crossroads: should you continue making them for personal use, or consider sharing your creations with a wider audience? This section explores the differences between custom-made and commercially available keycaps, and for those with an entrepreneurial spirit, it delves into the exciting world of selling your unique keycap designs.
Custom Keycaps vs. Buying Pre-Made Keycaps
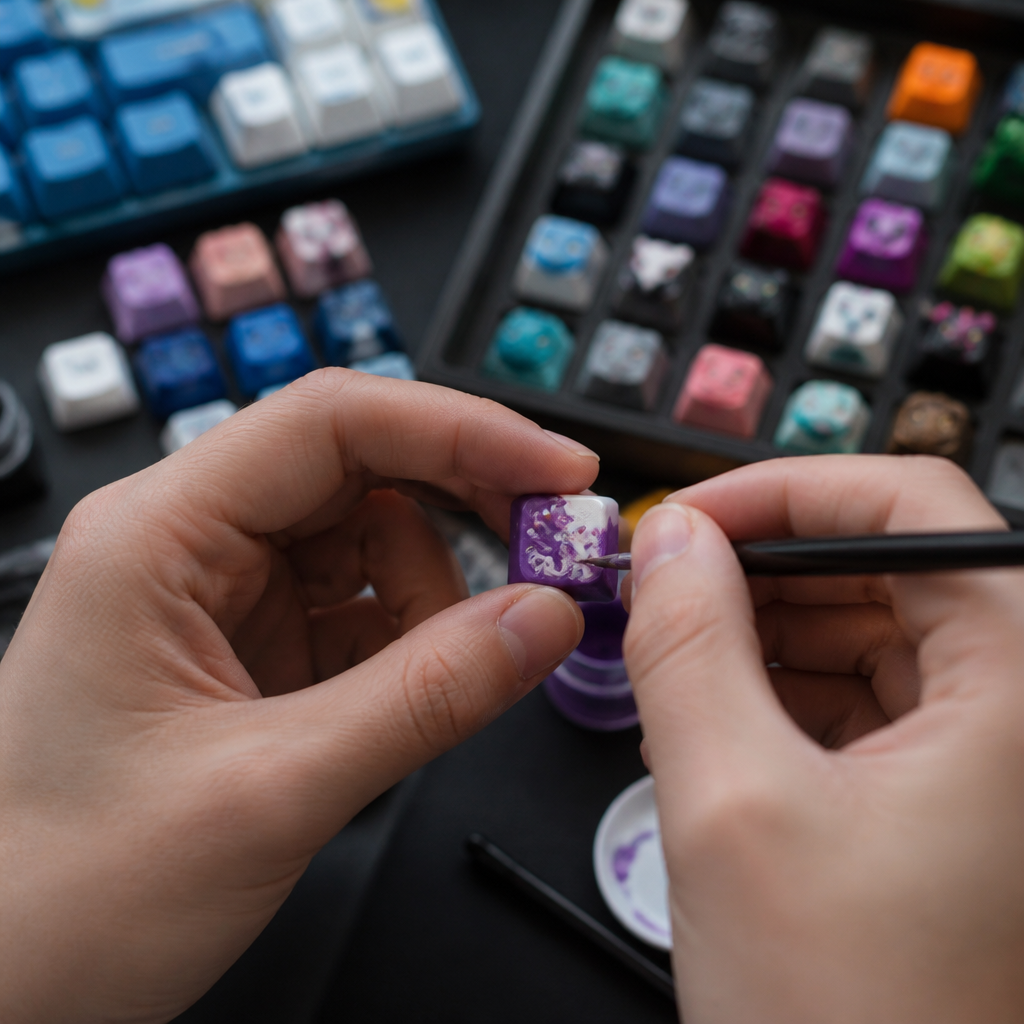
Deciding whether to make your own custom keycaps or purchase pre-made ones involves weighing various factors, including cost, quality, time investment, and the value of developing new skills. Each option presents its own set of advantages and disadvantages.
From a cost comparison perspective, DIY custom keycaps can be economical in the long run. After an initial setup cost of $100-$300, the material cost per keycap can range from $2-10. However, this doesn't include the significant time investment. In contrast, artisan pre-made keycaps typically range from $30-150 per keycap, with rare editions fetching $200-500. Standard custom sets for a full keyboard usually cost $50-150, while premium materials like PBT double-shot sets can be $80-200.
When it comes to quality factors, DIY custom keycaps offer complete creative control. However, DIY keycaps come with a learning curve, meaning initial quality might be inconsistent. Pre-made keycaps, on the other hand, boast professional quality and consistent manufacturing, often backed by warranties. The main disadvantages are limited customization options and potentially long wait times for popular "group buys," which can stretch from 3-12 months.
Durability is another key difference. Professionally manufactured keycaps, especially those made from PBT plastic with double-shot legends, are rated for 50-100 million keypresses, and their legends will never fade. DIY resin keycaps, while potentially very durable, have variable longevity depending on the quality of resin used and the maker's skill. For everyday use, professionally made PBT keycaps are hard to beat for sheer longevity.
The time investment also plays a significant role. DIY creation involves 4-8 hours of active work plus 48-72 hours of curing time for the first keycap. With experience, active work can be reduced, and makers can batch-produce keycaps. Purchasing keycaps involves 1-3 hours for research and ordering, with delivery times ranging from 3-7 days for in-stock items, though group buys can take months.
Beyond the tangible product, DIY keycap making offers significant skill development value. The process can teach you transferable skills such as resin casting, 3D modeling, and color theory. Engaging in small-scale manufacturing can even spark entrepreneurial potential. The community is always eager to share tips and tricks, which really helps with skill building.
Finally, environmental considerations are becoming increasingly important. DIY impact includes material waste from failed attempts and the need for proper chemical disposal. Pre-made keycaps, while benefiting from mass production efficiency, contribute to shipping carbon footprints and packaging waste. For single, unique pieces, DIY might be more sustainable, but for full sets, mass production often has a more efficient overall environmental impact.
How to Sell Custom Keycaps
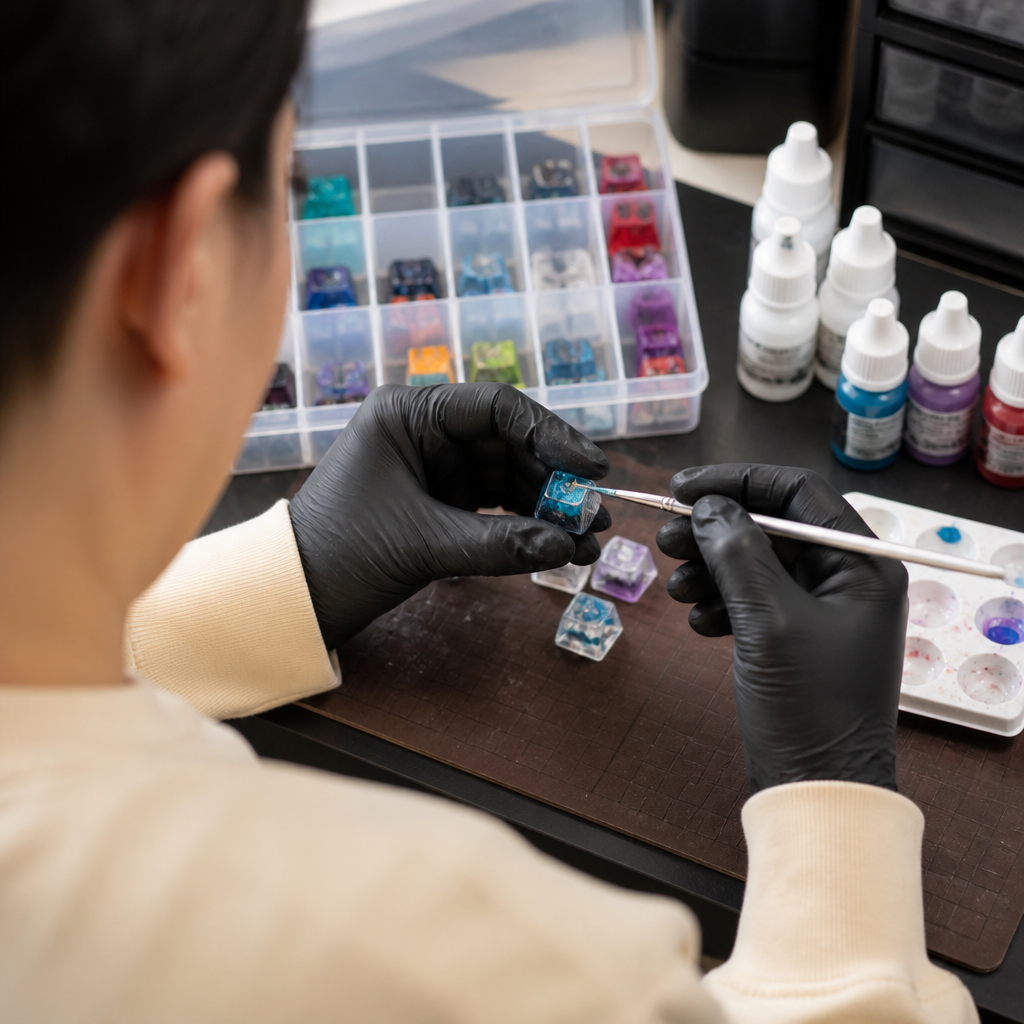
For those who have honed their craft, selling custom keycaps can be a fulfilling next step. This involves not only creating marketable designs but also establishing production capabilities, pricing products appropriately, marketing effectively, and managing sales.
To enter the market, several essential requirements must be met. First, consistent quality production is paramount. Professional photography is crucial, requiring high-resolution, well-lit product images. You will need a sales platform, whether it's Etsy, a personal website, or community marketplaces. Business registration, at a minimum as a sole proprietorship or an LLC, is often necessary. Payment processing and a reliable shipping process are also essential.
Developing a sound pricing strategy is vital for sustainability. The retail price should cover materials ($2-10 per keycap), labor ($15-30/hour), and overhead (10-15%). A profit margin of 30-50% is generally recommended. Market rates vary: simple painted keycaps might sell for $15-35, resin cast artisans for $40-80, and complex sculptural pieces for $80-200+.
A common mistake for new sellers is underpricing; it is crucial to value your time and skill development, in addition to material costs, to ensure a sustainable business and respect for the artisan market.
Several sales platforms cater to custom keycap artisans.
- Etsy is popular for beginners due to its built-in audience. It charges various fees for transactions, listings, and payment processing.
- Reddit's r/mechmarket offers free listings and direct community access but requires reputation building.
- A personal website on platforms like Shopify or Squarespace provides full control but requires more marketing effort.
- Specialized platforms like Geekhack cater to a niche audience and often facilitate group buys.
Effective marketing strategies are essential. Instagram is a highly visual platform, perfect for showcasing keycaps using relevant hashtags like #mechanicalkeyboards and #artisankeycaps. Engaging authentically in Reddit communities and Discord servers can build a following. YouTube process videos can attract customers. Giveaways are also an effective way to build a following. Showing the "behind-the-scenes" process really connects with people.
Legal considerations are important. Requirements vary by location, but typically include obtaining a business license. Sales tax collection and income tax reporting are mandatory. Intellectual property is a key concern; _avoid using copyrighted characters without licensing_, though fan art often exists in a legal gray area. Considering business insurance for product liability can also be a wise decision.
As your business grows, production scaling becomes a consideration. Stages of growth might include hobby (1-5 keycaps/month), side business (10-30/month), part-time (50-100/month), and full-time (200+/month). Scaling requires developing a mold library, implementing inventory management, and optimizing for batch production.
Maintaining high quality control standards is crucial. This includes a visual inspection checklist for every keycap, checking for surface finish, stem alignment, and color consistency. Functional testing on an actual keyboard ensures a proper fit. Consistent photography standards and professional packaging enhance the customer experience. Clear customer communication protocols build trust.
Finally, community building is a cornerstone of success for artisan keycap sellers. Engage authentically in communities, focusing on genuine interaction. Share your process to connect with your audience. Respond to feedback professionally. Collaborating with other artisans can expand your reach. Participating in community events, offering limited editions, and maintaining a consistent release schedule can all contribute to a thriving business and a loyal customer base.
FAQ
Q1: What are the most common materials used for making custom keycaps?
A1: The most common materials include two-part epoxy or polyurethane resin for casting, polymer clay for sculpting, and various paints (acrylic, enamel) for decorating existing keycaps. Other materials like wood, metal, and 3D printing filaments are also used for specialized designs.
Q2: Is a 3D printer necessary to make custom keycaps?
A2: No, a 3D printer isn't necessary. Many methods, such as resin casting with handmade silicone molds, sculpting with polymer clay, or painting existing keycaps, don't require a 3D printer.
Q3: What are the essential safety precautions when working with resin for keycaps?
A3: Essential safety precautions include wearing nitrile gloves, using a respirator with organic vapor cartridges, ensuring proper ventilation, protecting your eyes with safety glasses, and avoiding skin contact. Proper disposal of waste according to local guidelines is also crucial.
Q4: How much does it typically cost to start making custom keycaps at home?
A4: Initial startup costs for resin casting typically range from $100-$300, covering essential materials like resin, silicone for molds, pigments, and basic tools. Simpler methods like polymer clay sculpting or painting can have lower startup costs, often $10-$40.
Q5: What are the main differences in durability between DIY and professionally made keycaps?
A5: Professionally manufactured keycaps, especially PBT double-shot ones, are highly durable and rated for millions of keypresses with fade-proof legends. DIY resin keycaps can also be quite durable, but their longevity varies based on the quality of resin used and the maker's skill. Painted legends on DIY keycaps may show wear over time compared to professionally manufactured ones.

Hi, I’m Alex Morgan.
Welcome to my blog! As a dedicated mechanical keyboard enthusiast, I’m passionate about exploring everything from custom builds to the finest details of switches and keycaps. My goal is to break down specs, sound profiles, and ergonomics to help you find the absolute best keyboard for your setup. Whether you’re a gamer, programmer, or desk setup fanatic, I’m here to share honest reviews and practical recommendations.