How to Clean Keyboard Switches: 7 Easy, Proven Tips
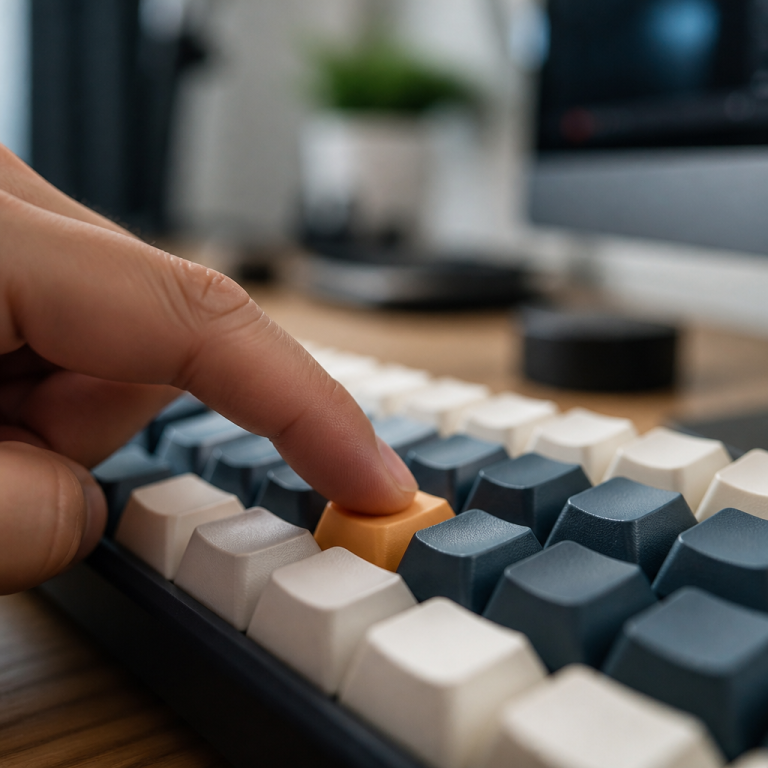
Have you ever been in the middle of a crucial assignment or an intense gaming session, only for a key to feel sluggish, sticky, or worse, not register at all? I certainly have! I remember a few years back, my trusty mechanical keyboard started acting up, especially the ‘W’ key – a disaster for any gamer. It felt gummy, like it had spent too much time in a forgotten soda spill. The frustration was real. Discover how bringing a keyboard back to life, making it feel brand new again, is totally achievable with the right cleaning techniques.
Maintaining your keyboard switches isn’t just about aesthetics; it’s a vital step in ensuring your keyboard lasts longer and performs exactly as it should. Over time, tiny bits of dust, crumbs, skin oils, and even invisible residues from everyday use can sneak into the delicate parts of your keyboard switches. This buildup can lead to annoying problems like keys that don’t always work, feel sticky, or even stop working completely. While many mechanical keyboard switches are built to be tough – often lasting for 50 to 100 million presses – all that hidden gunk can shorten their lifespan if not dealt with. Think of it like a car; regular oil changes (or in this case, cleaning) prevent bigger problems down the road. A thorough clean every 3-6 months makes a huge difference. When it’s time to clean, using the right stuff, like isopropyl alcohol that’s 90% pure or higher, is often the best choice because it dries quickly without leaving behind anything that could harm the electronic parts.
Cleaning Methods for Keyboard Switches
Keeping your keyboard switches clean is essential for their responsiveness and longevity. Depending on how dirty your keyboard is and how comfortable you are with disassembly, there are a few ways to go about it. These methods range from quick, simple fixes to deep-cleaning processes that involve removing the switches entirely. Each method has its own tools, steps, and level of effectiveness, so picking the right approach for your specific situation is key.
How Can You Clean Keyboard Switches Without Removing Them?
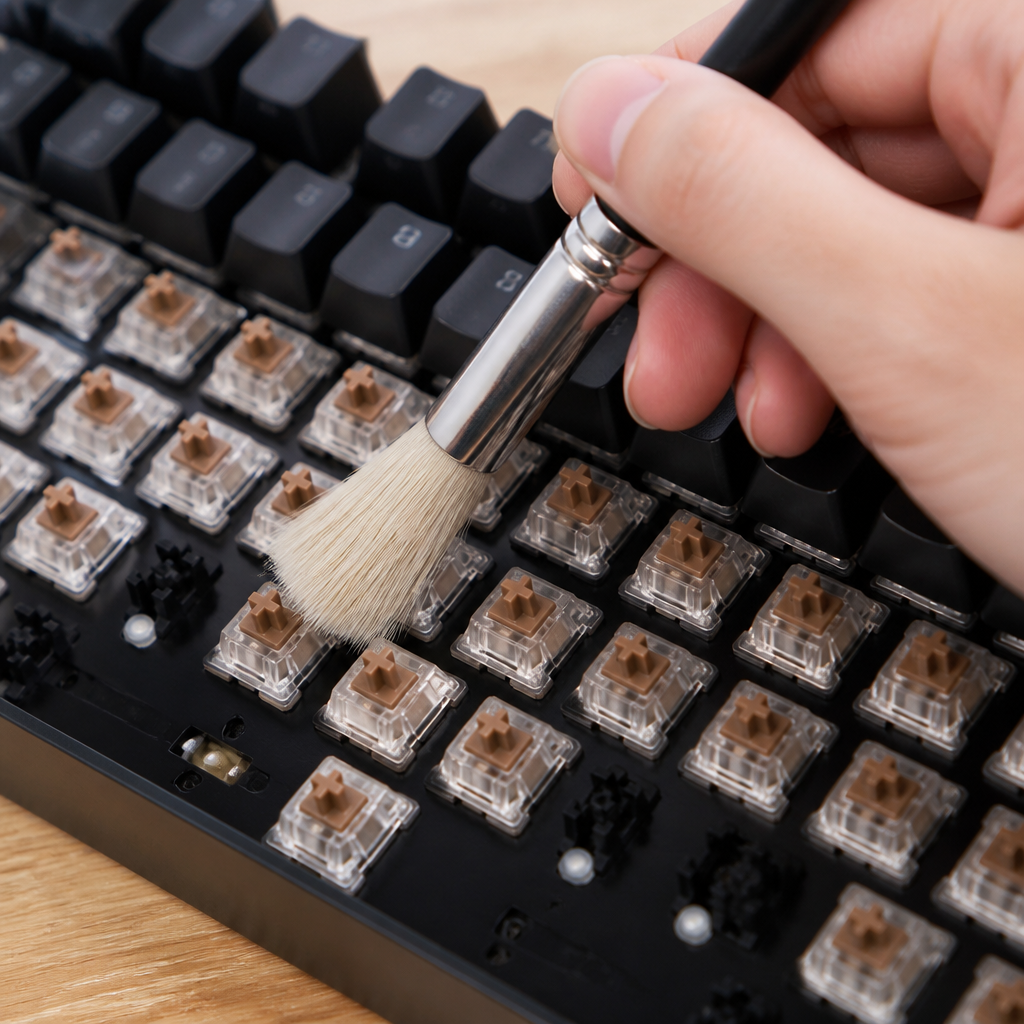
Cleaning keyboard switches without taking them out of the Printed Circuit Board (PCB) is a convenient and less intrusive method, perfect for regular upkeep or tackling minor surface dust. This approach involves using tools like compressed air, soft brushes, and small vacuums to clear out debris while the switches stay in place. While this method is faster and requires less technical skill, it is limited. It mainly gets rid of surface-level grime and can’t effectively fix dirt deep inside the switch or issues caused by sticky liquids. This method is a great first step for removing most surface debris and keeping your keyboard performing well.
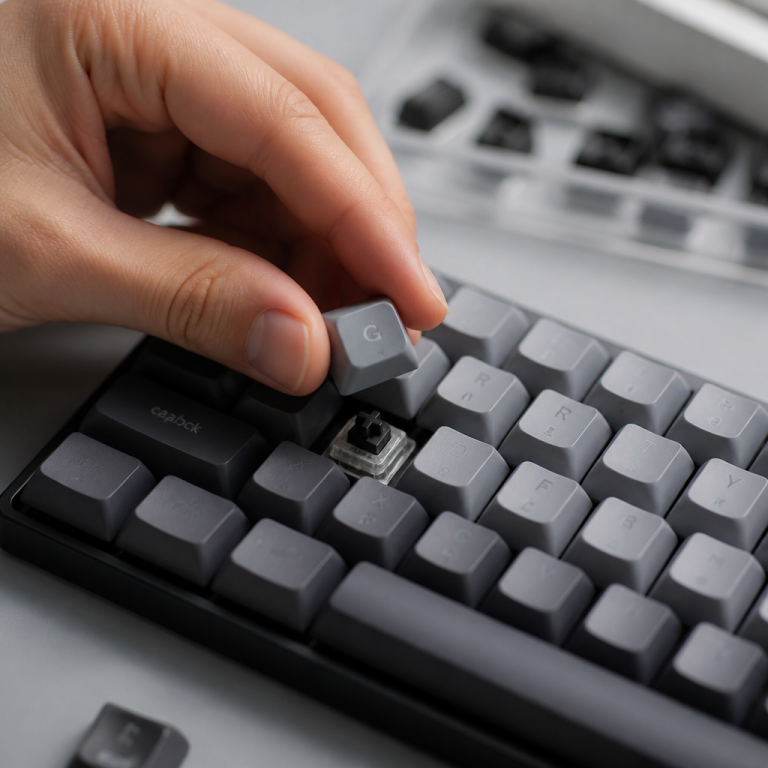
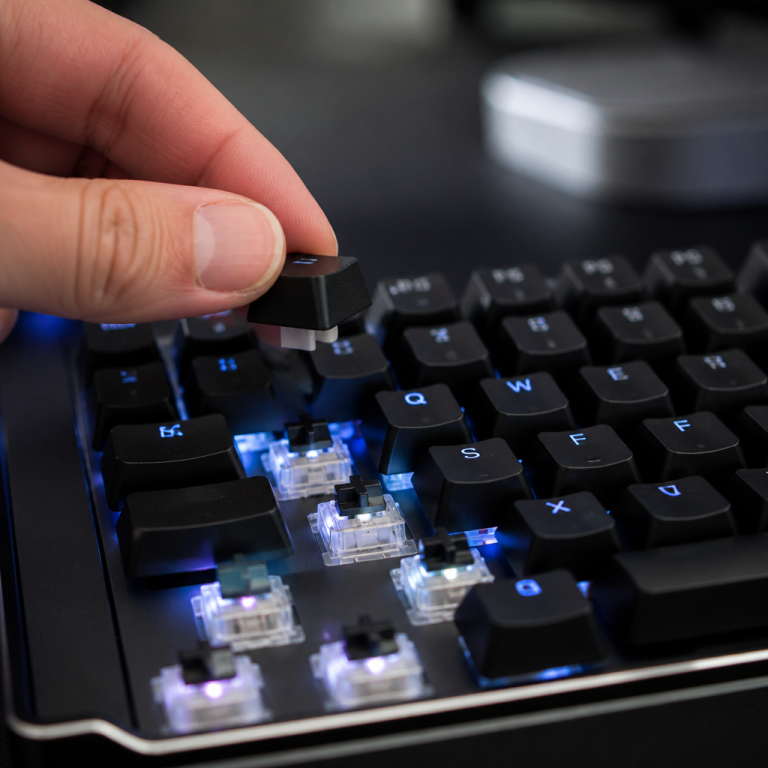
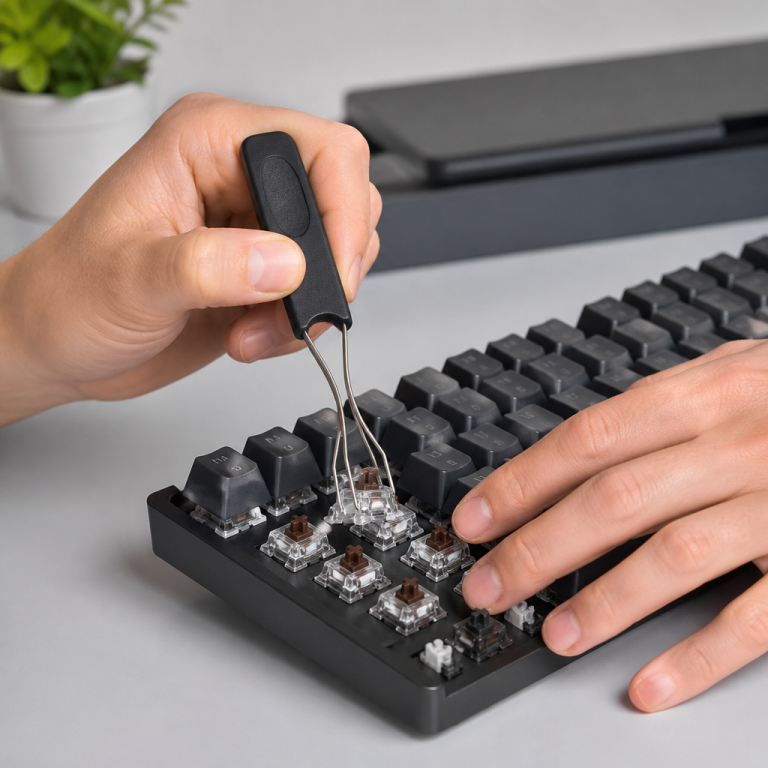
To get started, you’ll need a keycap puller, a can of compressed air, a soft-bristle brush, a small, low-power vacuum cleaner, and an electronic contact cleaner spray. The process begins with carefully removing all the keycaps using the puller. Once the keycaps are off, you’ll have a clear view of the switches. The next step involves using compressed air. Hold the can upright and use short, quick bursts from about 3-4 inches away to blow debris out from around the switches. _Avoid tilting the can, as this can spray liquid propellant and potentially damage the electronics._ After using compressed air, a low-power vacuum can suck up any dislodged bits. Following the vacuuming, use a soft brush to sweep away any leftover dust from between the switches. If certain switches feel sticky, you can apply a tiny amount of electronic contact cleaner spray into the side of the switch housing while repeatedly pressing the key. After using the cleaner, let the keyboard dry for at least 30 minutes before replacing the keycaps.
How to Clean Keyboard Switches with Isopropyl Alcohol
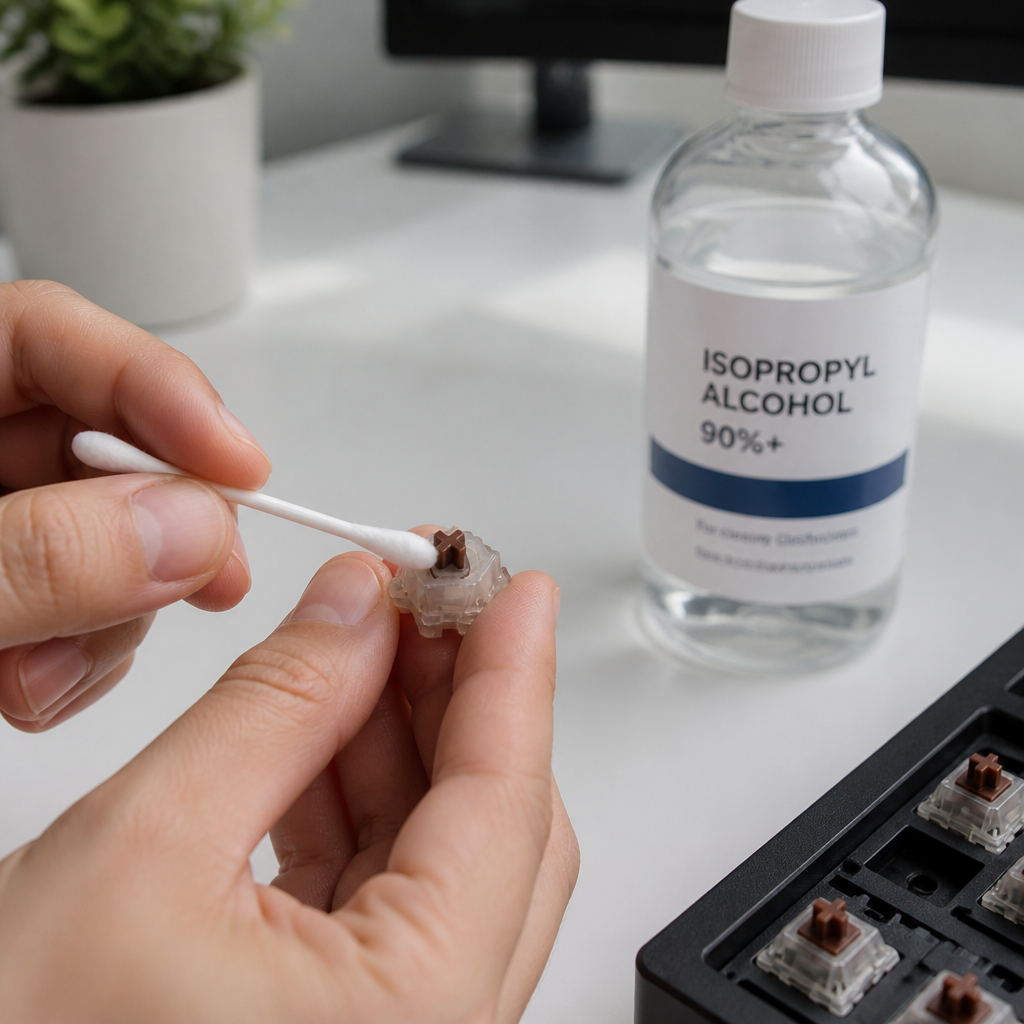
Using isopropyl alcohol (IPA) is a highly effective way to dissolve oils, residues, and grime from switch components. Isopropyl alcohol is favored for cleaning electronics because it evaporates quickly and doesn’t conduct electricity. However, the concentration is crucial. You must use isopropyl alcohol that is 90% pure or higher to avoid water damage to the electronic components. Lower concentrations contain too much water, which can cause corrosion on metal parts if it doesn’t dry fast enough. As experts often note, the water content in lower-concentration alcohol can seep into the switch housing and cause oxidation on the metal leaf contacts, leading to key registration issues.
“isopropyl alcohol above 90% concentration evaporates quickly without leaving residue that can damage electrical contacts.” – Chyrosran22, Mechanical Keyboard Reviewer
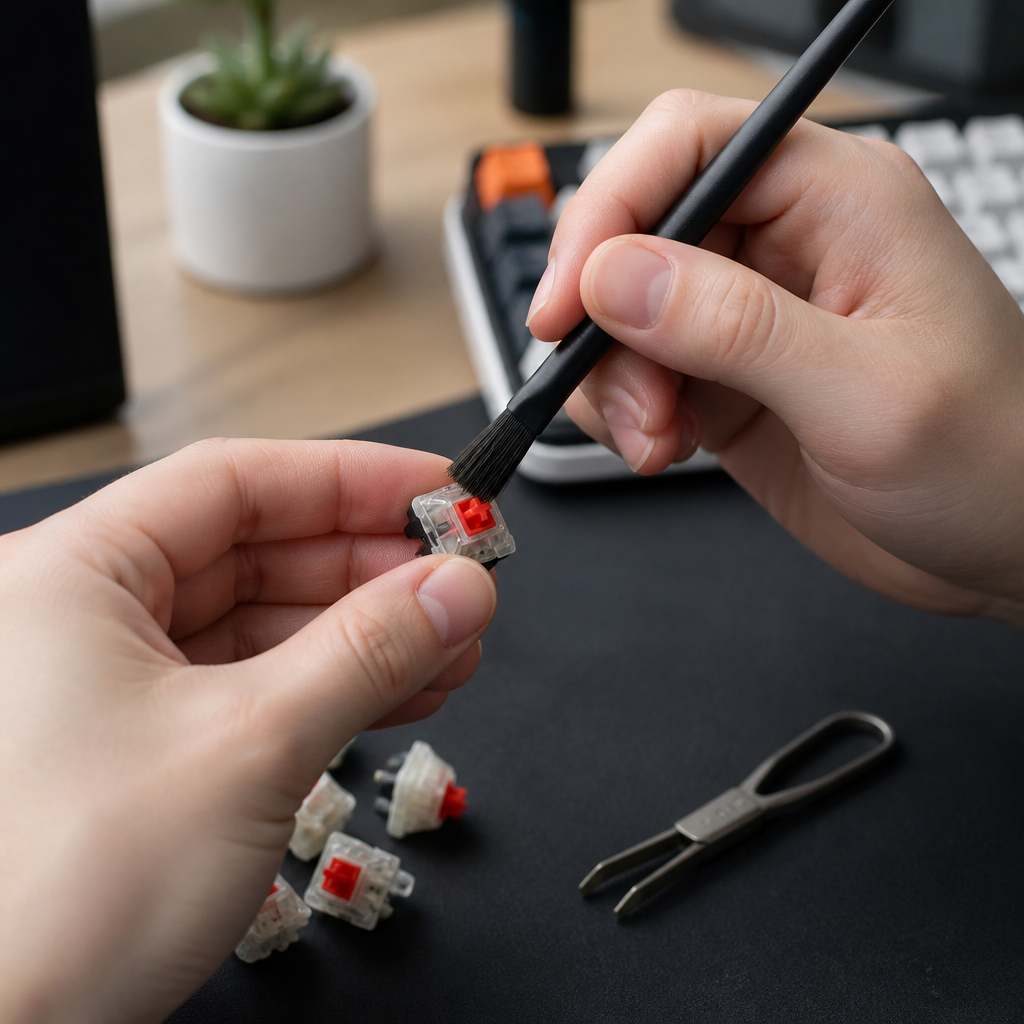
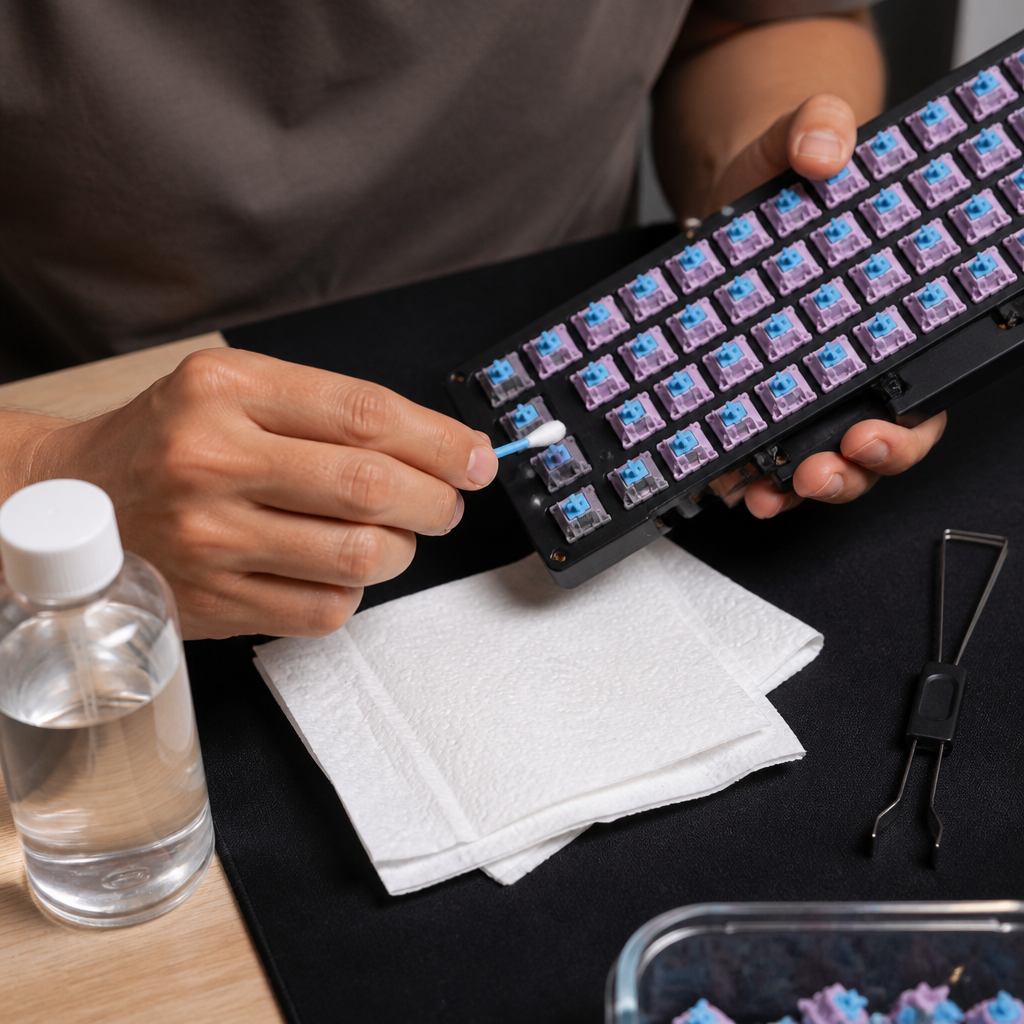
The cleaning process depends on whether the switches are removed or not. For removed switches, you would open the switch housing, soak the individual parts (stem, spring, housings) in 90%+ IPA for 5-10 minutes, gently scrub them with a soft brush, and then let them air dry completely for 2-4 hours before reassembly. For installed switches, you would remove the keycaps, dip a cotton swab in 90%+ IPA, and apply it around the switch stem while pressing the key repeatedly. This helps the alcohol work its way inside. After application, let the keyboard sit for 1-2 hours to allow the IPA to evaporate completely. Remember that using IPA can remove factory lubrication, so you may want to re-lubricate your switches after they are clean and completely dry.
How to Clean Keyboard Switches Step by Step
A full, step-by-step cleaning process involves disassembling the entire keyboard and its switches for the most thorough clean possible. This method is ideal for heavily soiled keyboards, those with sticky switches from spills, or for enthusiasts seeking to fully restore their keyboard. It can take 3-6 hours for a full-size keyboard, and you should work in a well-ventilated area. This comprehensive method is the most thorough way to restore a keyboard to its peak performance.
Preparation:
- Photograph keyboard layout: Take clear photos of your keyboard’s layout to serve as a guide for reassembly.
- Gather tools: Get a wire keycap puller, a switch opener, 90%+ isopropyl alcohol, compressed air, soft brushes, lint-free cloths, and tweezers. If your switches are soldered, you’ll also need a soldering iron and a solder sucker.
- Disconnect keyboard: Always unplug your keyboard from your computer before you begin.
Disassembly:
- Remove all keycaps: Use a wire keycap puller to carefully remove each keycap.
- Remove switches: For hot-swappable boards, use a switch puller tool to gently pull each switch straight up. For soldered boards, you will need to carefully desolder each switch from the PCB.
Cleaning:
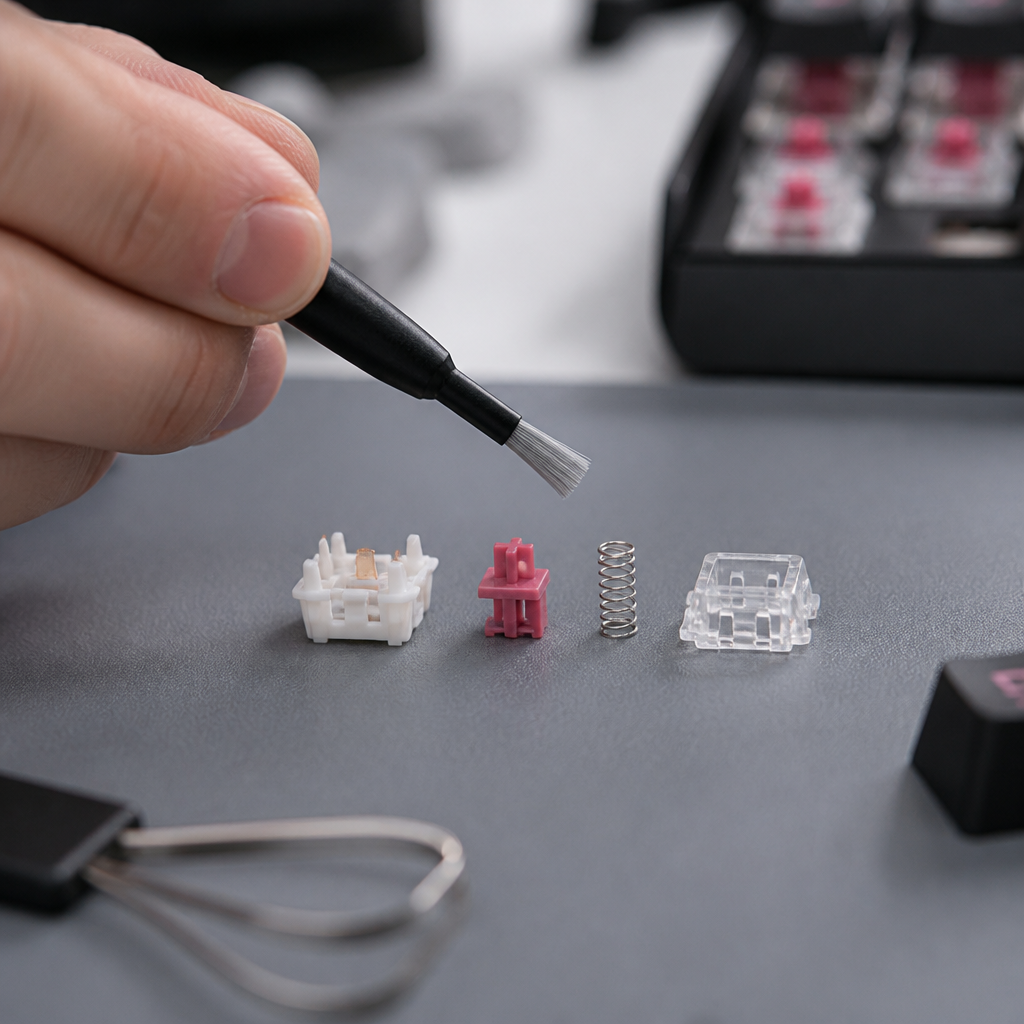
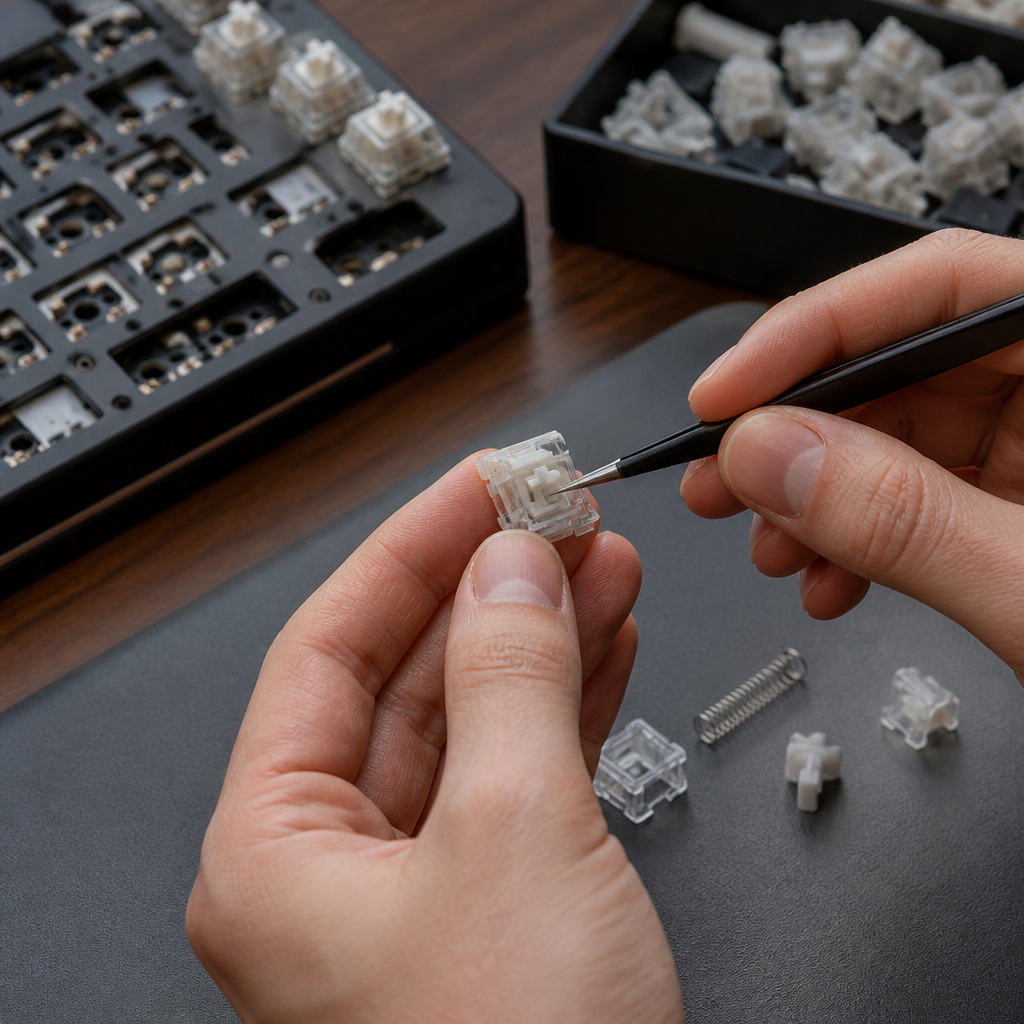
- Open switch housings: Use a switch opener to pry open each switch housing.
- Separate components: Gently separate the stem, spring, and housing pieces for each switch.
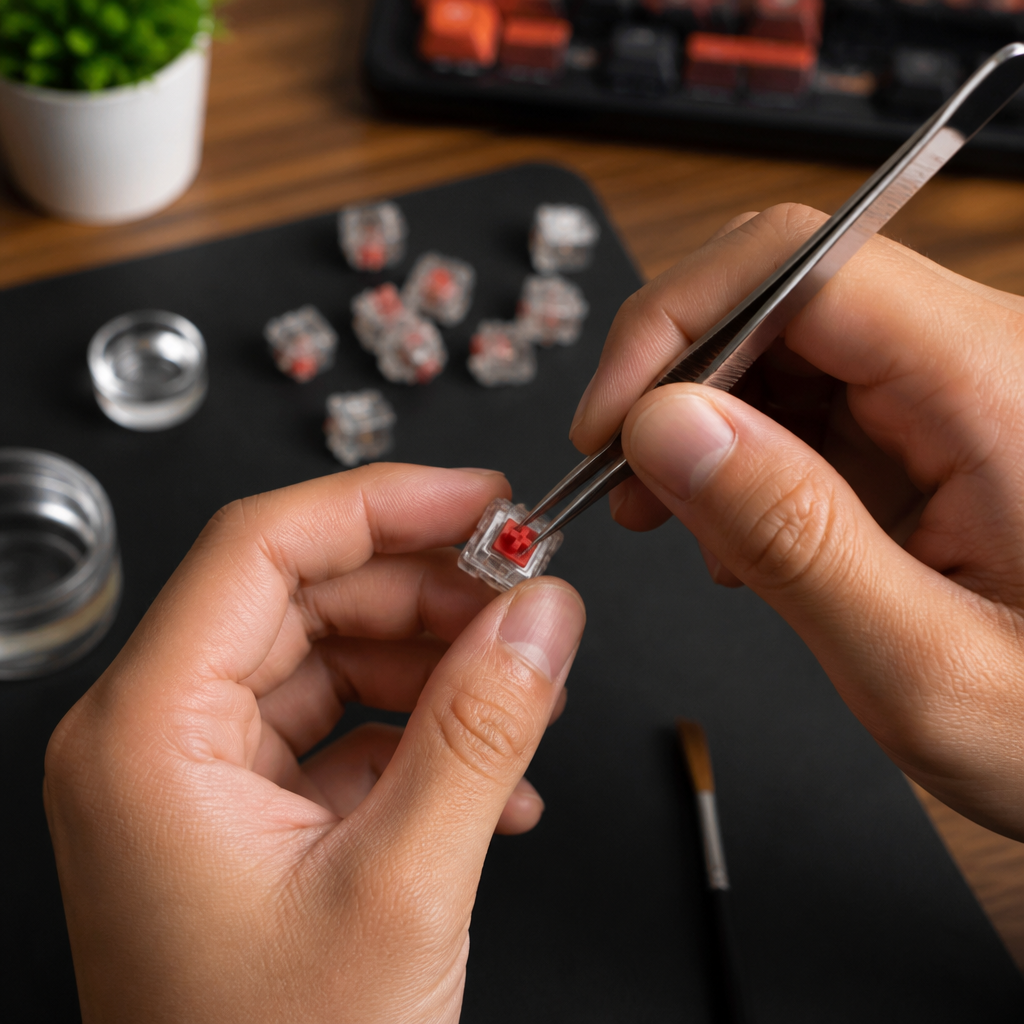
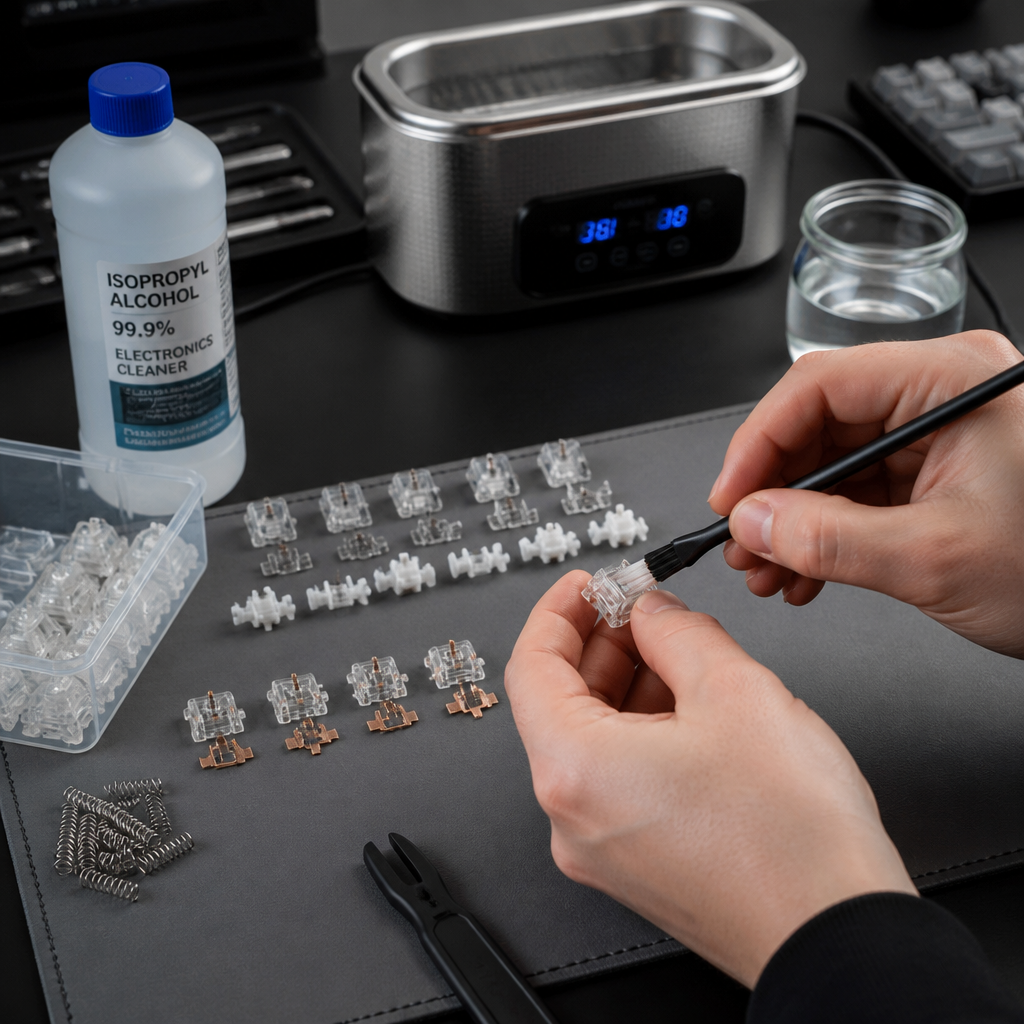
- Soak components in IPA: Place all individual switch parts into a container of 90%+ isopropyl alcohol and let them soak for about 10 minutes.
- Scrub gently: Use a soft-bristle brush to gently scrub each piece, focusing on the stem rails and the inside of the housings.
- Rinse with fresh IPA: Rinse the components in a separate bath of fresh IPA to wash away any loosened debris.
- Air dry: Spread all cleaned components on a lint-free cloth and let them air dry completely for 4-6 hours.
Reassembly:
- Inspect each component: Visually check each piece for any leftover dirt or damage.
- Apply lubricant (optional): Apply a thin, even layer of switch lubricant if desired.
- Reassemble switch housings: Carefully put each switch back together.
- Install switches into PCB: Push each switch into its socket (for hot-swappable boards) or solder it back onto the PCB.
- Test each switch: Plug in your keyboard and use a keyboard tester program to ensure every switch works correctly.
- Replace keycaps: Using your photos as a reference, carefully press each keycap onto its respective switch stem.
Cleaning Specific Types of Keyboard Switches
Mechanical keyboard switches come in different types, mainly linear, tactile, and clicky, each offering a distinct feel. Popular brands include Cherry MX, Gateron, and Kailh. The construction of these switches can also vary, affecting how they are removed and cleaned. Understanding the specific features of your switch type is helpful, as it can guide your cleaning method, especially when dealing with internal components and lubrication.
How to Clean Mechanical Keyboard Switches
Cleaning mechanical keyboard switches effectively requires understanding their internal mechanics. Whether you have linear, tactile, or clicky switches, the goal is to remove debris without altering their unique feel.
Linear switches (e.g., Cherry MX Red) are smooth and consistent. Dirt on the stem rails can make them feel scratchy. When cleaning, focus on the stem and the inside of the bottom housing. Re-lubrication with a product like Krytox GPL 205 G0 after cleaning is often recommended to restore their smooth feel.
Tactile switches (e.g., Cherry MX Brown) provide a noticeable “bump” during the key press. This bump is created by the stem’s design interacting with a metal leaf inside the housing. When cleaning, ensure this mechanism is free of grime, as buildup can diminish the tactile feedback. _Over-lubricating the tactile legs can diminish or completely remove the tactile bump, altering the switch’s intended feel._ If you re-lubricate, use a thin lubricant like Tribosys 3203 sparingly, avoiding the parts that create the bump.
Clicky switches (e.g., Cherry MX Blue) offer both a tactile bump and an audible “click.” Dirt can interfere with the click mechanism, making it inconsistent. Cleaning requires special care around this mechanism. Full disassembly and reassembly must be done carefully to maintain a consistent sound.
Hot-swappable keyboards dramatically simplify the deep cleaning process as they allow for solder-free switch removal. This feature makes regular, thorough maintenance much more accessible compared to keyboards with soldered switches, where desoldering is a time-consuming and skill-intensive process.
What’s the Best Way to Clean Sticky Keyboard Switches?
Sticky switches are a common and frustrating problem, characterized by keys that are slow to return or fail to register. The problem usually stems from foreign contaminants like spilled liquids or a buildup of grime. The cause dictates the best cleaning method. Sugar residue from drinks often requires a water pre-soak, as it leaves behind crystal-like deposits. A buildup of skin oils and dust can form a sticky paste that is best dissolved by isopropyl alcohol. In some cases, the factory lubricant itself can degrade and become gummy, requiring complete removal and re-lubrication.
Fixing sticky switches requires an intensive cleaning process. First, remove the affected switches. Then, disassemble the switch completely into its top housing, bottom housing, stem, and spring. The soaking process will depend on the contaminant.
“Sticky switches from spills need a two-stage cleaning process. Water-soluble contaminants like soda require distilled water first to dissolve sugars, then alcohol to displace water and dry quickly. Skipping the water stage leaves sugar crystals that alcohol alone can’t fully dissolve.” – ThereminGoat, Mechanical Switch Reviewer
For oil or grease buildup, soak the components directly in 90%+ IPA for 15-20 minutes. After soaking, use a soft brush to scrub all parts, then rinse with fresh IPA. Let everything air dry completely for 6-8 hours. If the switch still feels sticky, repeat the cleaning process. Once dry, apply fresh lubricant sparingly and reassemble. For a highly effective deep clean, an ultrasonic cleaner can be used with IPA or distilled water to thoroughly scrub disassembled components in just a few minutes, reaching areas that manual scrubbing might miss.
Cleaning Keyboards After Damage or Full Maintenance
Accidents happen, and spills are one of the most common causes of keyboard damage, often leading to sticky switches or complete failure. Besides emergency repairs, a full maintenance routine that includes both switches and keycaps ensures your entire keyboard remains in top condition. These thorough cleaning efforts are crucial for extending the life of your keyboard and maintaining a hygienic and pleasant typing experience.
How to Clean Keyboard Switches After Spill
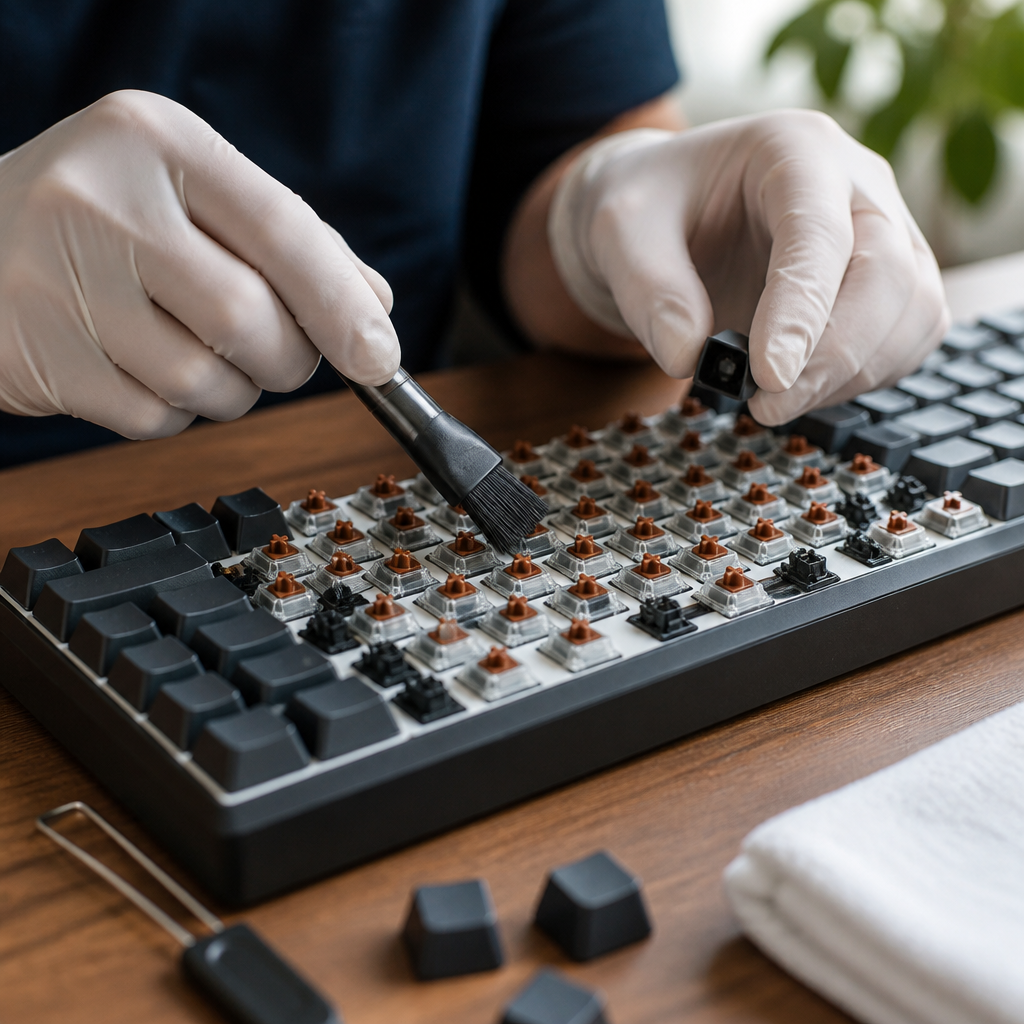
A liquid spill on your keyboard can be a disaster, but acting quickly can often prevent permanent damage. Cleaning switches after a spill is an emergency procedure designed to prevent corrosion, short circuits, and residue buildup. The keyboard’s recovery largely depends on the type of liquid spilled and how fast you react. Acting within the first 24 hours significantly increases the chance of recovery, while waiting longer allows corrosion to set in and residues to harden, dramatically decreasing the chances of success.
The very first and most critical step is to immediately unplug your keyboard from all power sources. Then, turn it upside down to allow liquid to drain. Gently shake it to remove excess fluid. _Do not attempt to test if the keys still work after a spill, as this can worsen the electrical damage._ As quickly as possible, remove all keycaps and absorb any visible liquid with paper towels. Prop the keyboard at an angle to continue draining and, within an hour, flush the affected area with 90%+ isopropyl alcohol while pressing each affected switch repeatedly to work the alcohol inside.
The type of liquid spilled determines the specific cleaning steps required.
| Liquid Type | Urgency Level | Recommended Cleaning Action |
|---|---|---|
| Water / Non-Sugary Coffee | Moderate | Flush with 90%+ IPA. Allow to air dry for 48-72 hours to prevent corrosion. |
| Soda / Juice (Sugary) | High | Requires a two-step clean: a distilled water rinse to dissolve sugars, followed by an IPA flush. Must be done quickly to prevent sticky, corrosive residue. |
| Alcohol / Beer | Moderate | An IPA flush is usually sufficient. Allow to air dry for 24-48 hours. |
| Oil-Based Liquids | High | Requires a degreaser or extended IPA soaking. Can damage plastics if not addressed immediately. |
For serious spills, a deep clean of the individual switches is necessary. This involves disassembling all affected switches, soaking them as required by the spill type, scrubbing each component, rinsing with fresh IPA, and inspecting for corrosion. Allow all parts to air dry for 24-48 hours. Before reassembly, discard any switches that still feel scratchy or unresponsive. Re-lubricate and reassemble the clean, working switches. Remember to also inspect the keyboard’s PCB for any liquid residue or corrosion and clean it gently with 90%+ IPA and a soft brush, allowing it to dry for at least 72 hours before powering it on.
How to Clean Keyboard Switches and Keycaps
A comprehensive keyboard cleaning addresses both the internal switch mechanisms and the keycaps you touch every day. A combined cleaning approach ensures that all surfaces you interact with are clean while the mechanical parts underneath work perfectly. Performing these tasks in parallel can save time and minimize your keyboard’s downtime.
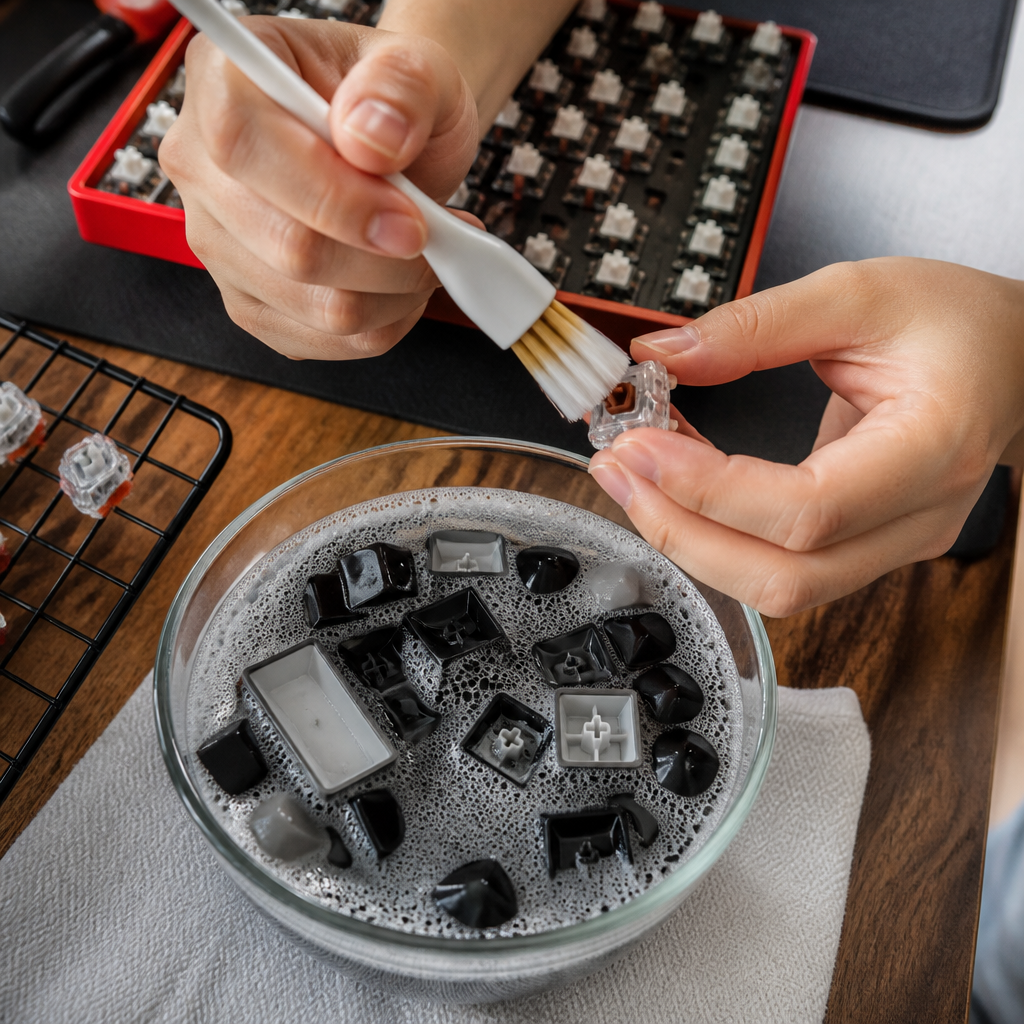
You can efficiently clean both parts by starting the keycap cleaning process while your disassembled switches are drying from their IPA bath. First, remove all keycaps with a wire keycap puller. Place them in a bowl and soak them in warm water with a few drops of mild dish soap for 30-60 minutes. After soaking, swish them around or gently scrub each one with a soft brush. Rinse the keycaps thoroughly under clean water and spread them on a towel to air dry for at least 24 hours. While the keycaps are soaking and drying, you can follow the cleaning procedure for the switches as detailed earlier in our step-by-step guide.
Different keycap materials require slightly different care. ABS plastic is prone to warping with high heat, so use warm, not hot, water. PBT plastic is more durable and can handle warmer water. For keycaps with pad-printed letters, use gentle wiping instead of vigorous scrubbing to avoid removing the legends. Once both your switches and keycaps are clean and completely dry, you can begin reassembly. Test the switches with a keyboard tester program before putting the keycaps back on, paying special attention to stabilized keys like the spacebar and shift keys to ensure they move smoothly.
FAQ
Q1: How often should I clean my keyboard switches?
A1: Regular maintenance is generally recommended every 3-6 months to prevent the accumulation of dust, debris, and oils. However, if you notice inconsistent keystrokes, stickiness, or after a spill, immediate cleaning is necessary.
Q2: Can I use 70% isopropyl alcohol to clean my keyboard switches?
A2: It is not recommended to use isopropyl alcohol with a concentration below 90%. 70% IPA contains 30% water, which can cause corrosion on the metal contacts inside the switch if it doesn’t evaporate quickly enough. Always opt for a 90-99% concentration for cleaning electronics.
Q3: What should I do immediately after spilling a sugary drink on my keyboard?
A3: Time is of the essence! Immediately disconnect the keyboard from power, turn it upside down to drain, and gently shake it. Within minutes, remove all keycaps and absorb visible liquid. For sugary spills, a two-stage cleaning process is needed: soak disassembled switches in distilled water to dissolve the sugar, then transfer them to 90%+ isopropyl alcohol. Prompt action significantly increases the recovery rate.
Q4: Will cleaning my switches remove their factory lubrication?
A4: Yes, a thorough cleaning with isopropyl alcohol will likely strip away factory lubrication. For optimal performance, re-lubrication with a suitable switch-specific lubricant (e.g., Krytox GPL 205 G0 for linear, Tribosys 3203 for tactile) is recommended after the switches are completely clean and dry.
Q5: Is it necessary to remove switches for cleaning, or can I clean them while they are installed?
A5: You can clean switches while they are installed using compressed air, soft brushes, and targeted application of 90%+ IPA. This method is effective for removing most surface debris and is suitable for routine maintenance. However, for a deep clean, to address sticky switches, or after a significant spill, removing and disassembling the switches allows for a much more thorough cleaning.

Hi, I’m Alex Morgan.
Welcome to my blog! As a dedicated mechanical keyboard enthusiast, I’m passionate about exploring everything from custom builds to the finest details of switches and keycaps. My goal is to break down specs, sound profiles, and ergonomics to help you find the absolute best keyboard for your setup. Whether you’re a gamer, programmer, or desk setup fanatic, I’m here to share honest reviews and practical recommendations.