What Are Pudding Keycaps? 7 Bright RGB Benefits Explained
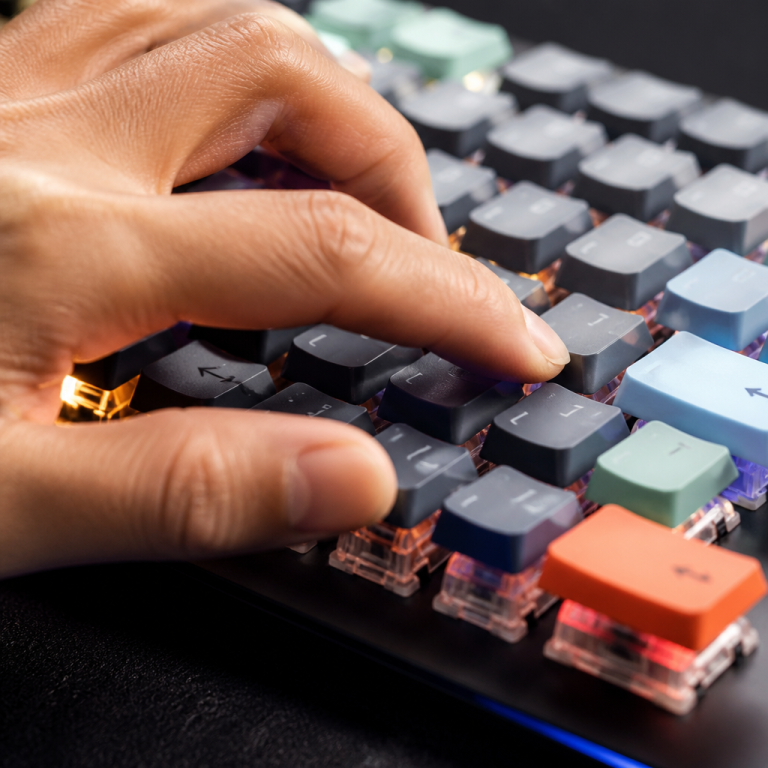
For mechanical keyboard enthusiasts looking to upgrade their setup, pudding keycaps offer a stunning visual transformation. Their standout feature is a dual-layer design: the sides are translucent to allow light to pass through, while the top surface containing the legend is opaque. This combination creates a striking “pudding” effect when the keyboard’s RGB lights are active. The primary benefit is enhanced illumination, letting light shine brightly from the sides of each keycap for a glowing appearance while keeping the top legend perfectly clear. Discover how this innovative approach amplifies RGB lighting for a more immersive and visually dynamic experience.
The manufacturing process typically involves double-shot injection molding, where two different plastics—often durable PBT or common ABS—are molded together to form the distinct layers. This method also makes the legends incredibly durable, as they are physically part of the keycap and not merely printed on the surface.
The popularity of this style has surged with the rise of RGB lighting in gaming keyboards, as users seek new ways to customize their setups. Major brands like HyperX, Razer, and Corsair have released their own versions, making them a staple for gaming and tech enthusiasts. These keycaps provide an affordable and impactful way to elevate a standard mechanical keyboard into a vibrant display of color. The translucent lower half acts as a diffuser, spreading the LED glow more evenly and intensely than standard keycaps, creating a captivating “halo” effect. Beyond aesthetics, the choice of material, particularly PBT, can also improve the typing feel and long-term durability with its textured, shine-resistant surface.
Pudding Keycap Design and Construction
Pudding Keycaps Double-Shot Design
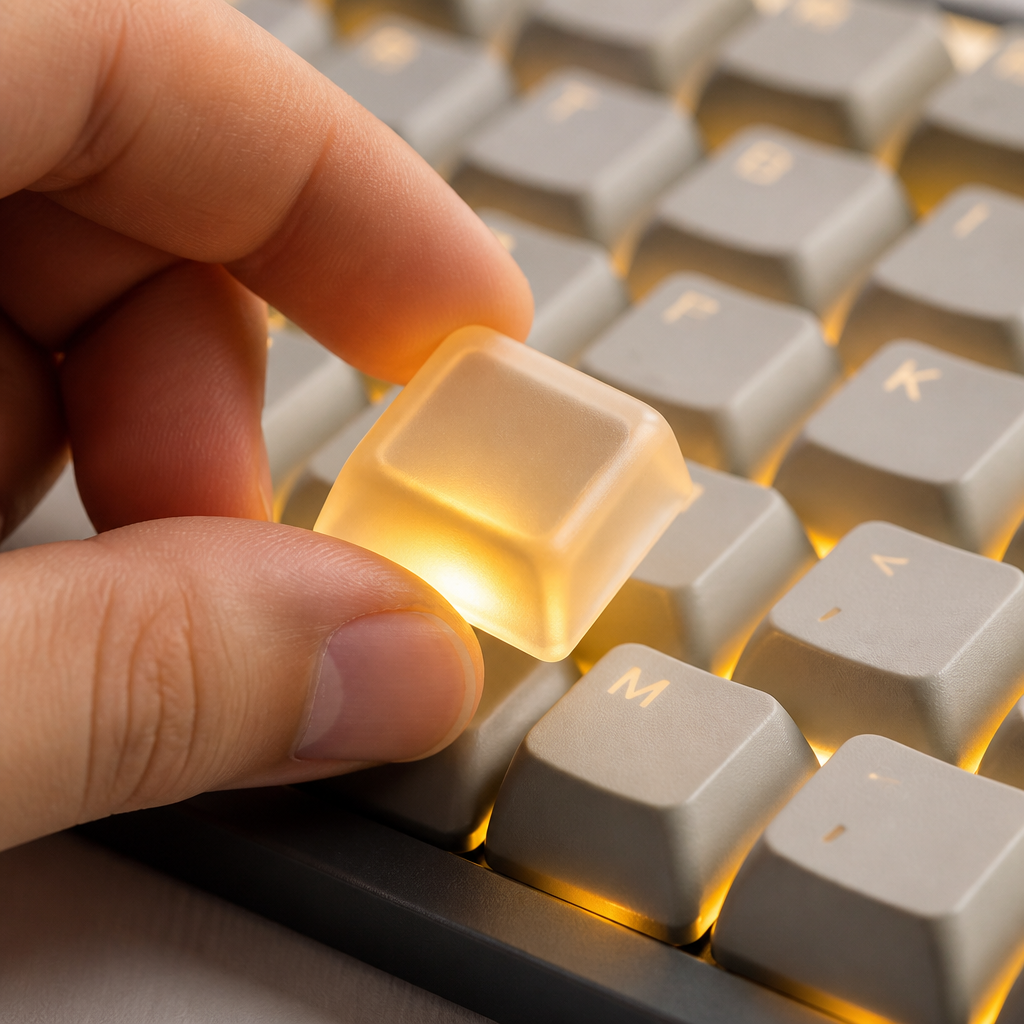
The secret behind the unique look and longevity of pudding keycaps is the double-shot injection molding process. This technique involves injecting two separate plastic materials into a mold to create a single, integrated keycap. A key benefit of this method is that the legends—the letters, numbers, and symbols you see on the keycaps—are actually built right into the keycap’s structure. This means they will _never_ fade or wear off with use, a significant advantage over pad-printed or laser-etched legends that can degrade over time.
For this specific style, the double-shot process is executed to achieve the two-layer effect. The first shot of plastic typically forms the translucent sidewalls, often using polycarbonate for its excellent light-transmitting properties. This clear base is crucial for allowing RGB light to diffuse outward. The second shot forms the opaque top layer, which includes the legend, and is usually made from PBT or ABS plastic. The precision of this two-step injection ensures the layers bond perfectly, resulting in a durable and seamless final product.
The choice between materials is important. Double-shot PBT versions are often considered a top-tier choice because the material is naturally resistant to the shiny, oily buildup that can occur on ABS keycaps. It also provides a slightly textured feel that many users prefer. In contrast, ABS versions are more common and generally less expensive but are more prone to developing a glossy finish after prolonged use.
Pudding Keycaps RGB Lighting Effect
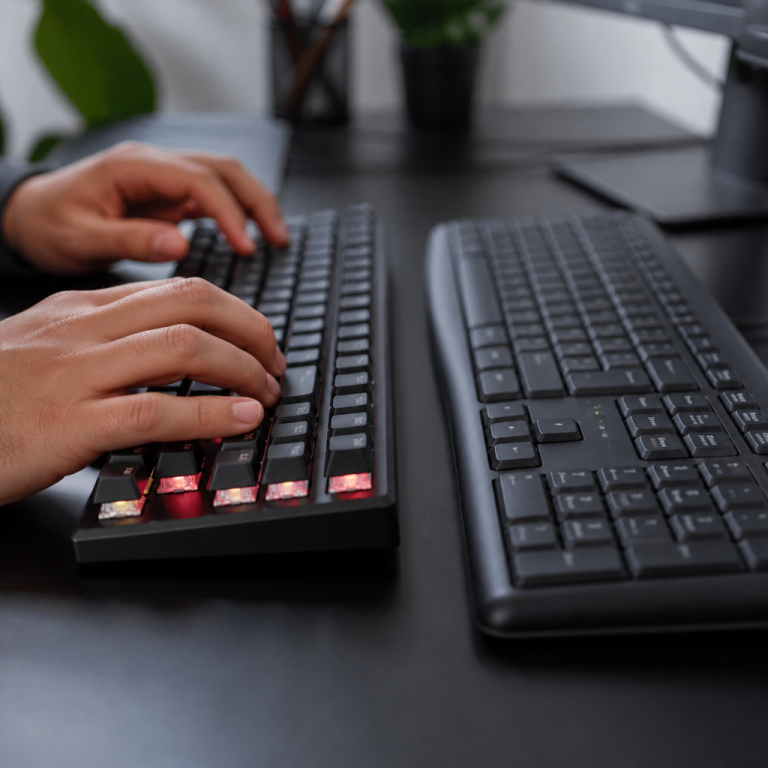
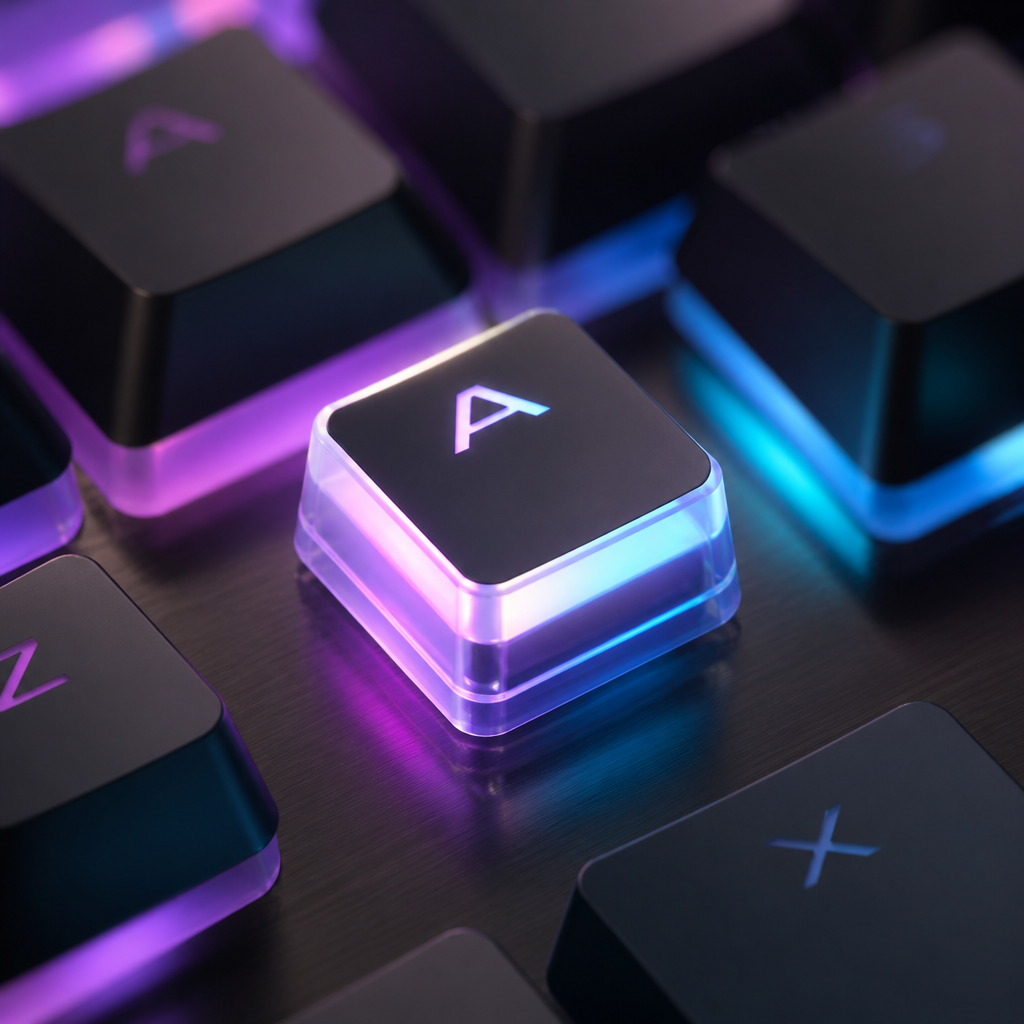
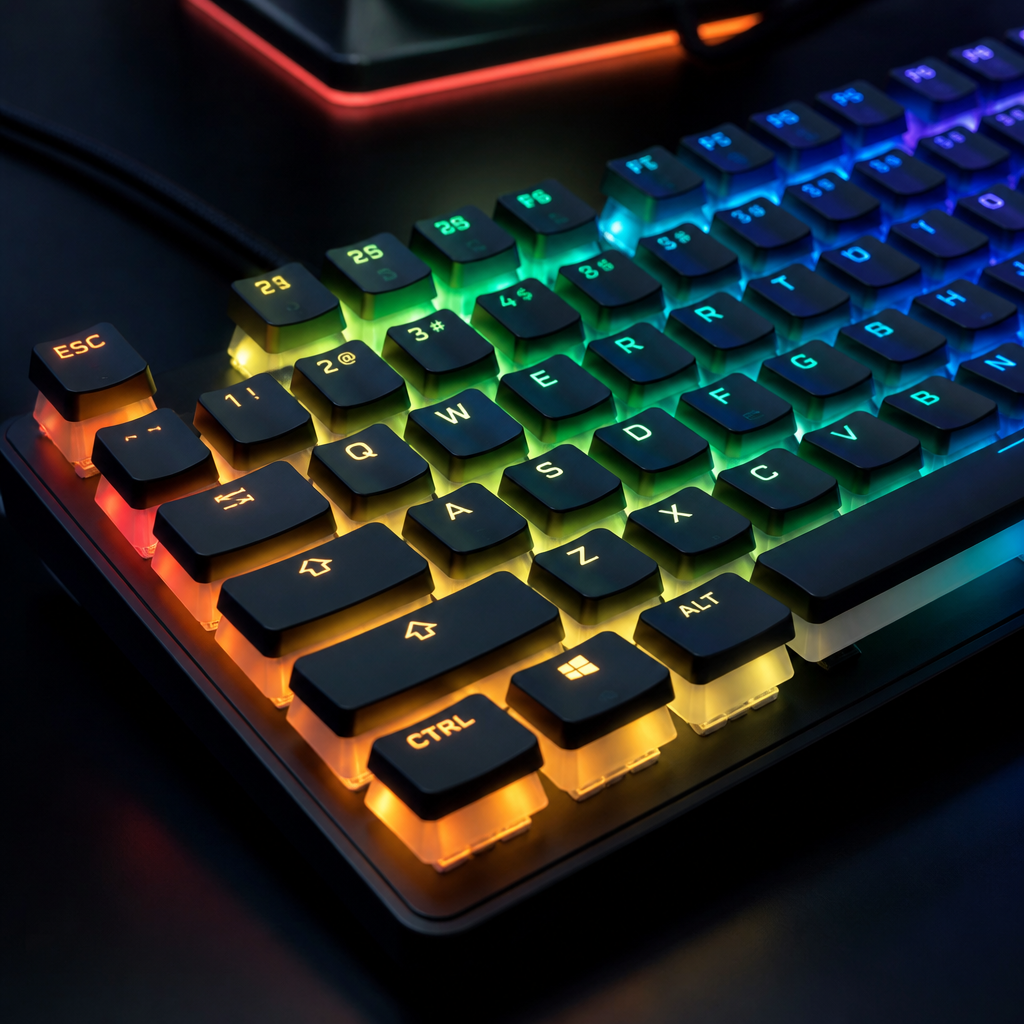
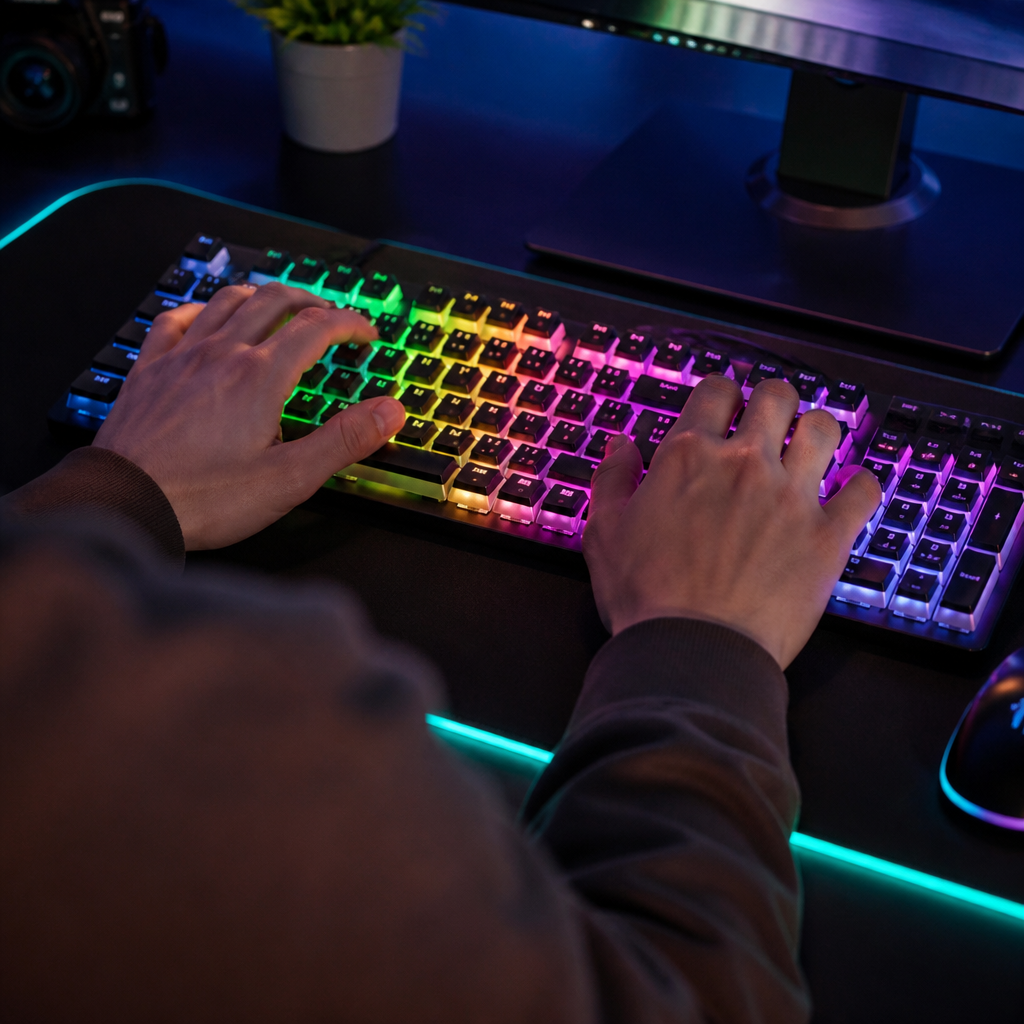
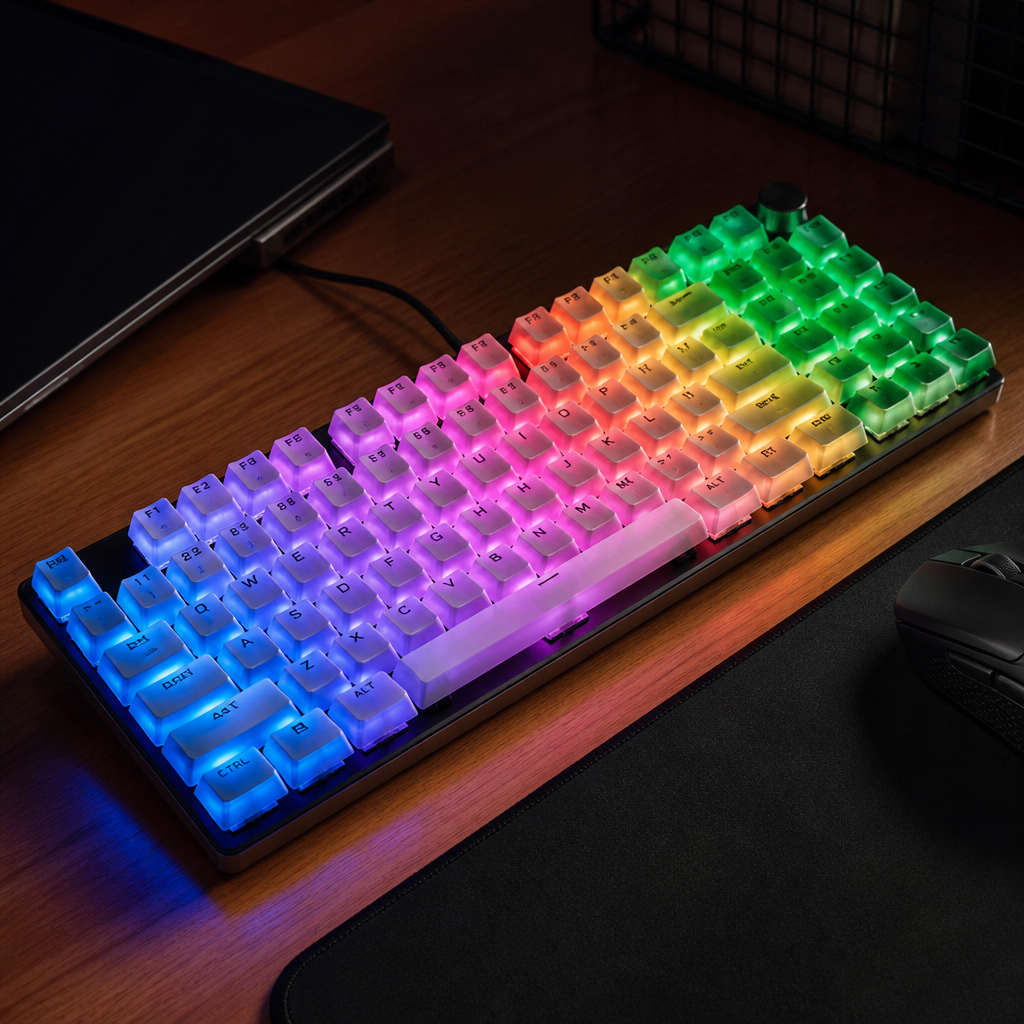
The RGB lighting effect is what makes pudding keycaps so appealing. The design creates a distinctive halo around each key while keeping the top legends crisp and legible, turning a keyboard into a dynamic light show. This is particularly attractive for gamers and anyone who enjoys a personalized setup.
Tests show that this design can significantly increase perceived brightness compared to standard solid keycaps because light diffuses through the large translucent sidewalls. The polycarbonate material used for the sides often features a light transmittance rate of 85% to 92%, allowing RGB light to escape laterally and create an ambient glow across the keyboard. _How well this lighting effect works can also depend on how the LEDs are placed on your keyboard’s circuit board (PCB)._ This style of keycap typically performs best with “south-facing” LEDs, where the light source is positioned at the bottom of the switch, as this directly illuminates the translucent walls and maximizes the halo effect.
Members of the mechanical keyboard community often note that the effect is most impressive in dimly lit or dark rooms, where the vibrant glow creates an atmospheric workspace. While some users find the intense illumination distracting in bright daylight, the ability of these keycaps to transform a keyboard’s appearance makes them a popular choice for anyone seeking to add significant visual flair.
Pudding Keycap Selection and Compatibility
Pudding Keycaps Compatibility Guide
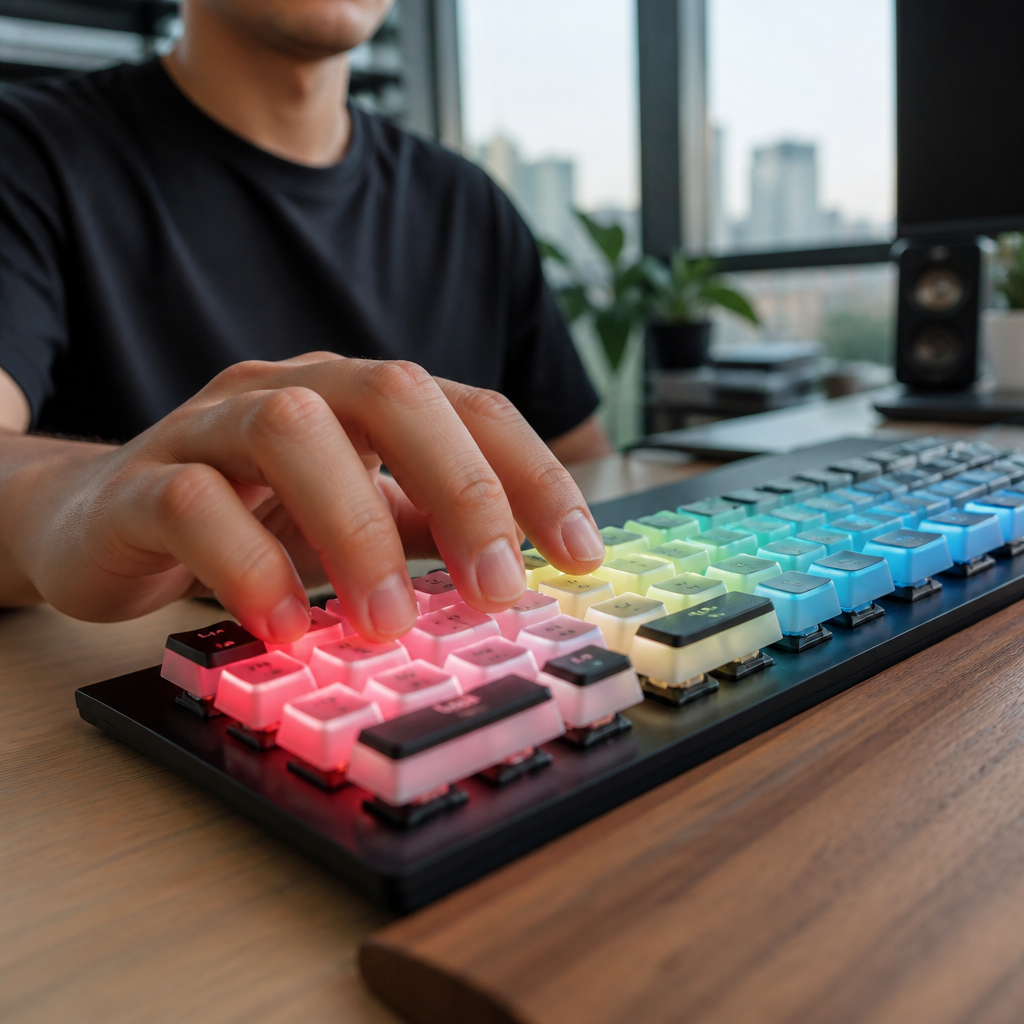
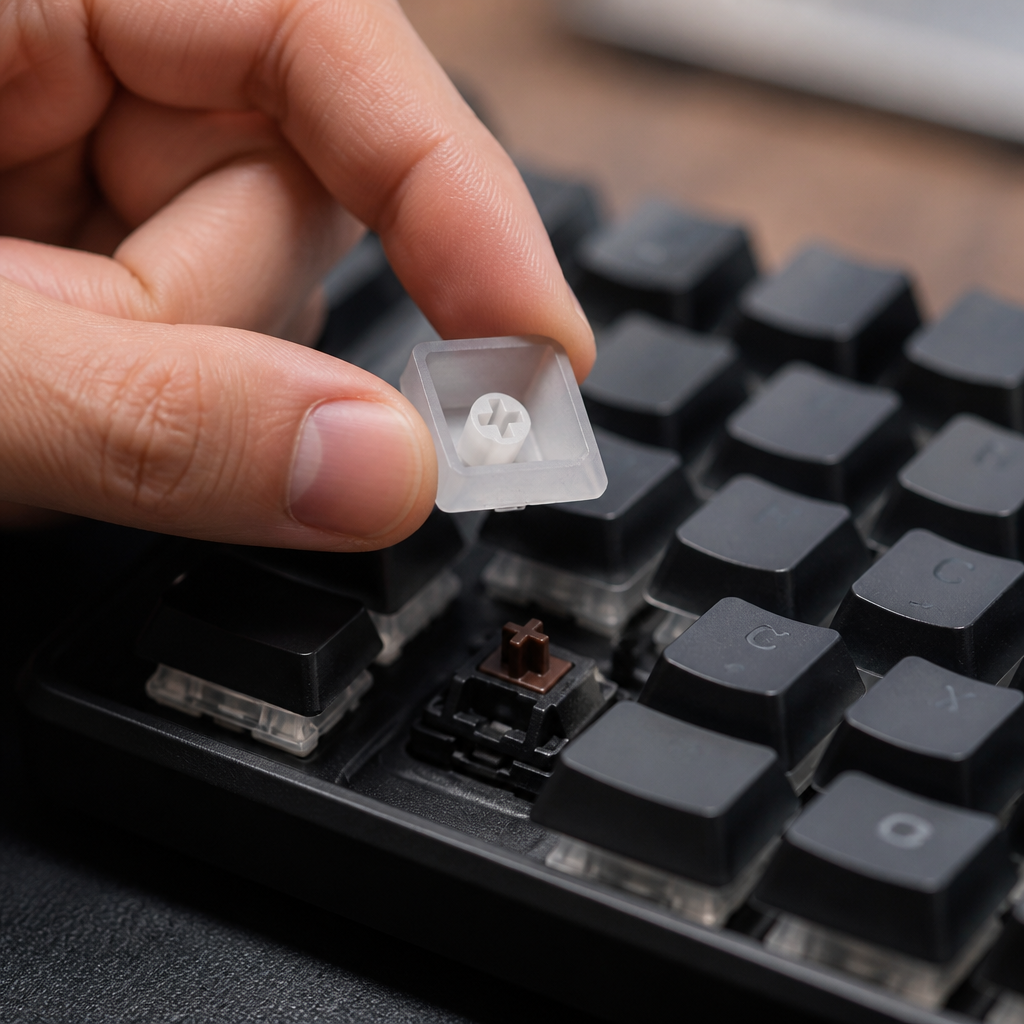
Understanding compatibility is crucial before upgrading to pudding keycaps. This ensures the keycaps will physically fit your keyboard’s switches, layout, and stabilizers. Most pudding keycaps are made to fit the Cherry MX stem, which looks like a cross shape. This makes them compatible with a wide range of popular mechanical switches, including Cherry MX, Gateron, and Kailh. However, they will not fit other switch types like Alps or Topre unless they are specifically designed with an MX-compatible stem.
Keyboard layout is another major factor. Standard ANSI 104-key sets are designed for full-size keyboards common in the US. _If you have a less common layout, like an ISO layout (popular in Europe) or a compact form factor (75%, 65%), you might run into compatibility issues._ These layouts often feature non-standard sizes for keys like the Left Shift, Enter, or Spacebar. Always compare the keycap set’s specifications with your keyboard’s layout to ensure a perfect fit. Some brands, such as Razer with its Phantom Keycaps and Corsair with its PBT Double-Shot Pro sets, offer broader support for both ANSI and ISO layouts.
Finally, consider stabilizer compatibility for larger keys. Most sets are designed for Cherry-style stabilizers, the most common type in modern keyboards. Keyboards with Costar stabilizers may not be compatible without modification.
What are the best pudding keycaps for mechanical keyboards?
Determining the “best” pudding keycaps involves weighing material quality (PBT vs. ABS), manufacturing precision, RGB light diffusion, compatibility, and overall value. Based on 2024 reviews and market analysis, several sets consistently receive high marks from users and experts alike.
Top-rated options often include:
- HyperX Pudding Keycaps (PBT): Frequently praised for their excellent value and broad compatibility.
- Razer Phantom Keycaps (PBT): Known for their unique stealth look when unlit and vibrant glow when backlit.
- Glorious Aura Keycaps V2 (PBT): Noted for their bright and consistent light diffusion.
- Corsair PBT Double-Shot Pro (PBT): A premium option recognized for its high-quality construction.
Expert opinions often reinforce these rankings. Scharon Harding, Senior Editor at Tom’s Hardware, noted:
“HyperX’s Pudding Keycaps are still an incredible value, and Razer’s PBT Phantom Keycap Upgrade Set is a fantastic challenger with a unique approach to RGB.”
The material is a significant factor in performance. PBT (polybutylene terephthalate) pudding keycaps, typically costing between $35 and $50, are highly regarded for resisting shine and offering a better, often slightly textured, feel. In contrast, ABS (acrylonitrile butadiene styrene) versions are more affordable ($20 to $30) and can transmit light more brightly, but they tend to develop a glossy texture over time. The best choice ultimately depends on your priorities for feel, long-term aesthetics, and budget.
Pudding Keycaps vs Regular Keycaps
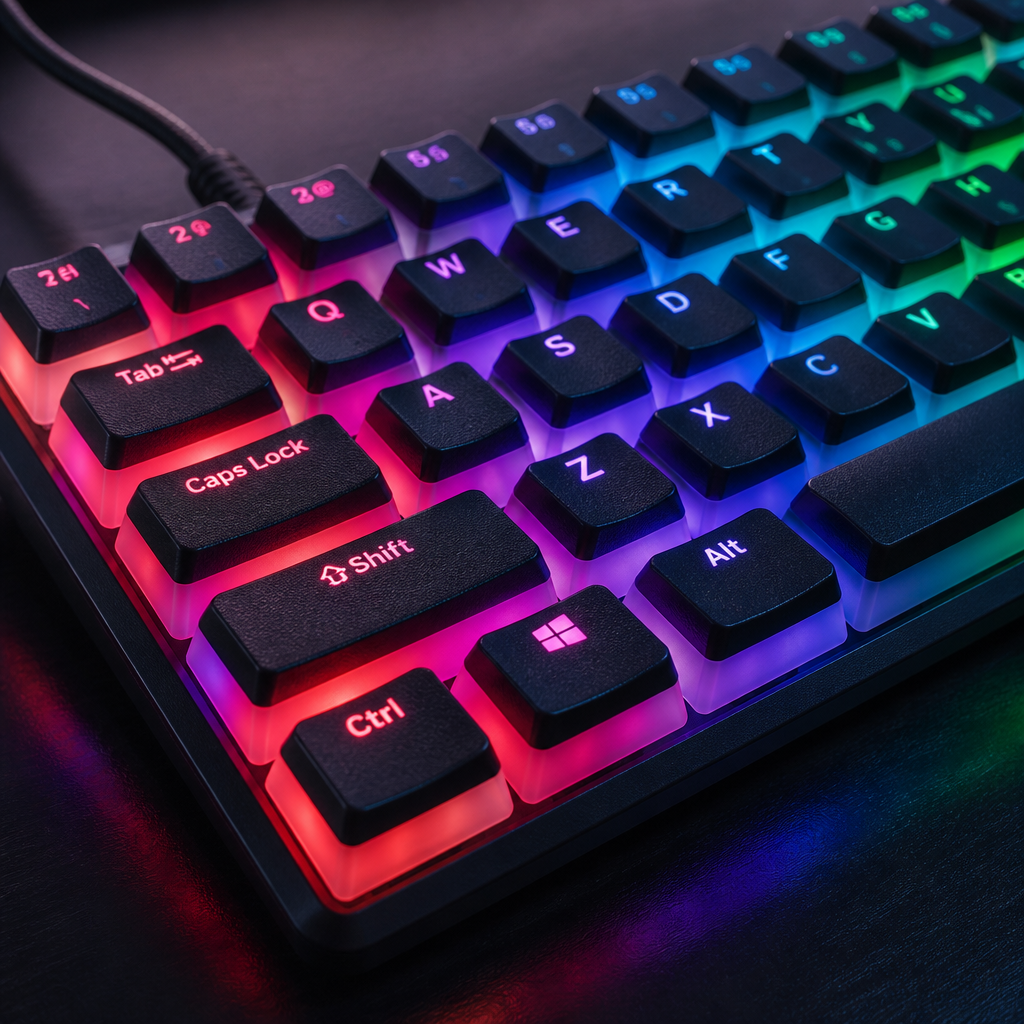
The choice between pudding keycaps and “regular” solid keycaps comes down to differences in aesthetics, durability, typing feel, and price. Regular keycaps are typically single-shot opaque plastic, focusing more on function and durability than on RGB illumination.
This table highlights their distinct characteristics:
| Feature | Pudding Keycaps | Regular Keycaps |
|---|---|---|
| Light Transmission | High; translucent sides create a halo effect. | Low; light passes only through shine-through legends. |
| Durability (Legends) | Excellent; double-shot molding prevents fading. | Varies; double-shot is excellent, printed legends can fade. |
| Aesthetics | Modern, vibrant, gaming-focused. | Classic, professional, understated. |
| Optimal Environment | Dim or dark rooms to showcase RGB. | Well-lit rooms for maximum legend clarity. |
| Price Range | Generally $25 – $50. | Wide range, from $15 to over $100 for premium sets. |
In terms of typing sound, the dual-layer construction of pudding keycaps may produce a slightly higher-pitched sound. Thick PBT regular keycaps, in contrast, often create a deeper, more muted sound that some enthusiasts prefer for long typing sessions. Ultimately, the choice depends on whether you prioritize a dynamic, light-focused aesthetic or a classic, function-first appearance.
Installing and Using Pudding Keycaps
How to Install Pudding Keycaps
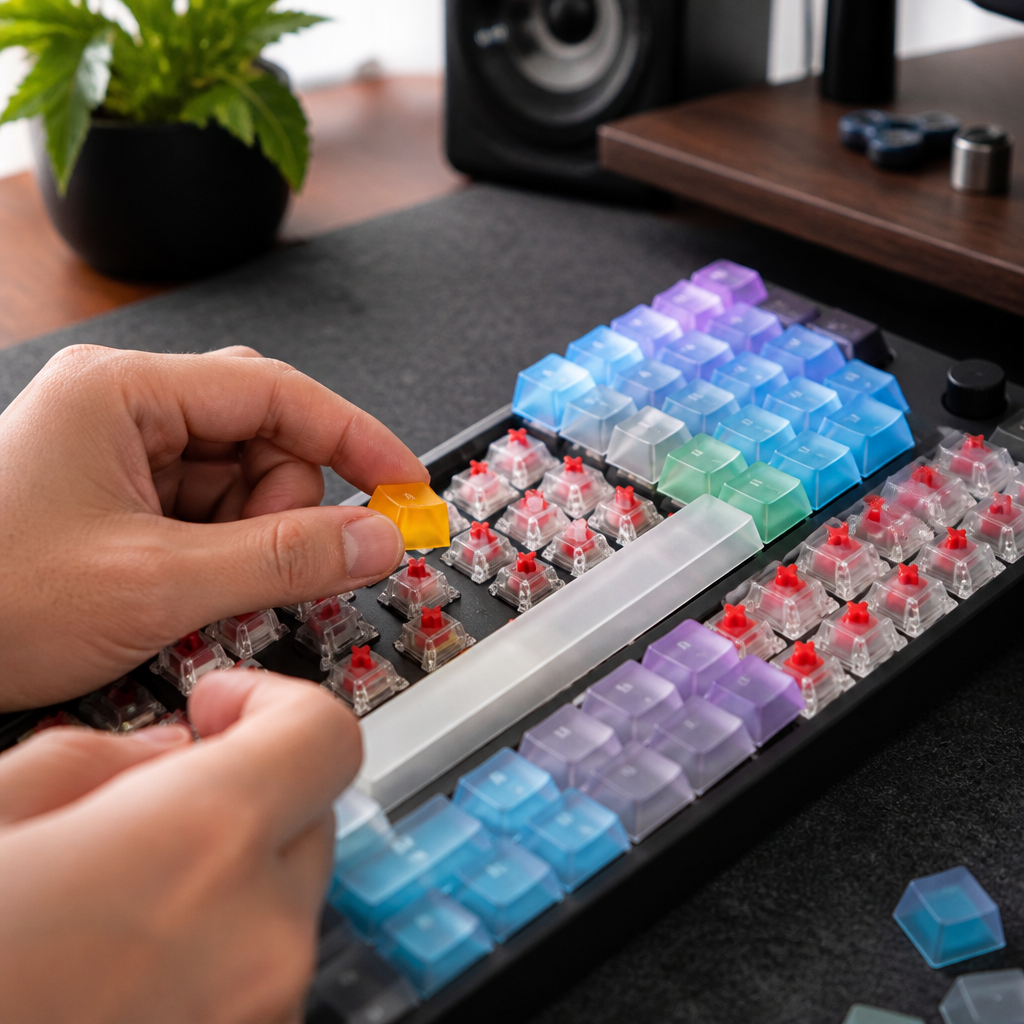
Installing new keycaps is a straightforward process that can dramatically alter your keyboard’s appearance. The process involves carefully removing the old keycaps with a keycap puller and pressing the new ones into place.
Here is a simple step-by-step guide for installation:
- Prepare Your Keyboard: Before you start, always turn off your keyboard and unplug it from your computer. This prevents accidental inputs and ensures electrical safety.
- Remove Existing Keycaps: Use a keycap puller to lift your current keycaps. Wire keycap pullers are generally much better than plastic ones because they spread the force more evenly, reducing the risk of scratching or damaging the keycaps. To remove a keycap, hook the puller onto opposite sides and pull straight up with firm, steady pressure. _Avoid pulling at an angle, as this can bend or damage the delicate switch stem._
- Clean and Inspect: With the keycaps off, take a moment to clean any dust or debris from the keyboard plate and around the switch stems.
- Align New Keycap: Take a new pudding keycap and align its cross-shaped mount with the switch stem, ensuring the keycap is oriented correctly for its row profile (e.g., R1-R4).
- Press into Place: Gently but firmly press the keycap down onto the switch stem until you feel it click or snap securely into place.
- Verify Stabilized Keys: For larger keys like the spacebar, Shift, and Enter, ensure the stabilizer wire is correctly seated in the keycap housing before pressing it onto the switch. Test the key by pressing its edges to confirm smooth movement without wobbling.
For beginners, a full keyboard swap usually takes 15-30 minutes. Taking your time, especially on the first attempt, will help prevent damage and ensure a great result. With proper installation, your new keycaps will provide a vibrant and lasting upgrade.

Hi, I’m Alex Morgan.
Welcome to my blog! As a dedicated mechanical keyboard enthusiast, I’m passionate about exploring everything from custom builds to the finest details of switches and keycaps. My goal is to break down specs, sound profiles, and ergonomics to help you find the absolute best keyboard for your setup. Whether you’re a gamer, programmer, or desk setup fanatic, I’m here to share honest reviews and practical recommendations.