how to screenshot on 60 keyboard: Easy Windows Mac Guide
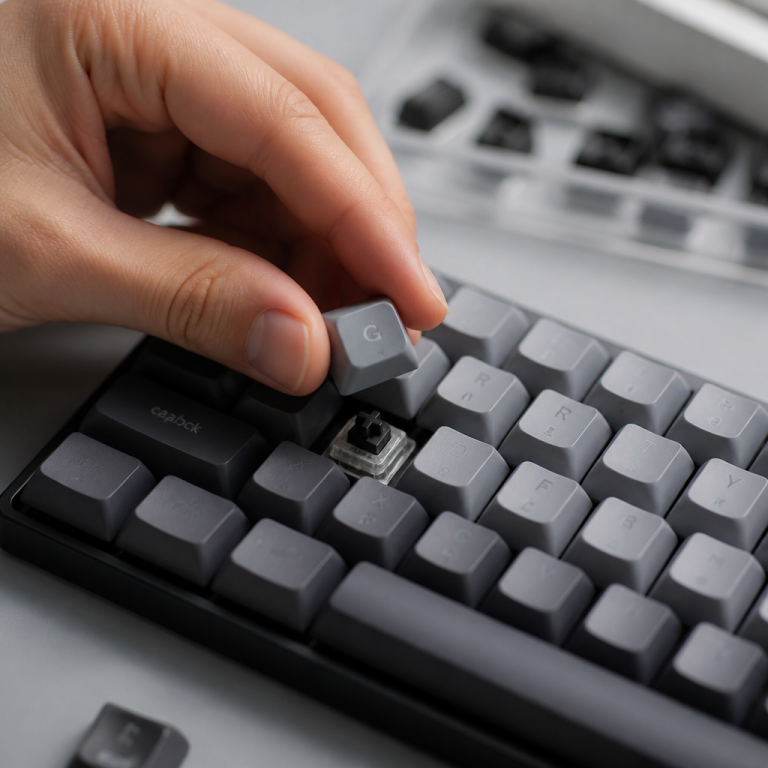
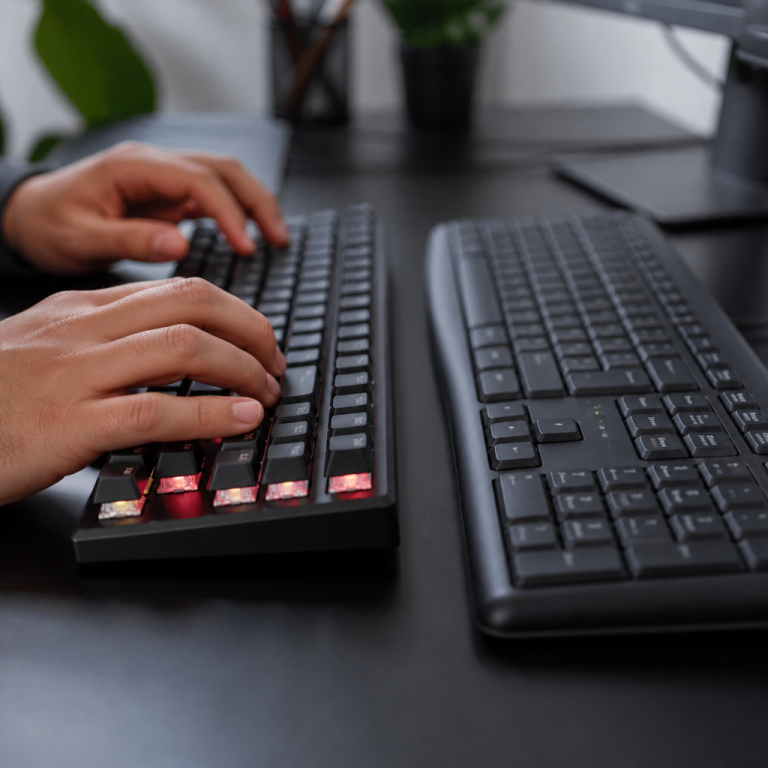
When I first got my new 60% mechanical keyboard, I was impressed by its sleek, compact design. It freed up so much desk space compared to my old full-size keyboard. But then, I needed to take a screenshot and couldn’t find the “Print Screen” key. If you’ve just switched to a 60% keyboard, you might face the same puzzle. These keyboards are great for saving space, but they often omit keys like Print Screen (PrtSc), the F1-F12 row, and even arrow keys. Don’t worry! Once you understand how these keyboards use special “layers” and learn a few operating system tricks, taking screenshots becomes simple. Discover how this guide will walk you through setting up your compact keyboard for screenshots, showing you methods for both Windows and Mac, and even help you pick a keyboard that’s a shortcut champion.
Setting Up Function Keys on a 60% Keyboard
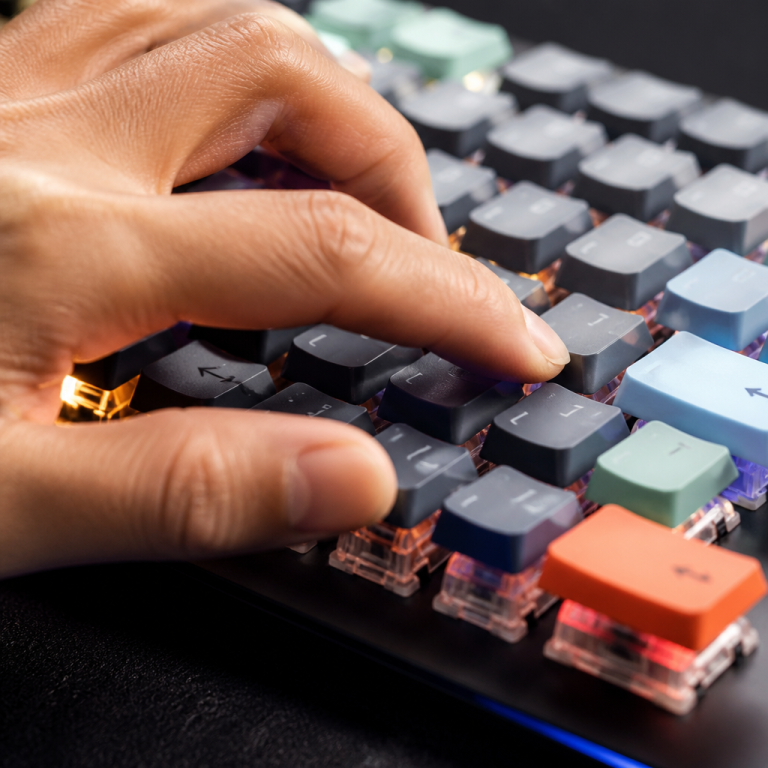
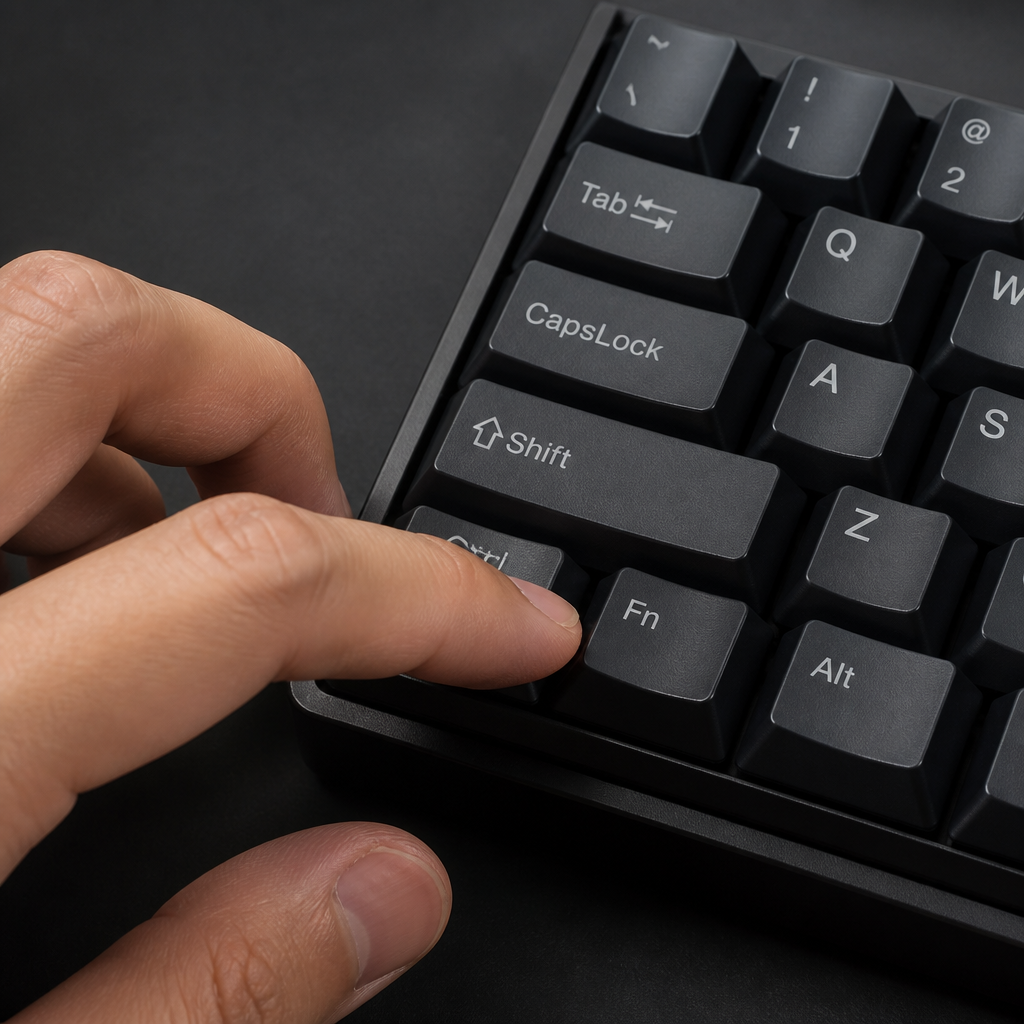
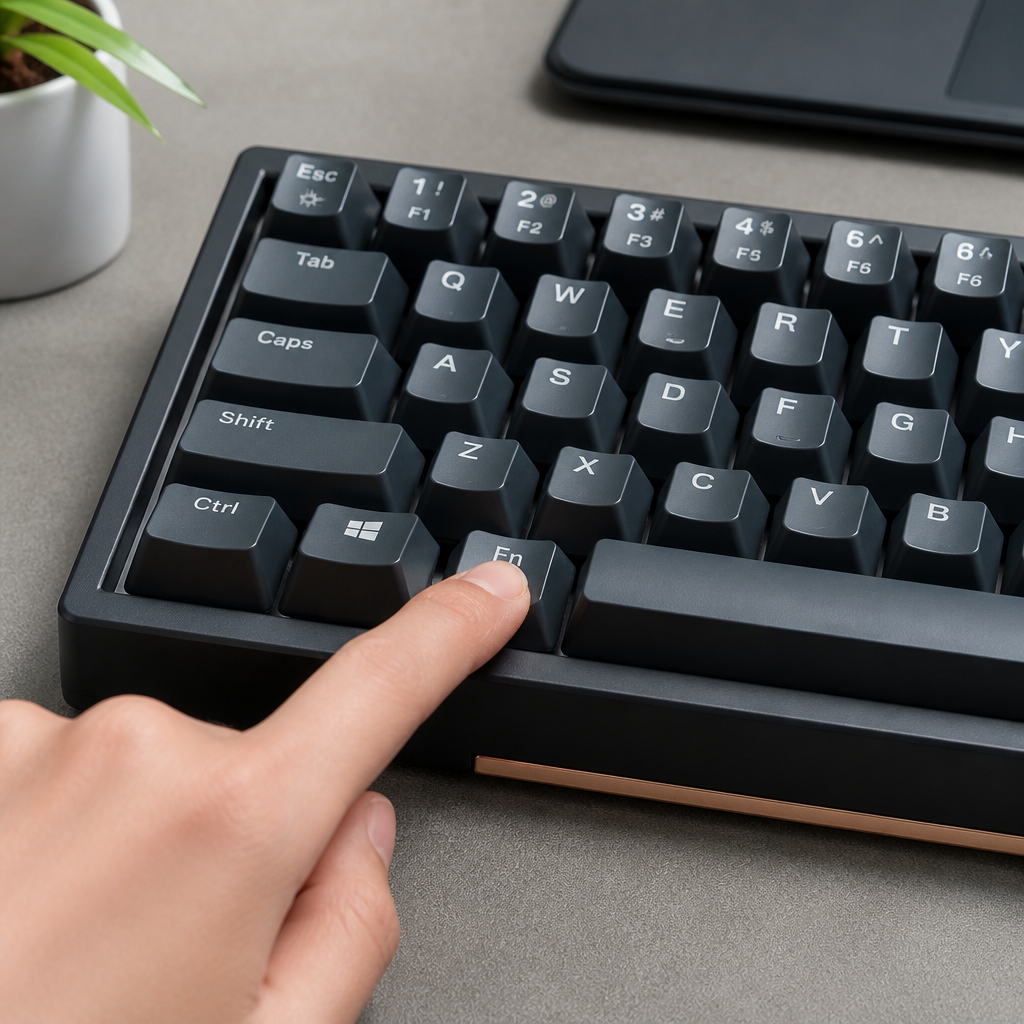
A 60% keyboard’s small size is its main advantage, but it also changes how you access certain commands. Unlike larger keyboards, a 60% model usually lacks dedicated F1-F12 keys, a number pad, or navigation keys like Home and End. To compensate, 60% keyboards use a clever system called a “secondary layer.” You access this layer by holding down a special “Fn” (Function) key alongside other keys. This layered system lets the keyboard perform many more functions than its small size suggests.
60 percent keyboard function key setup
The core concept behind a 60% keyboard’s functionality is the “Fn” key and its secondary layers. This design keeps the keyboard small while providing access to all necessary commands. When you hold down the Fn key, your keyboard temporarily switches to a different command set. For example, on many 60% keyboards, the number keys (1, 2, 3) become the function keys (F1, F2, F3) when you hold down Fn. So, Fn + 1 might be F1, Fn + 2 for F2, and so on. This standard setup helps users quickly learn where their “missing” function keys are.
The Fn key’s location can vary by manufacturer. Some keyboards place it where Caps Lock usually is, while others might put it where the right Alt or Ctrl key would be. _This means if you switch from one 60% keyboard to another, it might take some getting used to the Fn key’s new home._ Most people find that learning these Fn layers takes about one to two weeks of regular use until it feels natural.
For customization enthusiasts, many advanced 60% keyboards come with firmware like QMK (Quantum Mechanical Keyboard) or VIA. These tools allow you to completely remap your Fn layer keys. You can assign any key to any function, create complex shortcuts (macros), and even design multiple layers (like Fn1, Fn2) to switch between. This level of customization is what makes 60% keyboards truly powerful for tasks like coding or gaming.
60 keyboard screenshot shortcut key
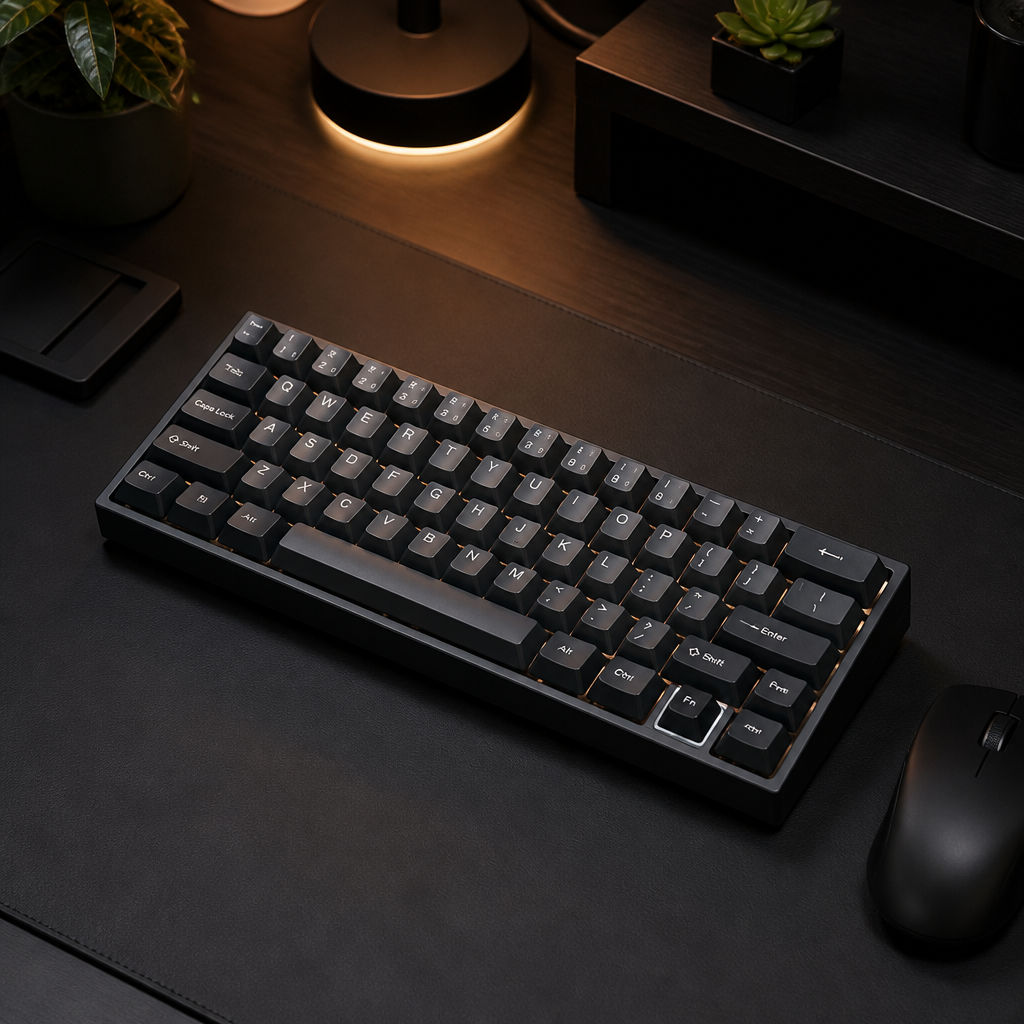
Taking screenshots on a 60% keyboard is different because it usually lacks a dedicated “Print Screen” (PrtSc) key. Instead, you’ll either use a special Fn key combination or rely on tools built into your operating system that don’t need a PrtSc key.
Many 60% keyboards have pre-set “Fn” key combinations for the Print Screen function. These are often found on keys like Fn + P, Fn + Insert, or Fn + Delete. These shortcuts are usually indicated by small symbols on the side of the keycap. For instance, the Ducky One 2 Mini uses Fn + P for Print Screen, while the Anne Pro 2 often uses Fn2 + 0. Always check your keyboard’s manual to find its specific shortcut.
However, built-in operating system tools offer a great alternative. For Windows users, the Windows key + Shift + S shortcut is a highly effective tool. This combination opens a utility that lets you choose exactly what part of your screen to capture—a rectangle, a freeform shape, a specific window, or the full screen. Since it’s an OS feature, it works on any Windows 10 or 11 computer, regardless of your keyboard.
How to Take a Screenshot on a 60% Keyboard
Capturing your screen on a 60% keyboard means getting used to its compact layout and lack of a dedicated Print Screen key. This requires using your computer’s built-in tools, understanding your keyboard’s Fn key shortcuts, or using third-party software. This section will explain the different methods for both Windows and Mac users.
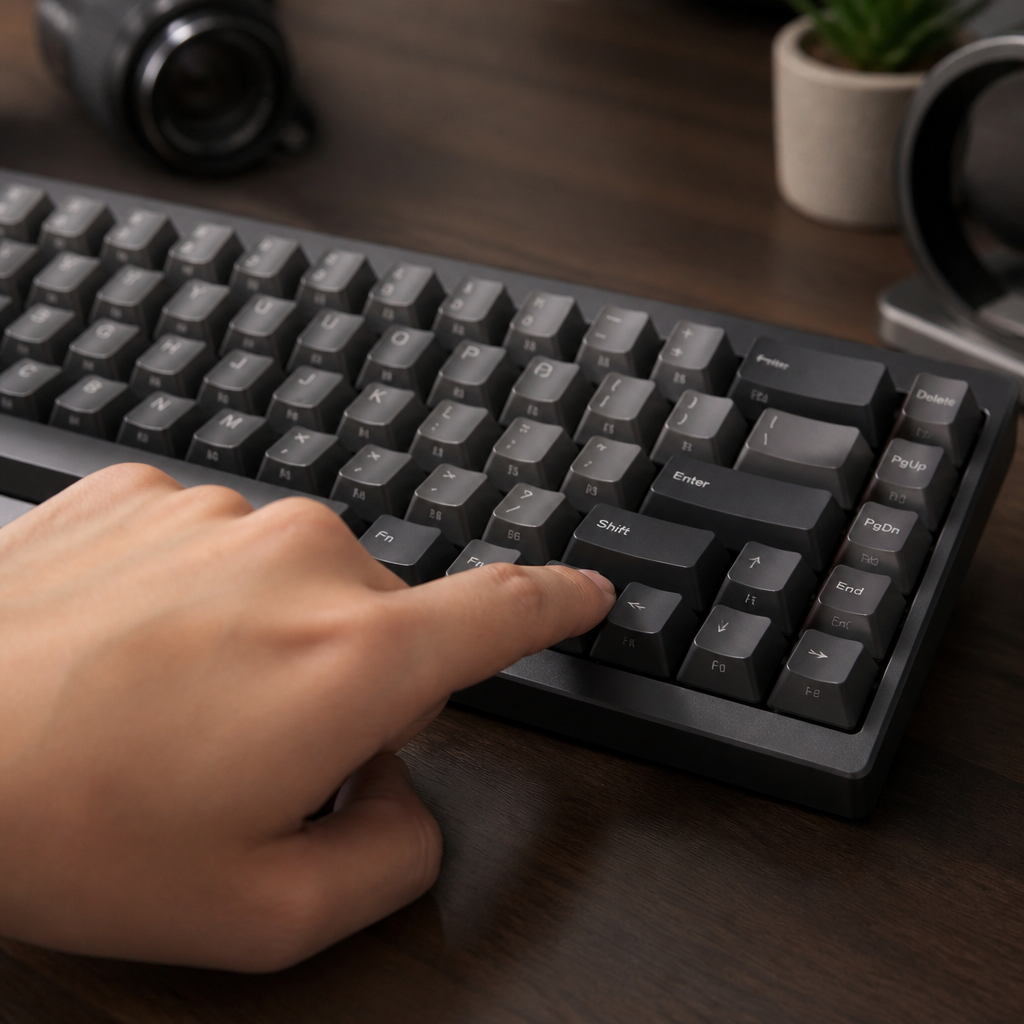
how to screenshot on 60 keyboard without Print Screen key
Since your 60% keyboard lacks a Print Screen key, you’ll need alternative ways to capture your screen. These methods generally fall into three categories: using operating system tools, using your keyboard’s Fn key shortcuts, or installing third-party software.
Pro Tip: For most users, the
Win + Shift + Sshortcut on Windows orCommand + Shift + 5on Mac will cover 99% of their screenshot needs.
The most flexible method for Windows is the Windows key + Shift + S shortcut. This brings up the Snipping Tool, which gives you multiple ways to capture your screen. For Mac users, the OS has never relied on a dedicated Print Screen key, making the transition to a 60% keyboard seamless. All built-in shortcuts use modifier keys (Command, Shift, Control) that are present on every keyboard.
Here is a quick comparison of the primary methods:
| Operating System | Action | Shortcut (on 60% Keyboard) |
|---|---|---|
| Windows | Open Snipping Tool (most flexible) |
Win + Shift + S
|
| Capture active window to clipboard |
Alt + Fn + (PrtSc key)
|
|
| Capture entire screen and save to file |
Win + Fn + (PrtSc key)
|
|
| macOS | Capture entire screen and save to file |
Command + Shift + 3
|
| Capture selected area and save to file |
Command + Shift + 4
|
|
| Open Screenshot Utility |
Command + Shift + 5
|
|
| Copy capture to clipboard |
Add Control key to any shortcut
|
Third-party software like ShareX, Lightshot, or Greenshot offers even more options, allowing you to set custom shortcuts for various advanced features.
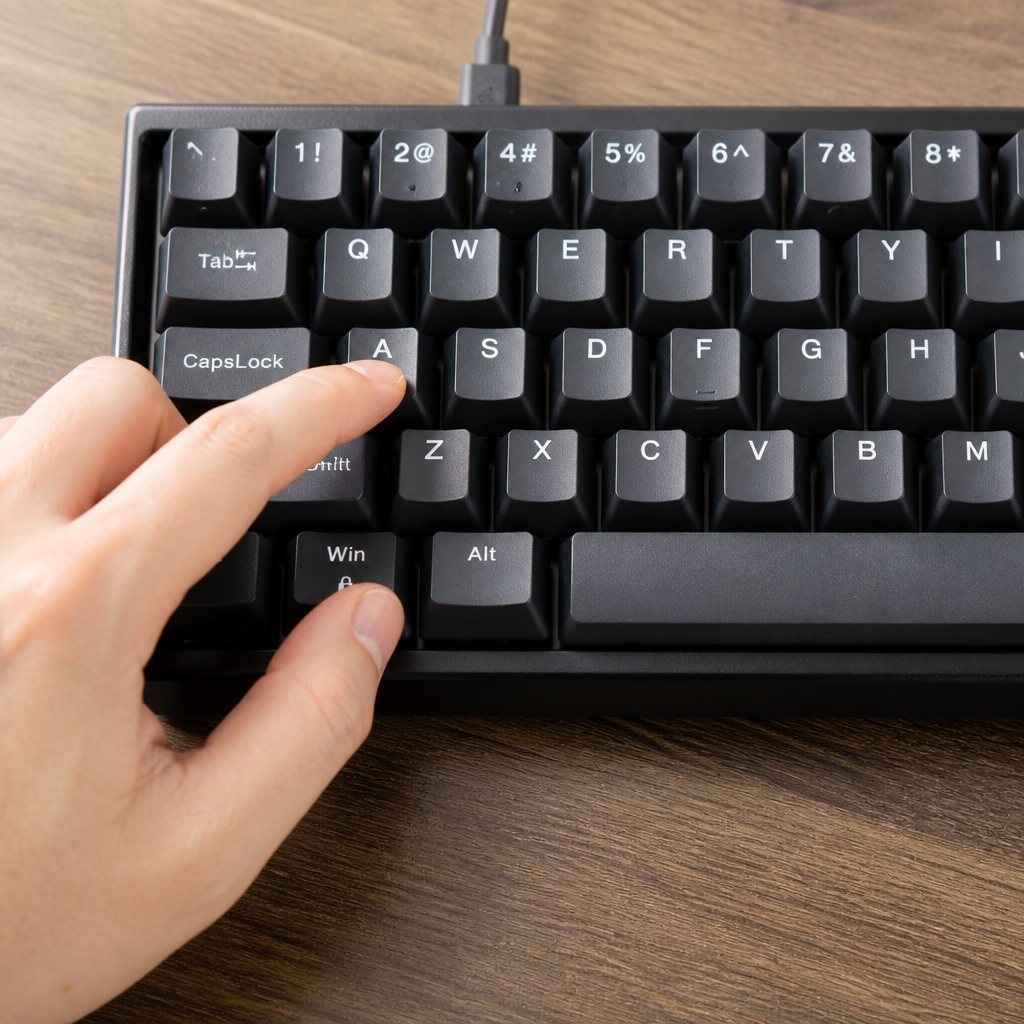
how to screenshot on 60 keyboard Windows 10
In Windows 10, screen capturing on a 60% keyboard involves a mix of native Windows shortcuts and, if available, your keyboard’s unique Fn key combinations.
The most popular and recommended method for Windows 10 users is the Win + Shift + S shortcut. This shortcut activates the Snipping Tool, offering four capture modes:
- Rectangular Snip: Drag a box to grab a specific area.
- Freeform Snip: Draw any shape to capture a custom area.
- Window Snip: Click on an open window to capture just that window.
- Fullscreen Snip: Takes a picture of your whole screen.
After selection, the image is copied to your clipboard, and a notification allows you to open it in the Snip & Sketch app for editing and saving.
If your 60% keyboard has a Print Screen function on its Fn layer, you can use Fn + (your mapped PrtSc key) to capture the entire screen to the clipboard. To capture only the active window, use the combination Alt + Fn + (your mapped PrtSc key). If you want to capture your whole screen and save it automatically as a file, you can use Win + Fn + (your mapped PrtSc key). This saves the screenshot directly into your “Pictures/Screenshots” folder. _Just remember that most screenshots taken with PrtSc combinations are only stored temporarily in the clipboard, so you need that extra step to paste and save them._
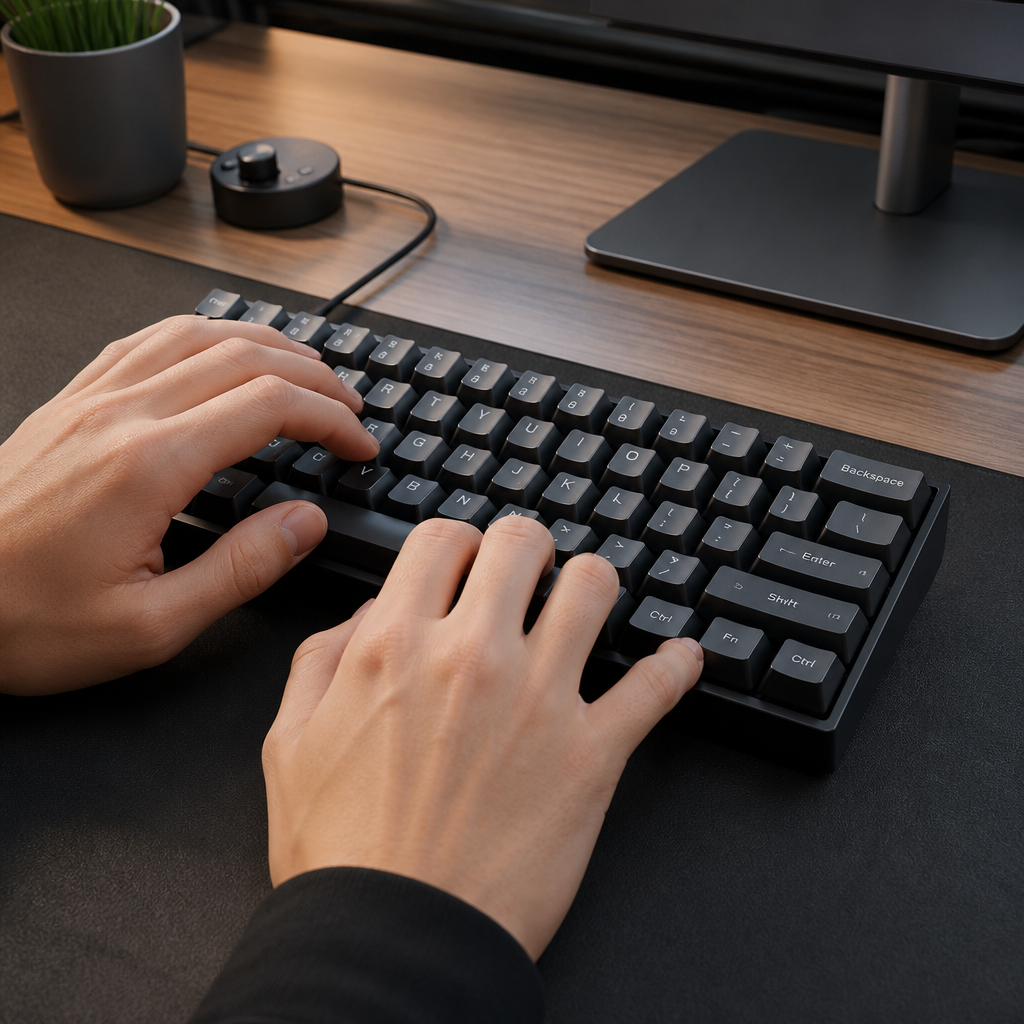
how to screenshot on 60 keyboard Mac
For Mac users, capturing your screen on a 60% keyboard is straightforward. macOS has always used modifier key combinations instead of a dedicated Print Screen key, so 60% keyboards work perfectly with the native tools.
Here are the main ways to take screenshots on a 60% keyboard with macOS:
- Capture the Entire Screen (
Command + Shift + 3): This command instantly captures your entire screen and saves it as a PNG file on your desktop. - Capture a Selected Portion (
Command + Shift + 4): For more precise captures, useCommand + Shift + 4. Your cursor will turn into a crosshair, allowing you to click and drag to select an area. After pressing the shortcut, you can also press theSpacebarto switch to window capture mode. - Use the Screenshot Utility (
Command + Shift + 5): Available in macOS Mojave (10.14) and later, this shortcut opens a powerful toolbar with options to capture the screen, a window, a selection, or even record video. It also lets you choose where to save your captures and set a timer. - Copy Screenshot to Clipboard (Add
ControlKey): If you add theControlkey to the shortcuts above (e.g.,Command + Control + Shift + 3), the screenshot will be copied to your clipboard instead of being saved as a file.
What is the Best 60% Keyboard for Shortcuts?
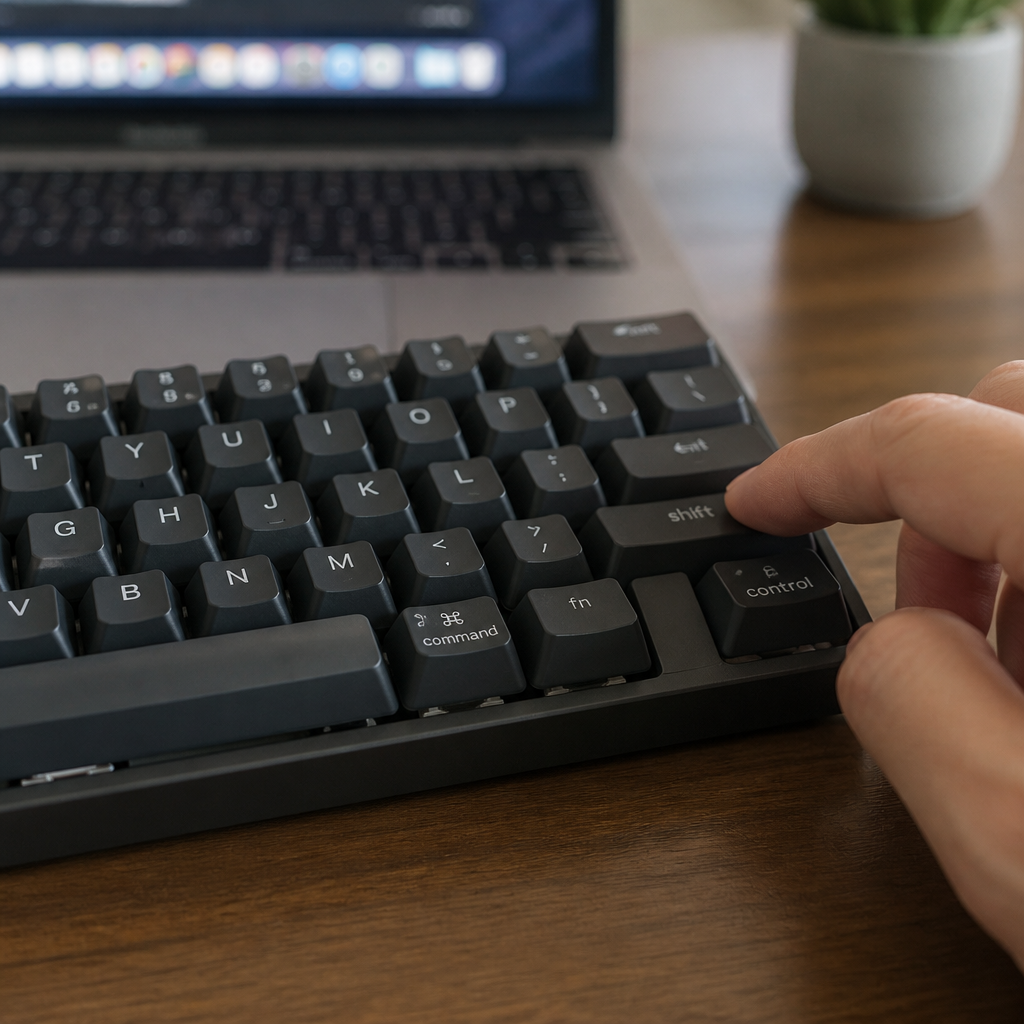
Choosing the perfect 60% keyboard, especially for heavy shortcut use, involves looking beyond aesthetics. The most effective keyboards for shortcut users are highly programmable, have reliable Fn layer functions, offer deep customization options, and use high-quality switches that can handle rapid and frequent key presses.
best 60 percent keyboard for shortcuts
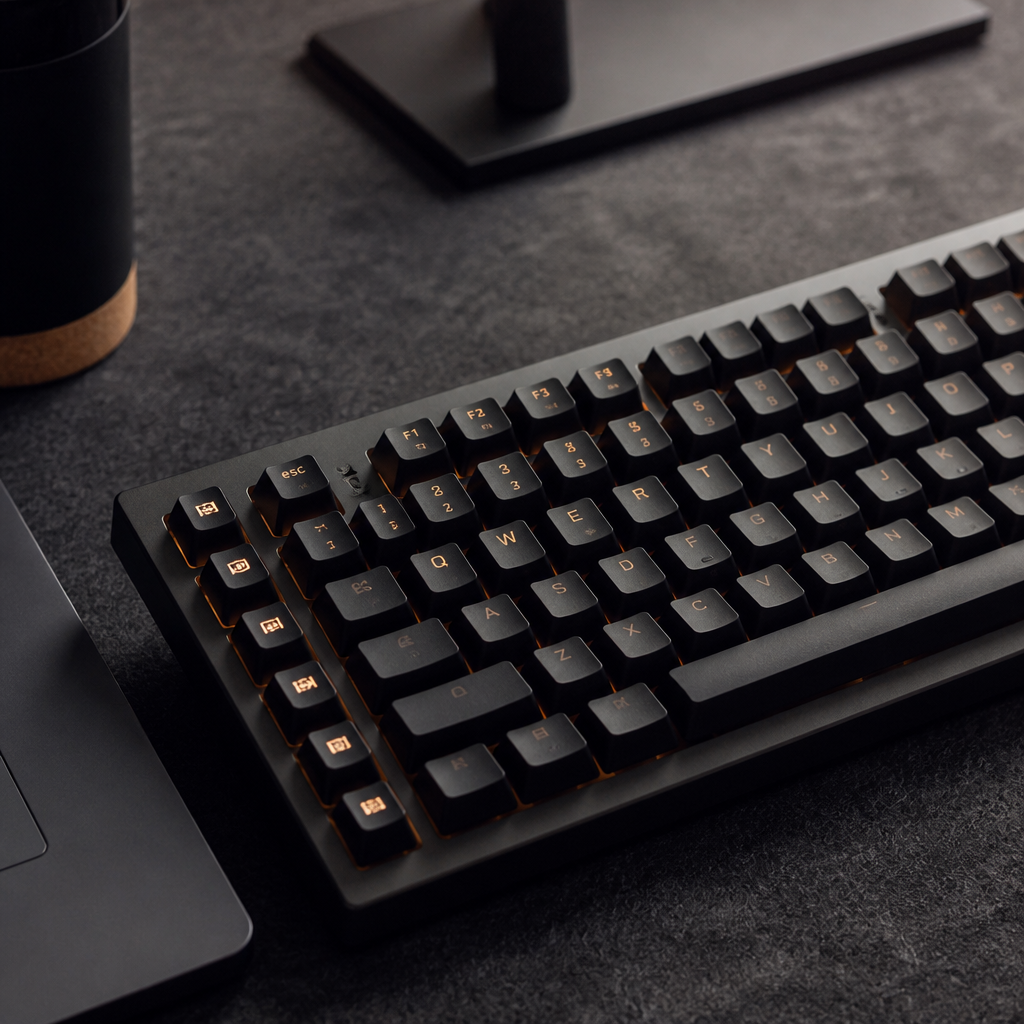
When searching for the best 60% keyboard for shortcuts, programmability is the most critical factor. Keyboards that use open-source software like QMK (Quantum Mechanical Keyboard) or VIA are often considered the most capable for this. Models like the GMMK Compact and KBDFans Tofu60 are excellent because they allow you to customize every single shortcut. This level of control is invaluable for power users who rely on custom shortcuts for coding, video editing, or other demanding tasks.
Other important features for a shortcut-focused 60% keyboard include:
- Hot-swappable switches: This feature lets you change mechanical switches without soldering, so you can experiment with different switch types (linear, tactile) to find what works best for your speed.
- Multiple programmable layers: Keyboards with two to four programmable layers offer more space for custom shortcuts and macros.
- Onboard memory: This saves your custom keymaps directly to the keyboard, so they work on any computer without needing extra software.
- Clear Fn layer legends: Keycaps with side-printed legends showing secondary functions make it easier to learn and use your Fn layer.
- N-key rollover (NKRO): This ensures every key press is registered, which is crucial for complex shortcuts or fast gaming commands.
Several keyboards are consistently praised by shortcut users. The GMMK Compact is a frequent recommendation for its QMK/VIA compatibility and hot-swappable switches. The Ducky One 2 Mini is another top pick, known for its reliable macro recording and high-quality keycaps. For wireless freedom, the Anne Pro 2 offers its own customization software and a unique “tap layer.” Other great choices include the Razer Huntsman Mini and the HyperX Alloy Origins 60. Budget options like the Royal Kludge RK61 provide a solid entry point into programmable keyboards. _For most people, the minor latency of a wireless keyboard isn’t noticeable, but for professional tasks where every millisecond counts, a wired connection might be better._
—
At first, using a 60% keyboard for tasks like taking screenshots might seem challenging due to the lack of dedicated keys. However, by understanding Fn layers and using the powerful screenshot tools built into Windows and macOS, you can quickly adapt and even improve your workflow. Whether using a simple Fn key combination, the flexible Windows Snipping Tool, or the intuitive macOS shortcuts, there are effective ways to capture your screen. Choosing a programmable 60% keyboard can unlock a new level of customization, allowing you to tailor your keyboard perfectly to your shortcut needs.
FAQ
Q1: What is an Fn layer on a 60% keyboard?
A1: An Fn layer is a secondary set of functions on a 60% keyboard, accessed by holding down the “Fn” (Function) key. Since these compact keyboards lack dedicated keys like F1-F12 or Print Screen, the Fn layer maps these functions to existing keys, expanding the keyboard’s capabilities.
Q2: How do I take a screenshot on a Windows 10 PC with a 60% keyboard without a Print Screen key?
A2: The most effective method for Windows 10 is to use the Win + Shift + S shortcut. This activates the Snipping Tool, which lets you capture a specific area, window, or the entire screen. The screenshot is copied to your clipboard for pasting or saving.
Q3: Are Mac screenshots easier on a 60% keyboard compared to Windows?
A3: Many users find Mac screenshots more seamless on a 60% keyboard because macOS shortcuts (like Command + Shift + 3) rely on common modifier keys present on all keyboards. This means you typically don’t need to learn special Fn layer combinations for basic screenshot functions.
Q4: Can I customize my screenshot shortcuts on a 60% keyboard?
A4: Yes. Many 60% keyboards, especially those supporting QMK or VIA firmware, allow for extensive key remapping. You can assign any key combination to trigger a screenshot or create complex macros. Additionally, both Windows and macOS allow you to set custom hotkeys through system settings or third-party software.
Q5: What features should I look for in a 60% keyboard if I use a lot of shortcuts?
A5: For heavy shortcut users, look for keyboards with excellent programmability (QMK/VIA support), multiple programmable layers, onboard memory, clear Fn layer legends on the keycaps, hot-swappable switches, and N-key rollover (NKRO). Keyboards like the GMMK Compact or Ducky One 2 Mini are often highly recommended.

Hi, I’m Alex Morgan.
Welcome to my blog! As a dedicated mechanical keyboard enthusiast, I’m passionate about exploring everything from custom builds to the finest details of switches and keycaps. My goal is to break down specs, sound profiles, and ergonomics to help you find the absolute best keyboard for your setup. Whether you’re a gamer, programmer, or desk setup fanatic, I’m here to share honest reviews and practical recommendations.