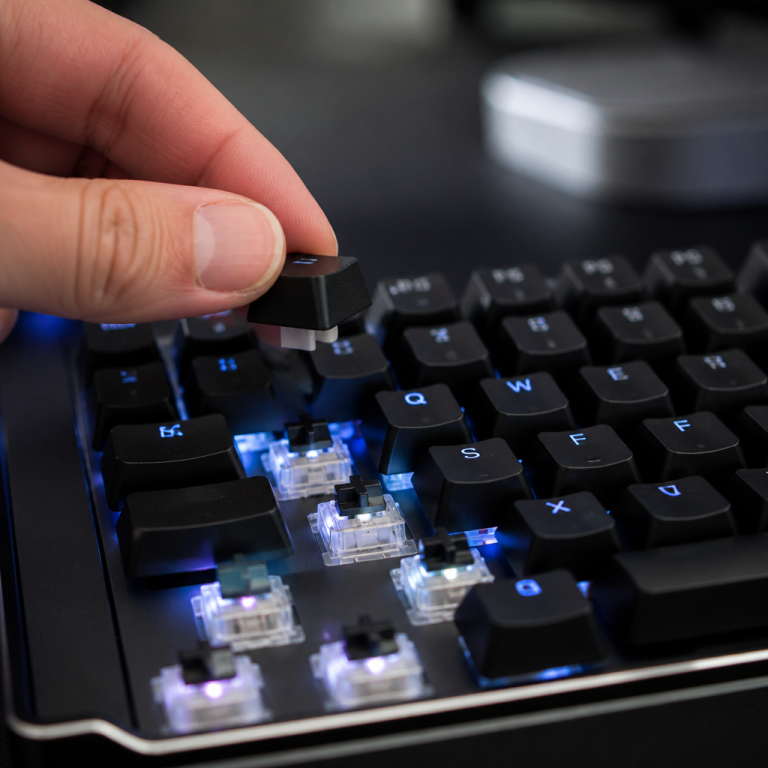
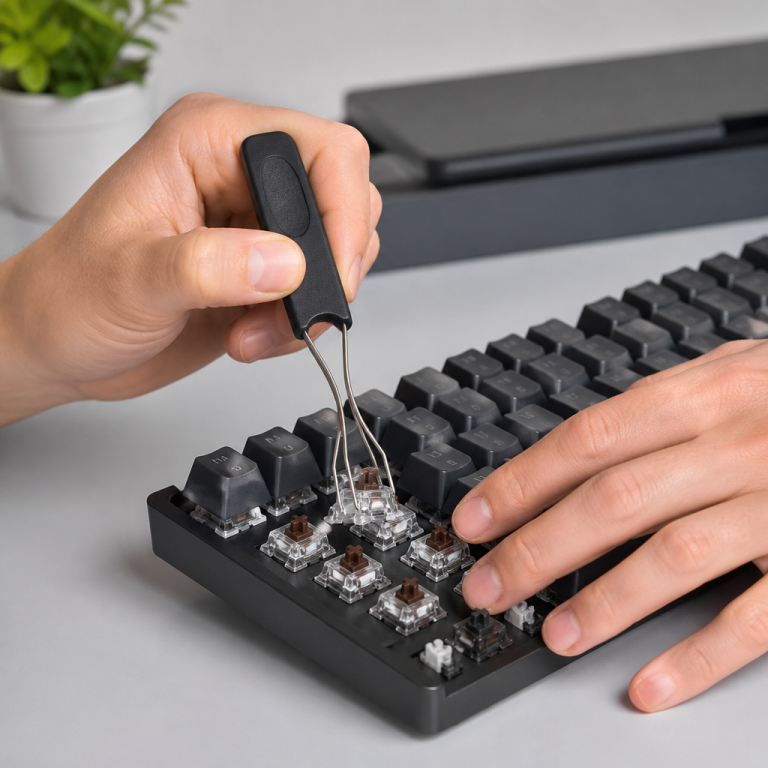
how to remove keycaps: 7 Safe Tips for Easy Cleaning
When I first started customizing mechanical keyboards, cleaning mine after a snack spill felt like defusing a tiny bomb. But once you grasp the simple mechanics, removing keycaps becomes a satisfying part of keyboard maintenance. This skill lets you keep your keyboard clean, swap out caps for a new look, or even change switches. Discover how the exact method depends on your keyboard type and tools, but learning the right techniques prevents damage to your caps, switches, or the keyboard itself.
Keycaps are essentially plastic covers that sit atop the switches, the mechanisms that register keystrokes. Most keycaps have a cross-shaped hole on the bottom that fits onto a matching stem on the switch. You generally need to pull them straight up to remove them. Laptop keyboards, however, often use more delicate scissor mechanisms. Pulling a keycap at an angle can bend the stem or break the switch. To avoid this, apply even, gentle upward pressure from both sides of the keycap. Patience really helps here.
Methods for Removing Keycaps
You can remove keycaps using specialized tools or everyday items. While both methods work, the right tool often makes the process smoother and safer by providing better control and even pressure.
How to Remove Keycaps Without a Tool
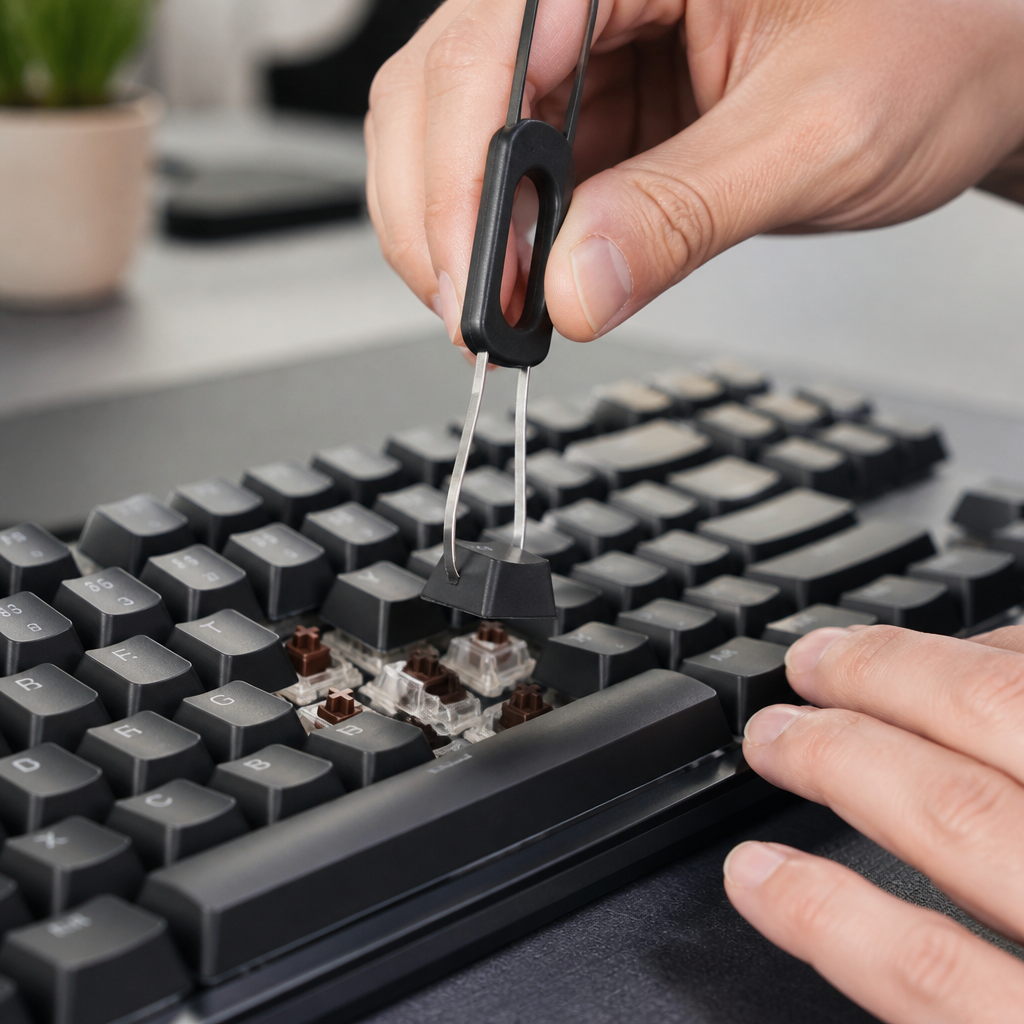
Sometimes you’re in a bind, needing to remove a keycap without a dedicated puller. This involves using household items or even just your fingers. While convenient, it carries a higher risk of damage if you’re not careful. Common items include old plastic cards, like a gift card, or bent paperclips. You can also use two flathead screwdrivers at once. With plastic cards, slide them under opposite edges of the keycap and gently twist to pop it off. The key is applying even pressure, which is challenging with makeshift tools. Keyboard designer Nathan Kim suggests the two-screwdriver method, emphasizing simultaneous lifting from opposite sides for balanced force. _This is likely the best DIY option if you have no other choice._
Improvised tools can significantly increase the risk of damage compared to a proper keycap puller. This is because it’s difficult to apply smooth, controlled force with an object not designed for the task. Although tool-free methods offer a quick fix, they demand extra caution. Always proceed gently and deliberately to avoid breaking the keycap’s stem, cracking the cap, or damaging the switch housing.
How to Remove Keycaps With a Tool
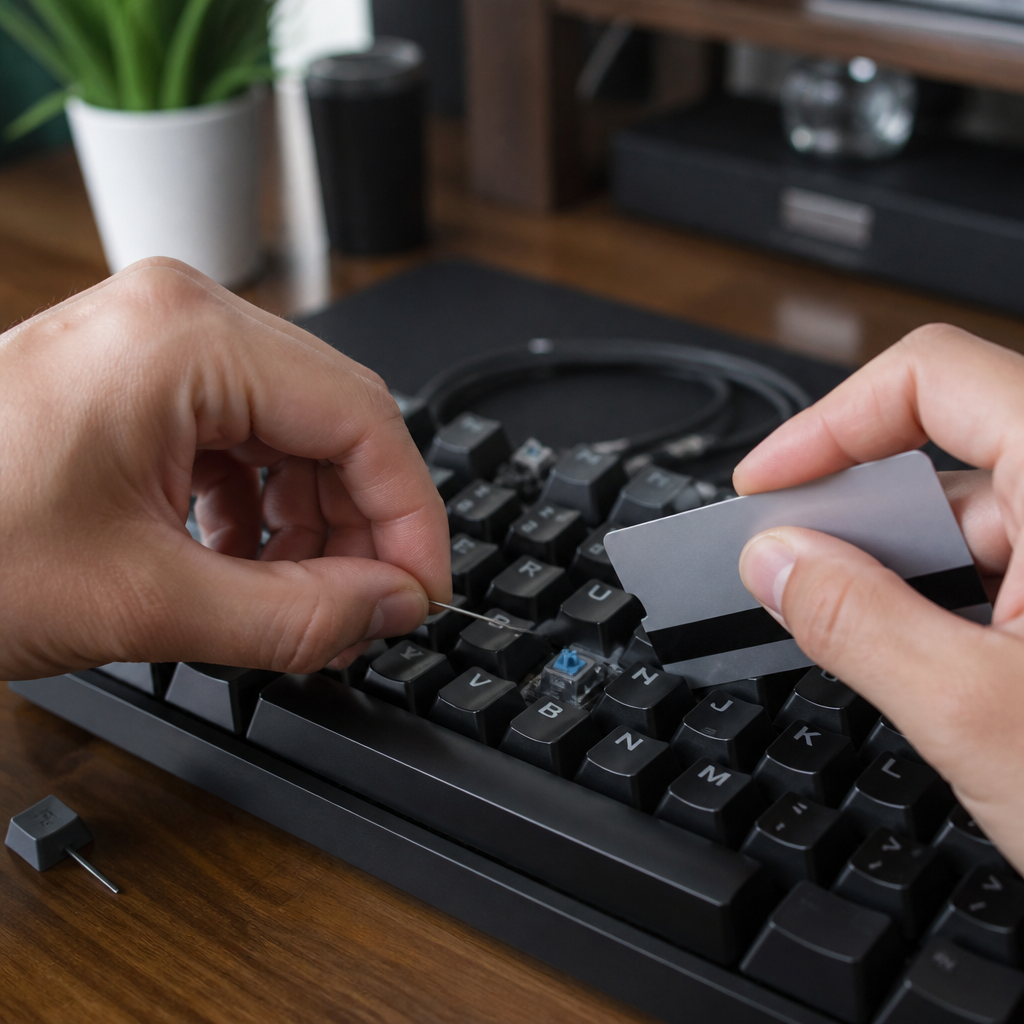
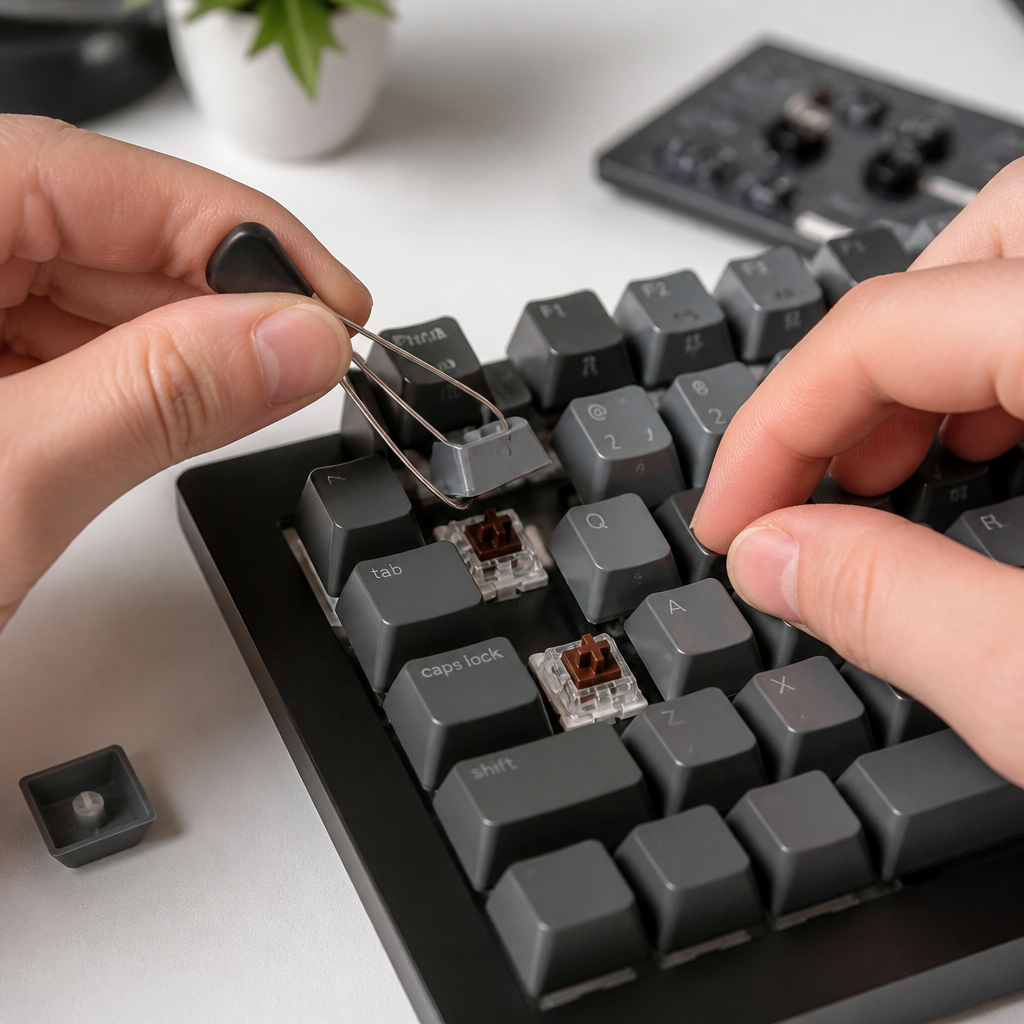
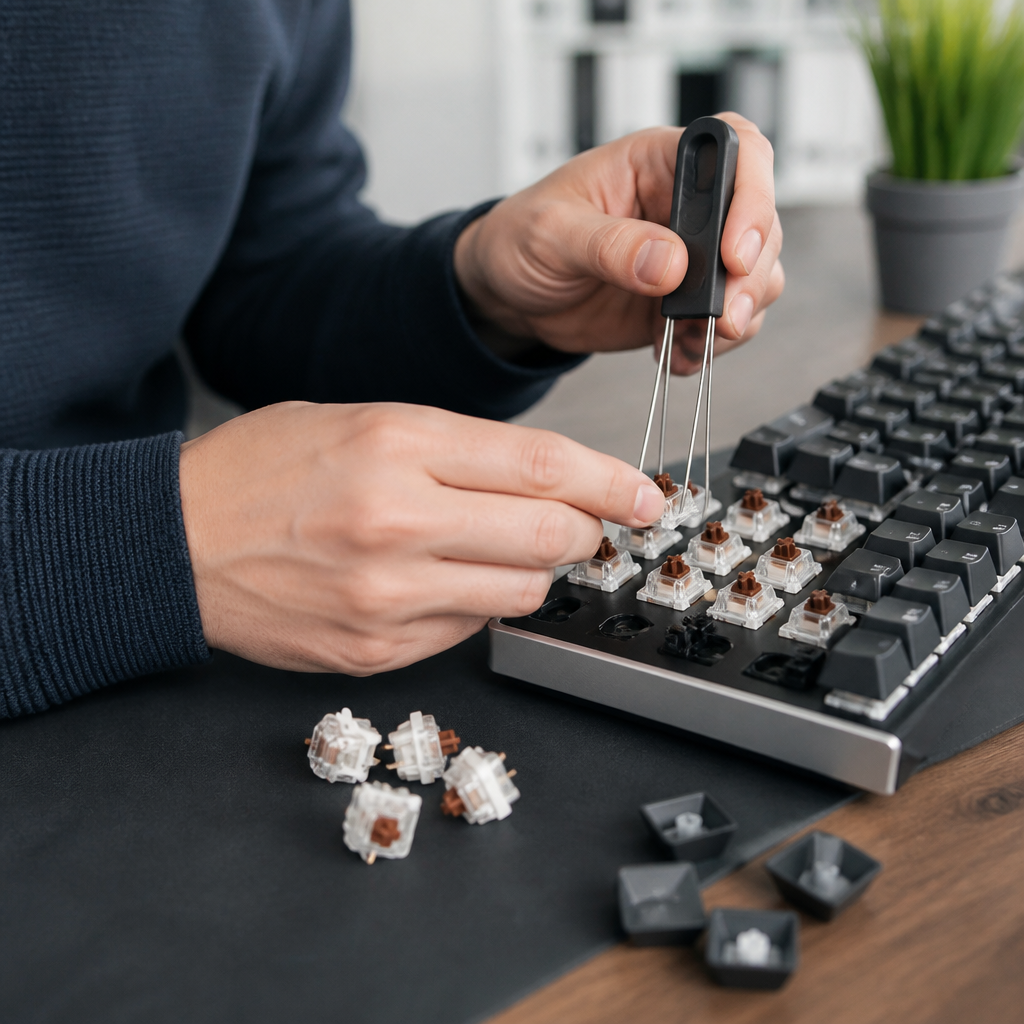
Investing in a proper keycap puller is a game-changer. Tool-assisted removal uses gadgets designed to evenly distribute force, greatly reducing the chance of damage. These tools are important for anyone serious about keyboard maintenance. The two main types are wire pullers and ring pullers.
| Tool Type | Description | Best For |
|---|---|---|
| Wire Puller | Features two thin metal loops that slide under the keycap. | Precision work, larger keys, avoiding scratches on adjacent caps. |
| Ring Puller | A plastic ring that snaps over and grips the keycap. | Quick removal of standard-sized keys, often included with keyboards. |
Wire pullers are a popular choice, especially for larger keys with stabilizers, as they offer more precision. Simpler plastic ring pullers, while functional, don’t provide the same control.
“Wire pullers are superior for 90% of keycap removal tasks because they provide better control and visibility. Ring pullers can scratch adjacent keycaps if you’re not careful, especially on tight layouts.” – Alexotos, Keyboard Designer
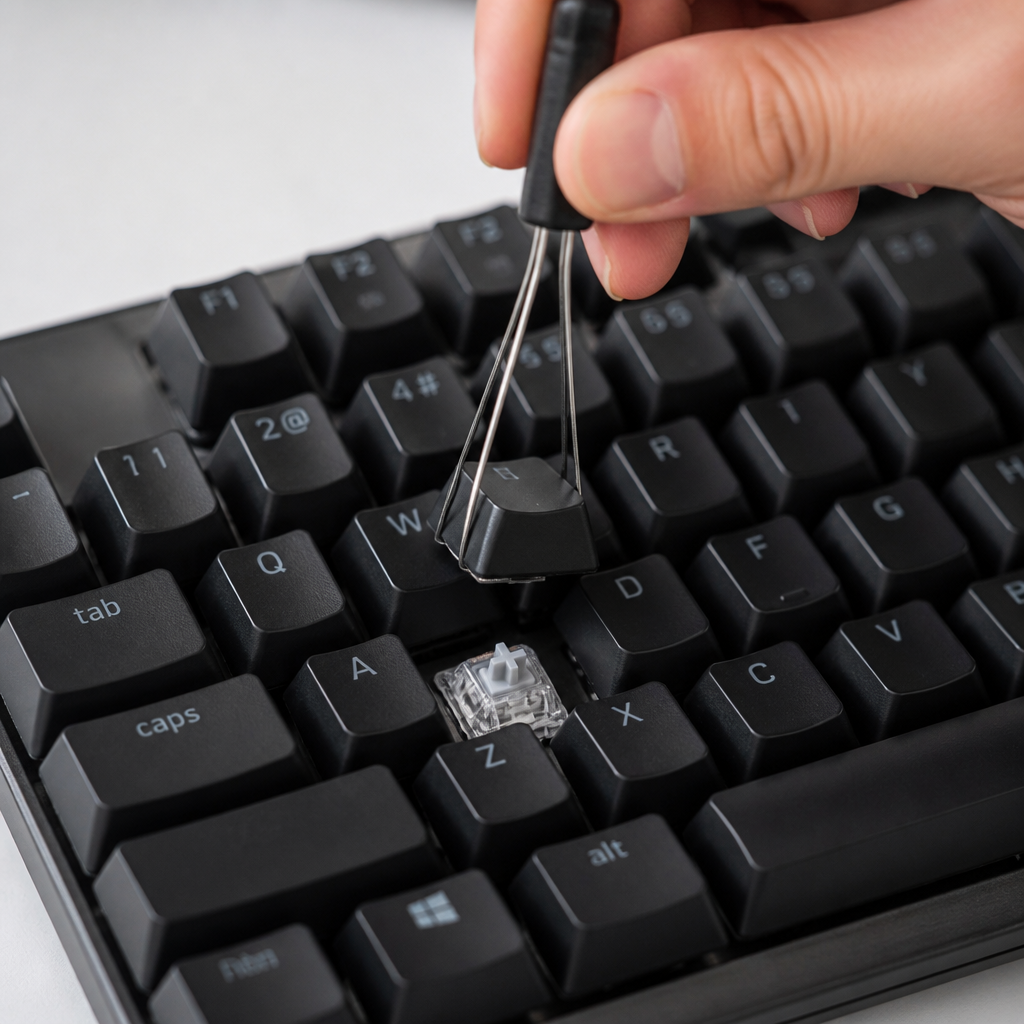
To use a puller correctly, slide its arms or ring under the keycap edges, ensuring even contact. Then, pull straight up with steady pressure, avoiding wiggling. Investing in a quality keycap puller is a small price to pay for avoiding bent stems, broken switches, or cracked keycaps.
Removing Keycaps by Keyboard Type
It’s easy to assume all keycaps remove the same way, but they don’t. The process changes depending on your keyboard type. Different keyboards—from basic membrane models to robust mechanical ones or delicate laptop scissor-switch types—have unique internal structures. It’s important to understand these differences to avoid breaking anything. Before you attempt to pull a keycap, take a moment to identify your keyboard type.
How to Remove Keycaps From a Keyboard
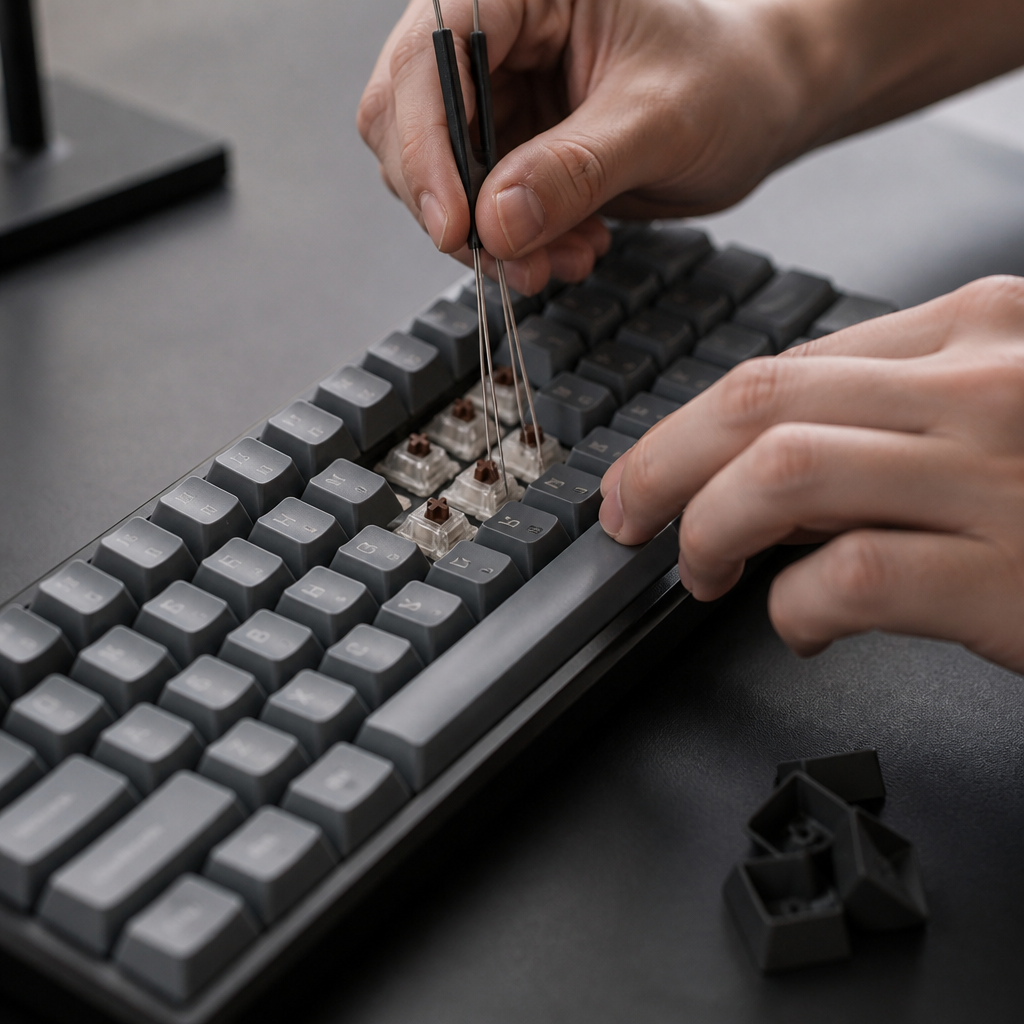
Detaching caps from a standard keyboard is generally straightforward, but a little strategy helps. For membrane keyboards, which have rubber domes under each keycap, removal is usually easy. The keycaps often pop off with minimal force. A systematic approach makes the process stress-free:
- Take a photo of the layout for reference.
- Remove keys systematically, such as row by row.
- Place removed keycaps in a container to stay organized.
- Save stabilized keys (Spacebar, Shift, Enter) for last, as they require special handling.
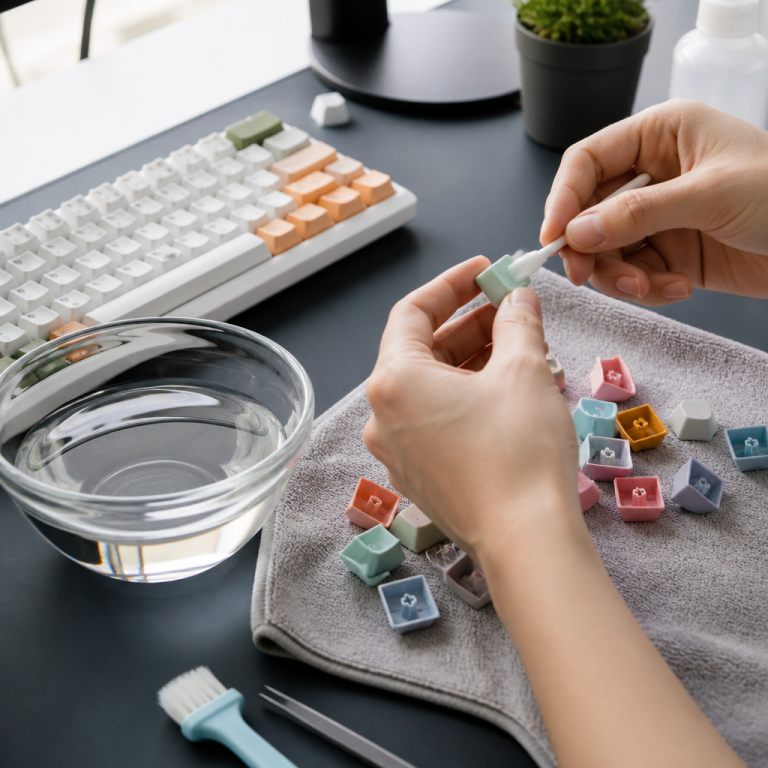
Taking the caps off also offers a great opportunity for a deep clean. With the caps off, you can access the keyboard’s plate and PCB (Printed Circuit Board). I always use compressed air and a soft brush to clear out dust, crumbs, and debris. A thorough cleaning not only makes your keyboard look new but can also improve its feel and longevity.
How to Remove Keycaps From a Mechanical Keyboard
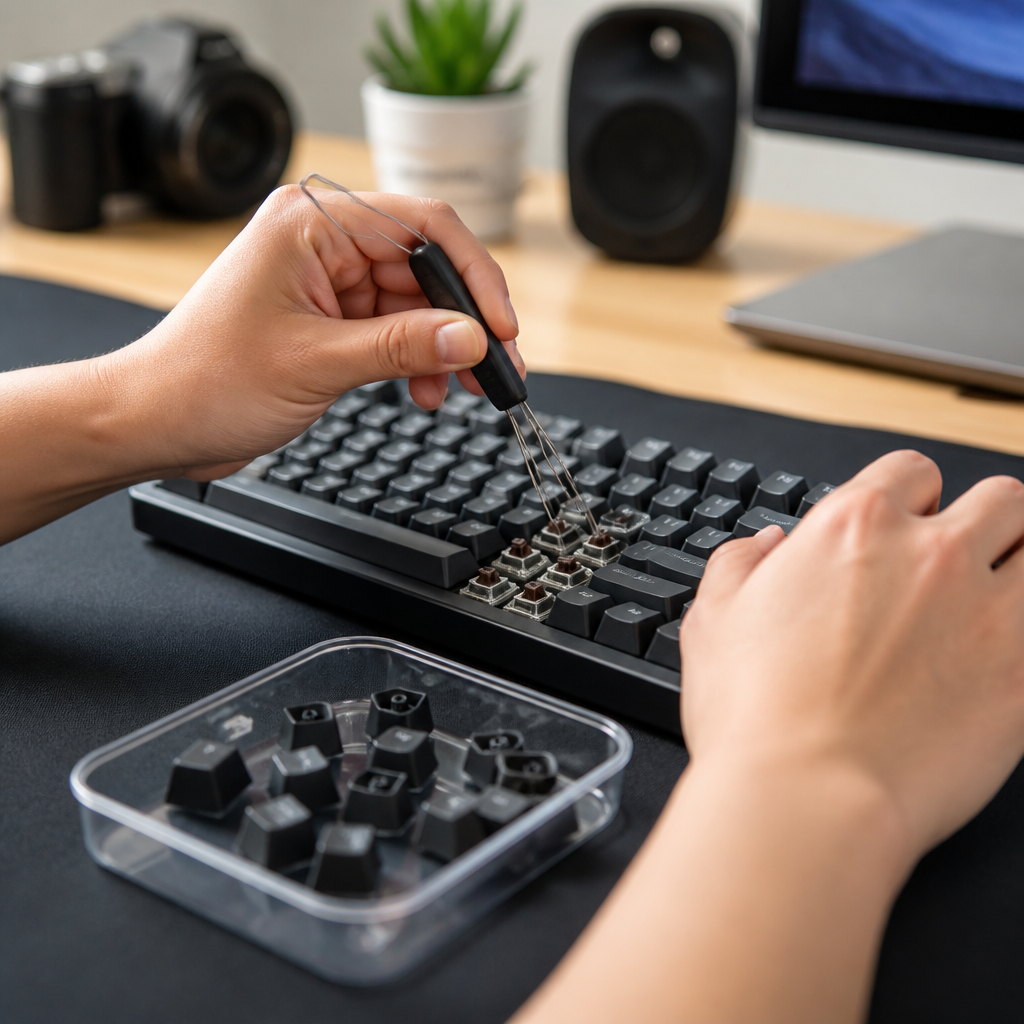
Detaching keycaps from a mechanical keyboard requires more finesse because these keyboards use individual mechanical switches, such as Cherry MX, Gateron, or Kailh types. These switches are more delicate and can easily be damaged. Unlike membrane keyboards, mechanical switches have exposed stems that can bend if you apply sideways force. Therefore, it’s crucial to pull keycaps straight up, vertically, from a mechanical keyboard. Any side-to-side wiggling could deform the stem, potentially causing the switch to malfunction.
For “hot-swappable” mechanical keyboards, a switch can sometimes come out with the keycap if it isn’t perfectly seated. To prevent this, mechanical keyboard creator Shoobs advises, “For mechanical keyboards, always support the switch housing with one finger while pulling the keycap with your other hand or tool. This prevents the entire switch from being yanked out.” This technique stabilizes the switch, ensuring only the keycap is removed.
How to Remove Laptop Keycaps
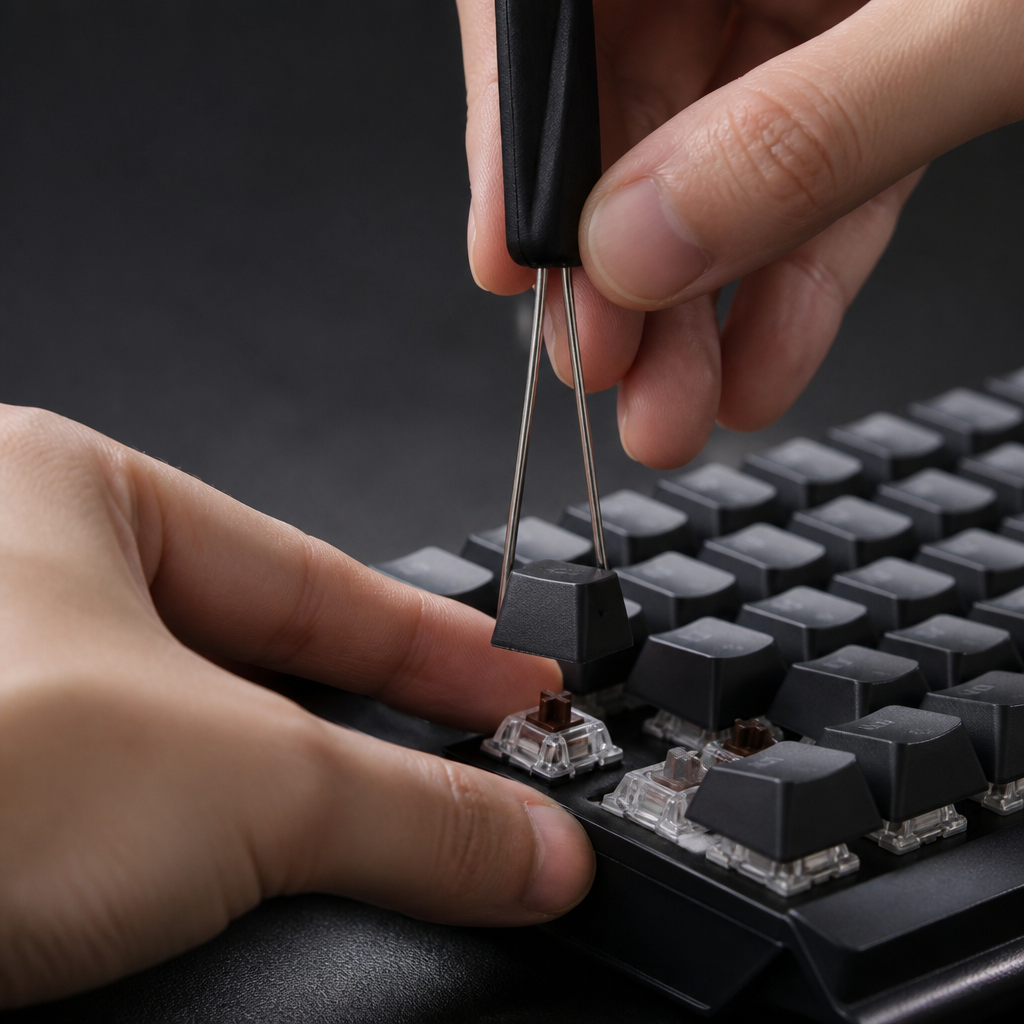
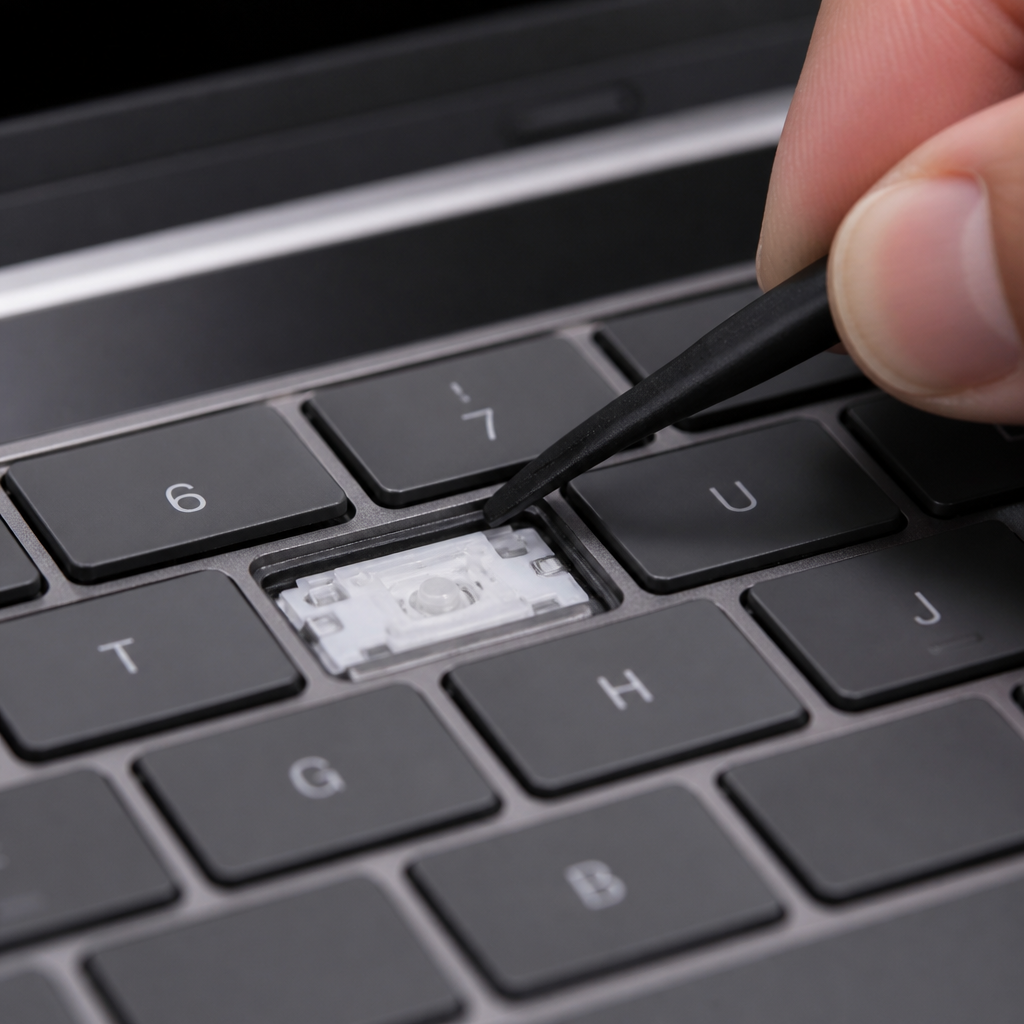
Detaching keycaps from a laptop keyboard is a different matter entirely and often the trickiest. Laptop keycaps usually have “scissor-switch” or “butterfly mechanisms” underneath, which are much more fragile than the sturdy mechanical switches in desktop keyboards. These mechanisms have tiny plastic hinges and clips that can snap easily. _Warning: If you’re considering removing laptop keycaps, proceed with extreme caution._
The recommended method is to gently pry from the top edge of the keycap using a thin, non-damaging tool, like a plastic “spudger” or a guitar pick. Never pry from the sides or bottom. Apple’s “butterfly keyboards” (2015-2019 MacBooks) are particularly notorious for how easily their mechanisms break.
“Laptop keycaps should only be removed when absolutely necessary. The scissor mechanisms have multiple failure points, and replacement parts are often keyboard-specific and expensive. I recommend professional service for laptop keyboard issues unless you have experience with that exact model.” – Louis Rossmann, Electronics Repair Specialist
Special Considerations When Removing Keycaps
Beyond the basic “how-to,” a few extra details can make a big difference in whether your keycap removal project goes smoothly. These are the tips and tricks that help you avoid common mistakes, handle tricky parts like stabilizers, and understand the process for both keycaps and switches.
How to Safely Remove Keycaps
Safely detaching keycaps involves a mindset of careful handling to prevent damage. The fundamental rules are simple: always pull straight up, apply even pressure across the keycap, support the switch or the entire keyboard, and never move laterally. To keep your keyboard parts healthy, follow these key tips:
- Use a container: Immediately place removed keycaps in a bag or container to prevent loss or damage.
- Work on a soft surface: Use a towel or mousepad to protect keycaps from scratches if they are dropped.
- Use the right tool: For expensive or rare keycaps, a wire-style puller is the safest option to avoid marks.
Once the keycaps are off, store them safely. Also, always work on a clean, soft surface to protect your components. Finally, a golden rule to follow: _never force a stuck keycap._ If it’s resisting, gently wiggle it while pulling upward, or check for hidden clips holding it down.
How to Remove Keycaps With Stabilizers
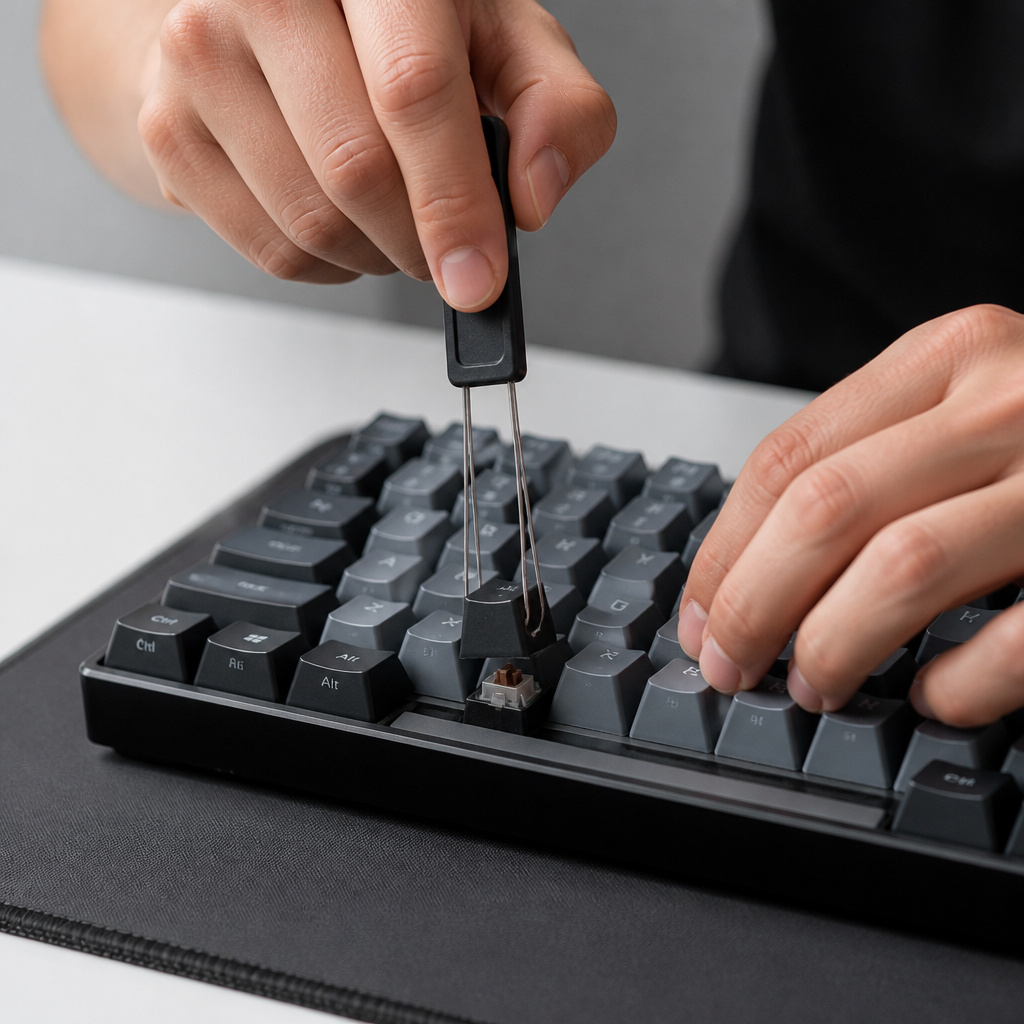
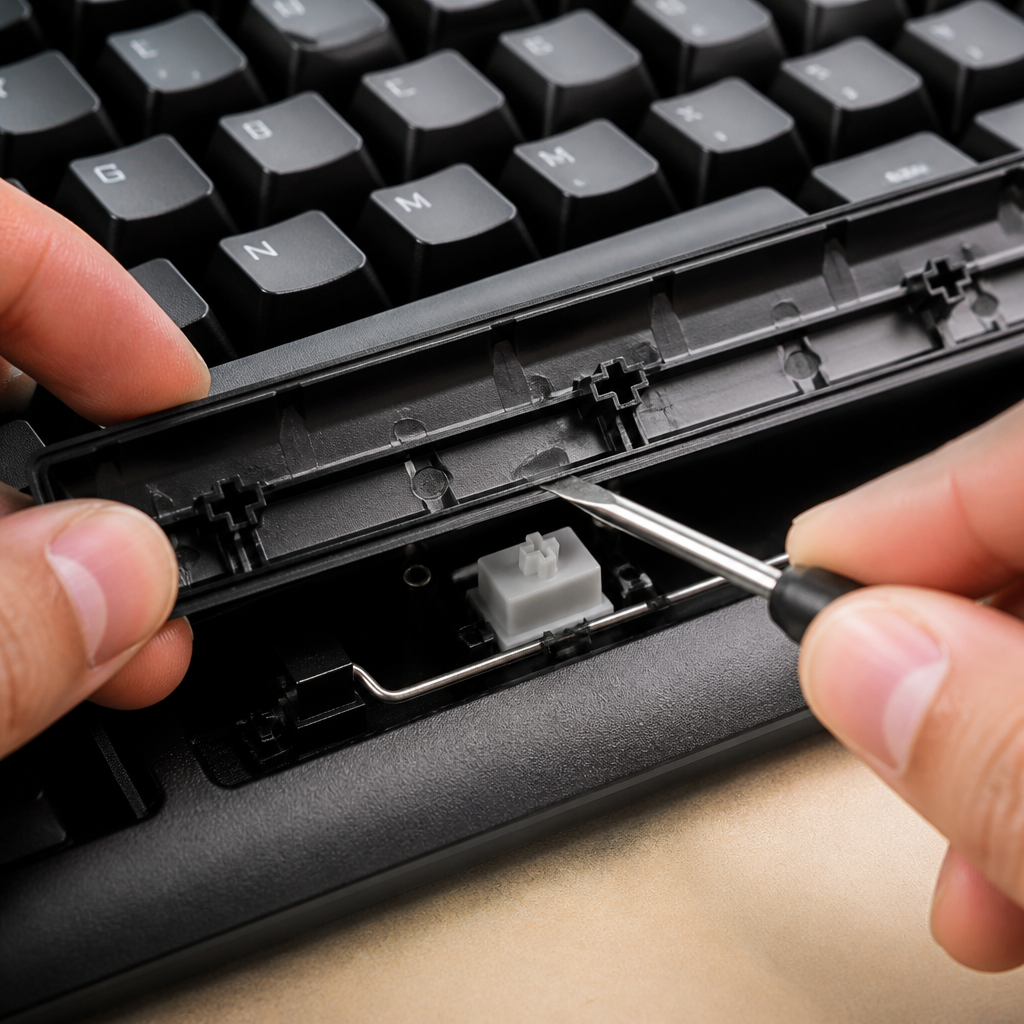
“Stabilizer-equipped” keycaps are the larger keys on your keyboard—think the spacebar, Shift, Enter, and Backspace. They have special mechanisms (usually metal wires) to prevent wobbling. Because of these extra parts, they require more care to remove. You’ll typically find two main types: “Cherry-style” and “Costar-style.” For Cherry-style stabilizers, you can usually pull the keycap straight up with firm, steady pressure. Costar stabilizers, however, are trickier. For these, you must carefully push the keycap insert clips out from under the keycap using a small flathead screwdriver before pulling. Trying to force a Costar-stabilized keycap off will almost certainly lead to broken clips or bent wires. The spacebar is often the biggest challenge due to its length and multiple connection points.
How to Remove Keycaps and Switches
Taking off both keycaps and switches is typically done for larger keyboard projects, like replacing or modifying switches. This is specifically for “hot-swappable” keyboards, which are designed for easy switch swapping. If your keyboard has soldered switches, you won’t be able to remove them without specialized desoldering tools and skills.
For hot-swappable keyboards, first, remove the keycap using standard methods. Then, use a special “switch puller” tool to extract the switch from its socket. Switch pullers grip the north and south sides of the switch, and squeezing them releases the clips holding the switch in place. When reinstalling switches, you must pay close attention to alignment. The tiny pins on the bottom of the switch need to be perfectly straight and aligned with the socket. A single bent pin can damage the delicate hot-swap socket or the PCB.

Hi, I’m Alex Morgan.
Welcome to my blog! As a dedicated mechanical keyboard enthusiast, I’m passionate about exploring everything from custom builds to the finest details of switches and keycaps. My goal is to break down specs, sound profiles, and ergonomics to help you find the absolute best keyboard for your setup. Whether you’re a gamer, programmer, or desk setup fanatic, I’m here to share honest reviews and practical recommendations.