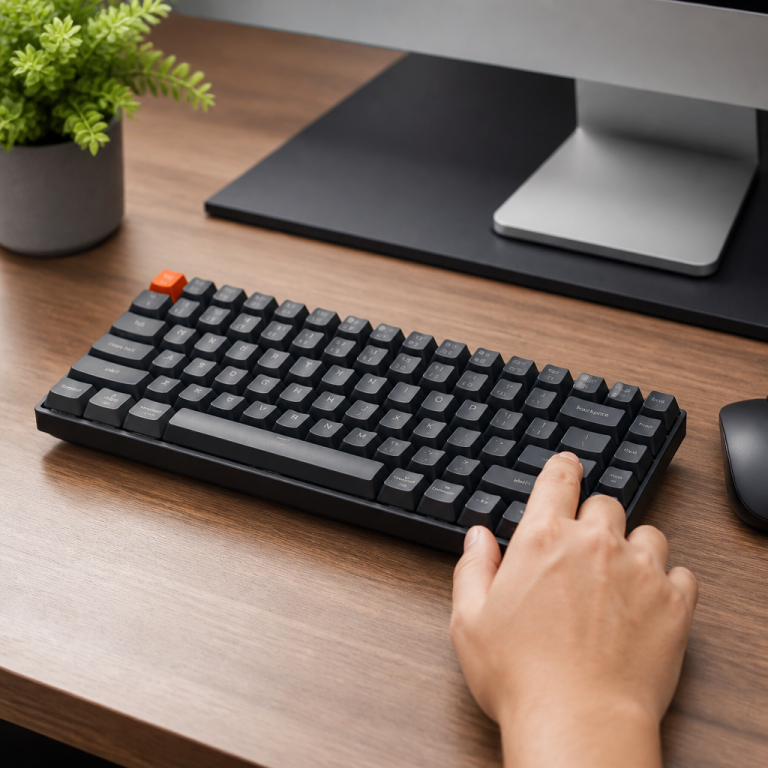
how to take out keyboard switches without tool 2026 Safely
Mechanical keyboards offer incredible customization, especially when it comes to the switches that define your typing feel. While specific tools are often recommended, you might find yourself needing to remove a switch without a puller. The key is understanding your keyboard’s design—whether its switches are easily swappable (hotswap) or permanently attached (soldered). Discover how to safely remove keyboard switches without needing special gadgets, focusing on effective and damage-free methods.
Understanding Keyboard Switch Types and Removal Methods
Before attempting to remove a switch, it is critical to identify your keyboard type. Misunderstanding this difference is a common cause of damage for beginners. The two main types are hotswap and soldered, one designed for easy changes and the other for permanence. Knowing which one you have will save you a lot of headache and potentially your keyboard!
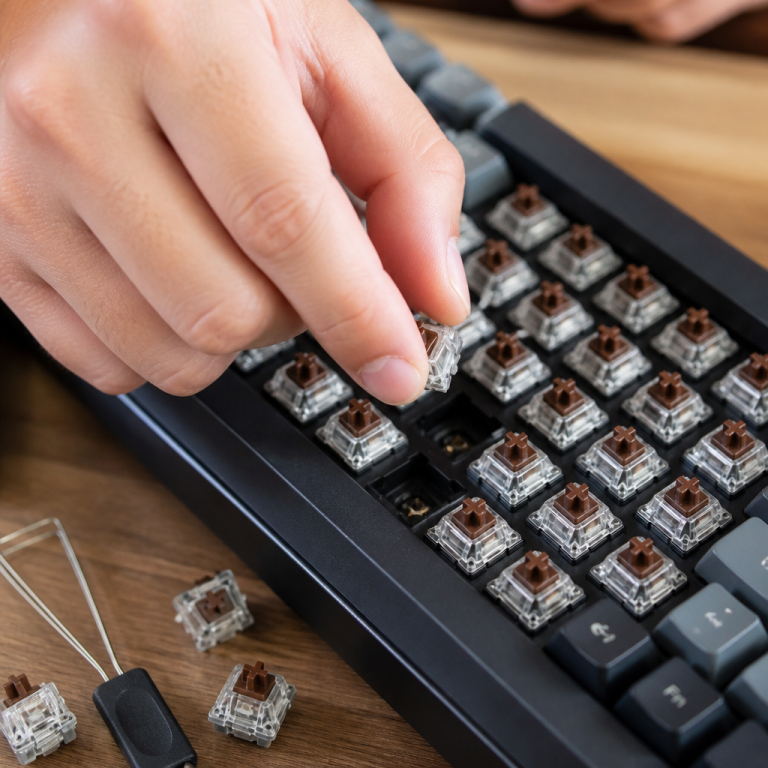
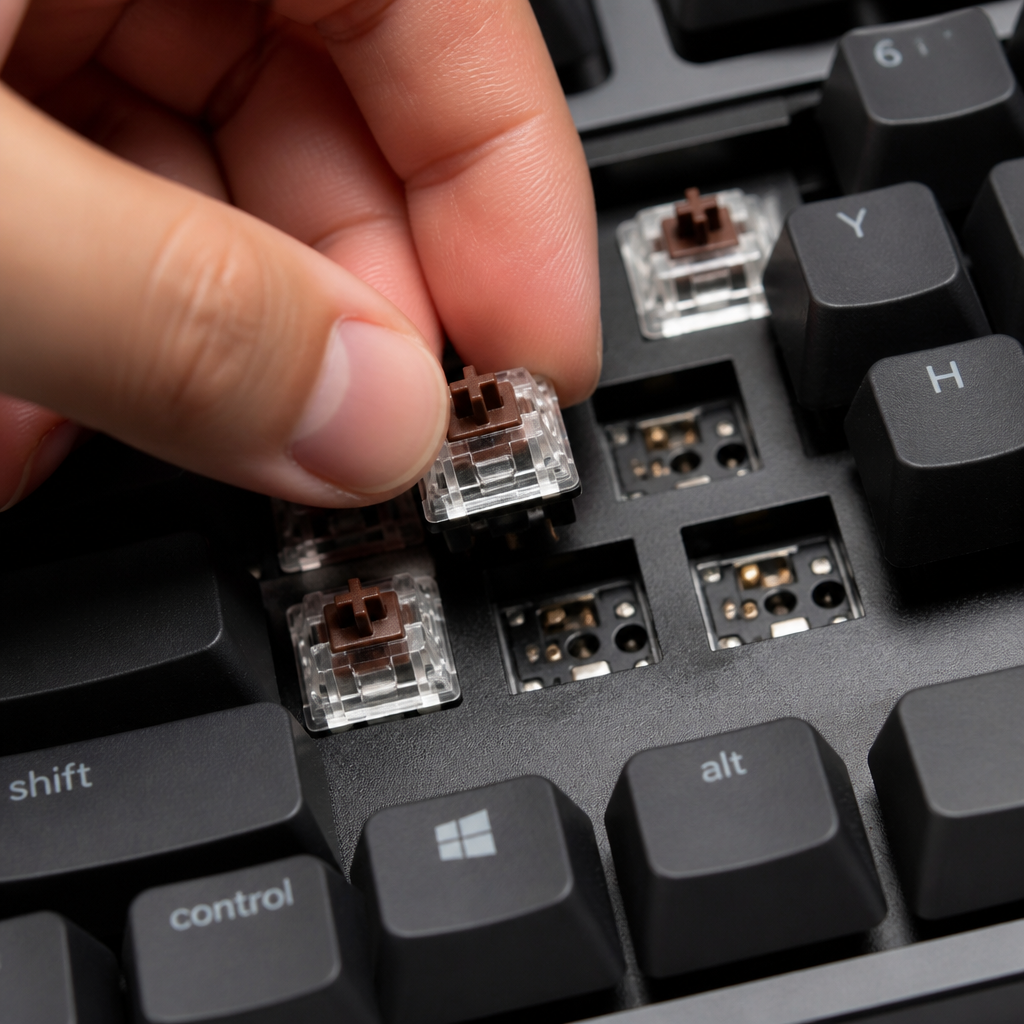
Hotswap keyboards are built for customization, featuring sockets that allow you to pop switches in and out without any soldering. This design makes it simple to experiment with different switch types, much like building with Lego. The sockets, such as those from Kailh or Gateron, are durable and designed to handle many swaps. Mill-Max sockets are even rated for thousands of changes, making them ideal for enthusiasts who frequently update their setup.
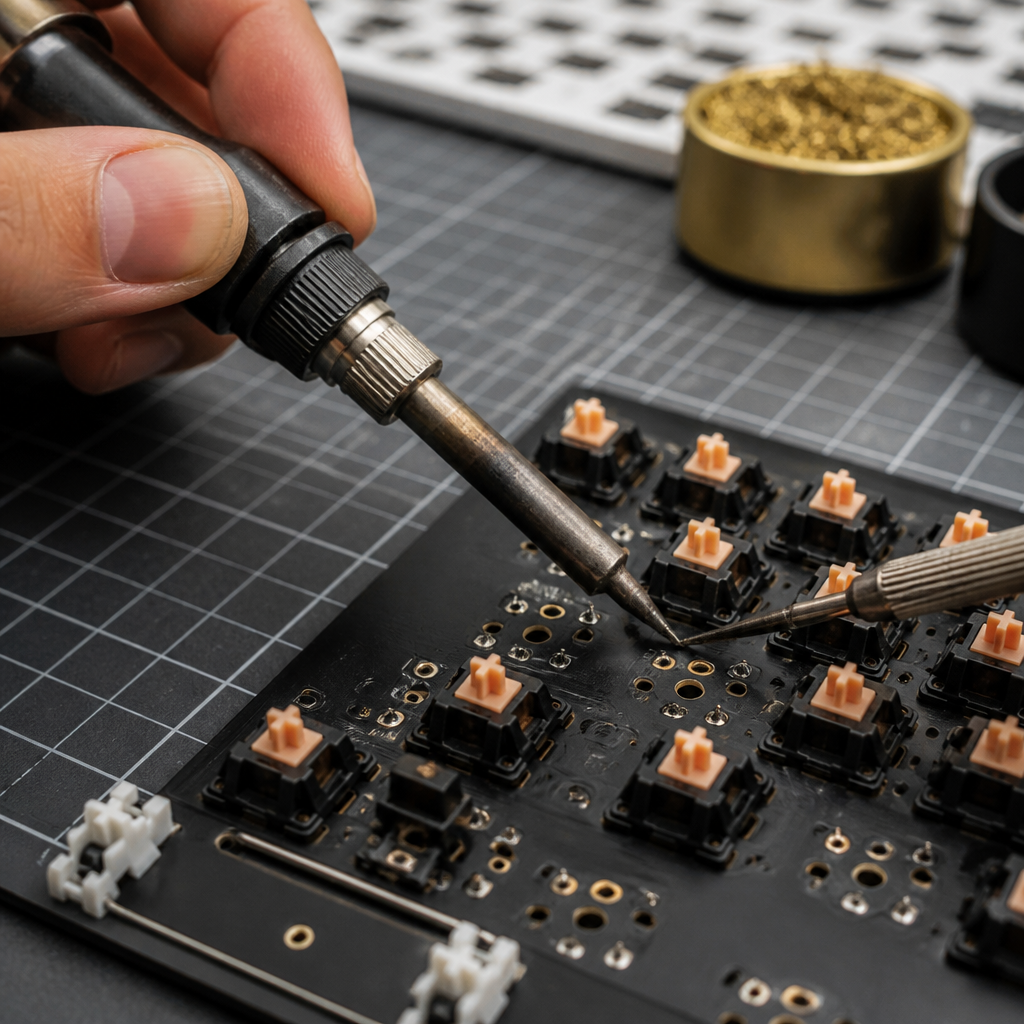
Soldered keyboards are different. Each switch has two metal pins that are soldered to the keyboard’s printed circuit board (PCB). Removing one requires melting the solder with a specialized tool at temperatures around 350-400°C (662-752°F). Attempting to remove soldered switches without proper desoldering equipment carries substantial risks. _Forcing a soldered switch out without desoldering it properly can cause irreversible damage_, like lifting the copper pads off the PCB and destroying the electrical connections.
Hotswap vs Soldered Keyboard Switch Removal
The primary difference between hotswap and soldered boards dictates the removal method, time, and risk involved. Hotswap keyboards are designed for convenience, allowing users to simply pull switches out. In contrast, soldered switches are permanently affixed and require a technical desoldering process.
| Feature | Hotswap Keyboard | Soldered Keyboard |
|---|---|---|
| Removal Method | Pull switch straight up | Desolder pins from PCB |
| Tools Required | Fingers or simple puller | Soldering iron, desoldering pump/wick |
| Required Skill | Minimal | Soldering experience recommended |
| Time per Switch | 2-5 seconds | 30-60 seconds |
| Risk of Damage | Low (bent pins) | High (lifted pads, board failure) |
| Ideal For | Beginners, enthusiasts, frequent modders | Permanent builds, specific custom layouts |
The distinction is crucial: while hotswap allows for improvised removal, soldered switches demand a careful, tool-assisted approach to prevent permanent damage.
Keyboard Switch Removal Techniques for Beginners
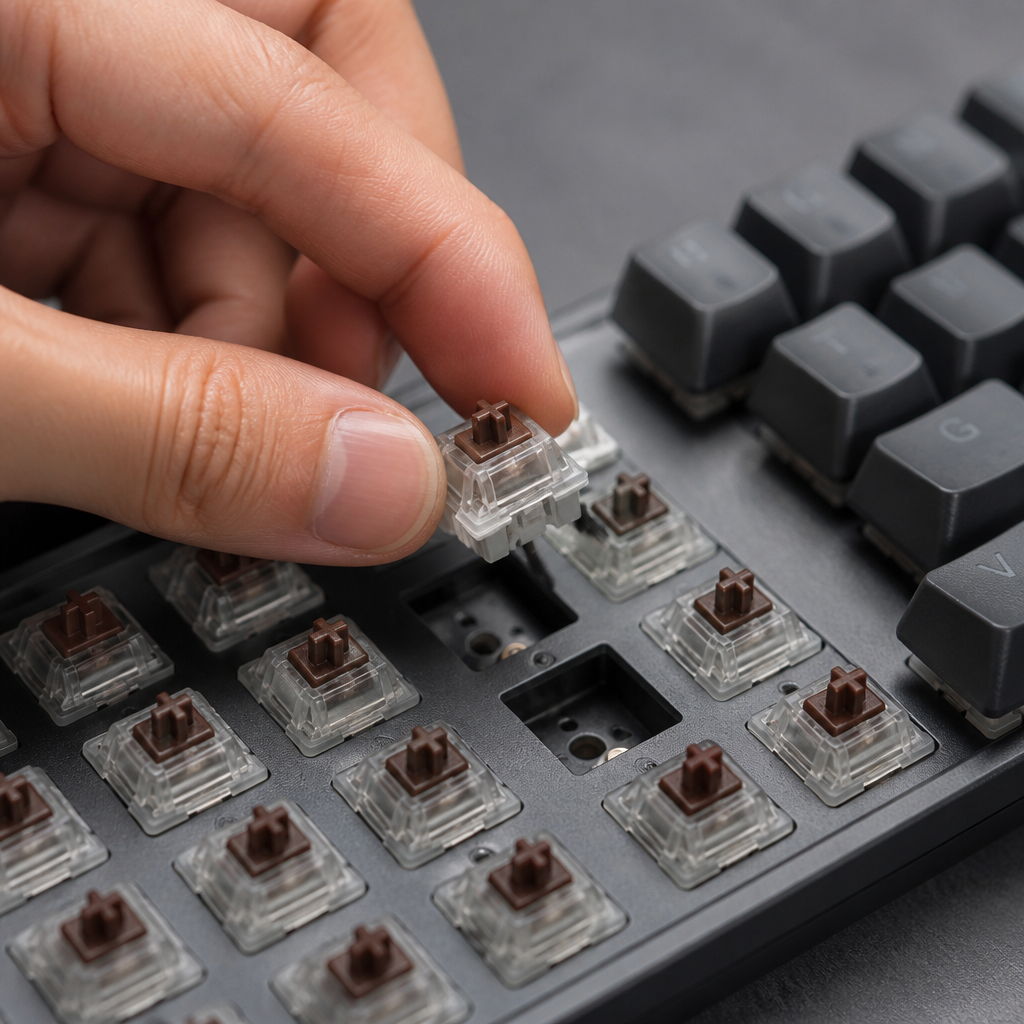
For beginners with a hotswap board, learning the correct removal technique is essential. The process is straightforward but requires a gentle approach to avoid damaging the switch pins or the hotswap socket.
- Remove the Keycap: Gently pull the keycap off the switch. You can use your fingers or a keycap puller.
- Grip the Switch: Firmly grip the switch on its sides, near the small plastic clips.
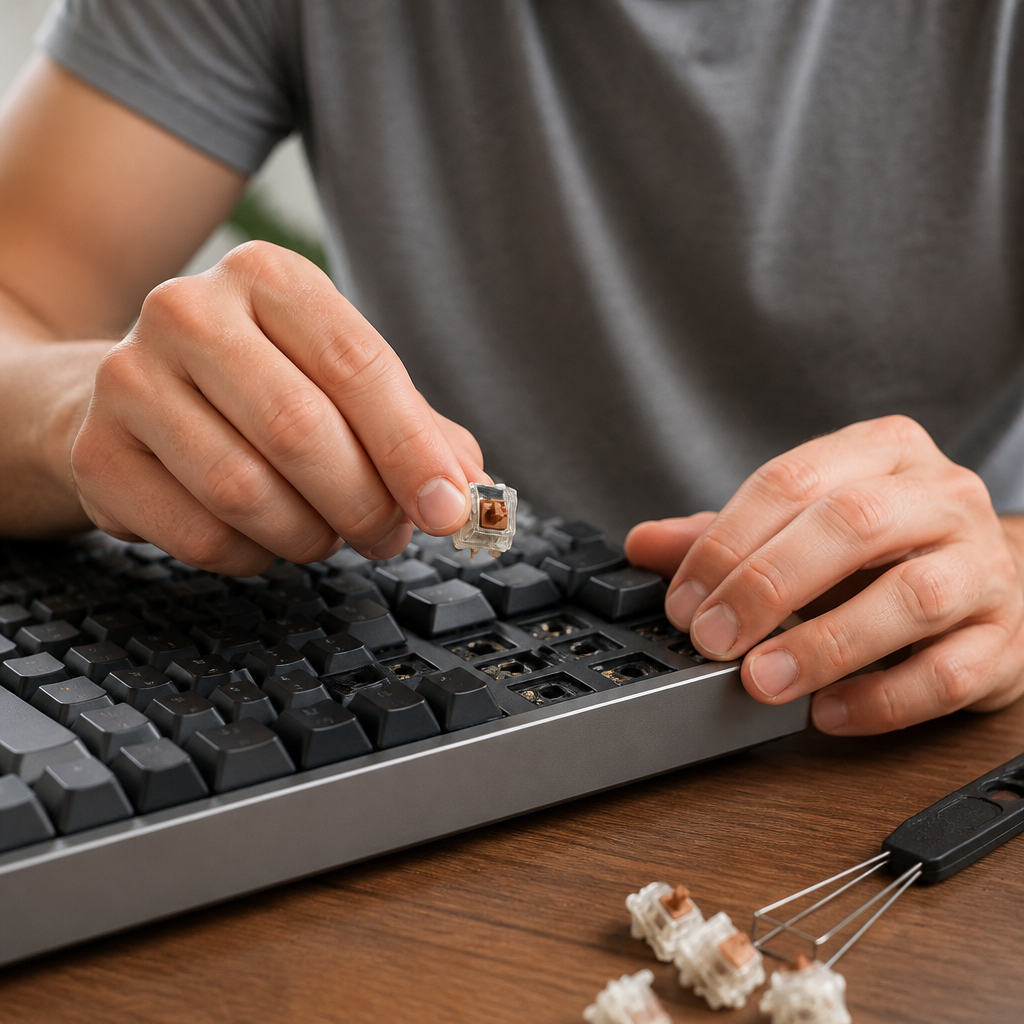
- Pull Straight Up: Pull the switch directly upward while gently wiggling it from side to side. This helps release it from the socket’s friction fit.
The most common mistake for beginners is pulling at an angle, which often results in bent pins. If pins bend, they must be carefully straightened with tweezers before reinsertion. Pulling too hard can also damage the hotswap socket, preventing it from holding switches securely in the future. If a switch feels stuck, you can loop a thin, sturdy string like dental floss around it for better leverage. Patience and a firm, steady hand are your most important tools here.
How Can You Remove Keyboard Switches Without a Switch Puller?
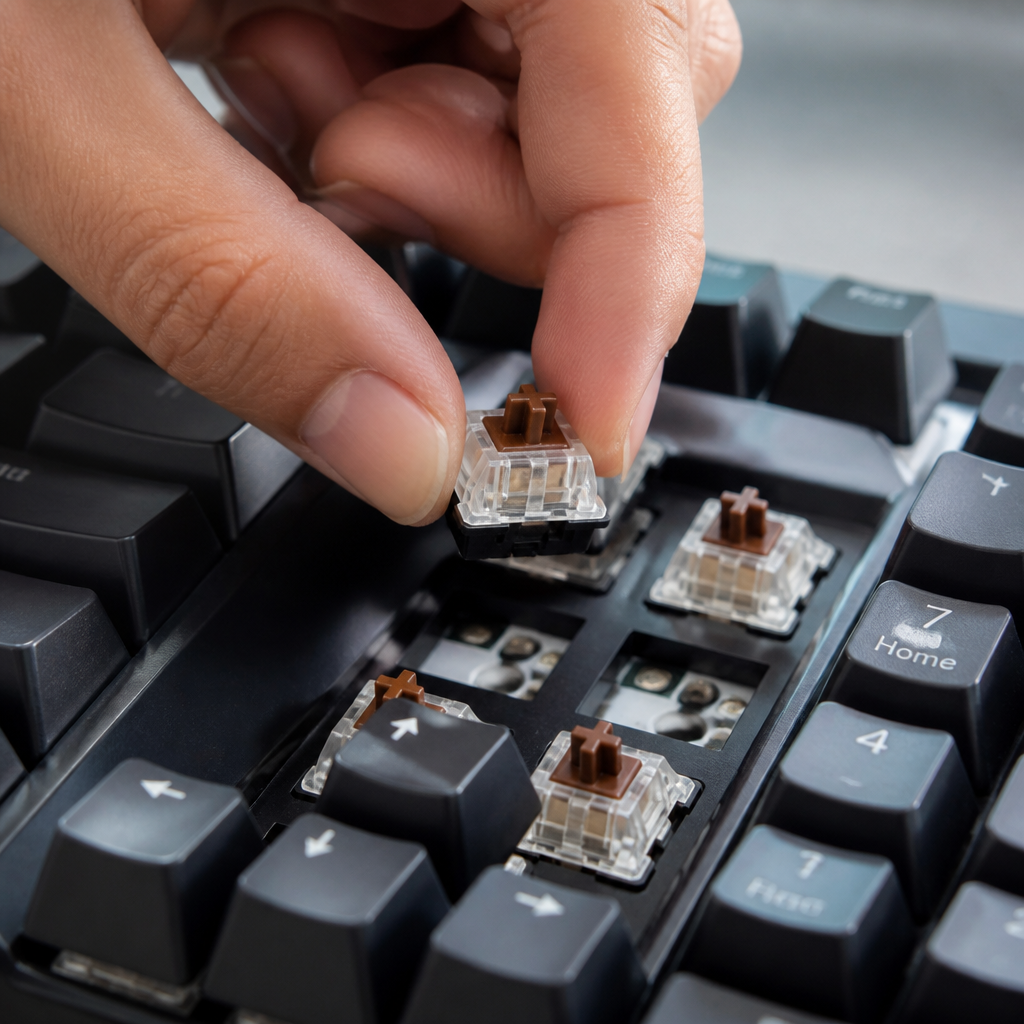
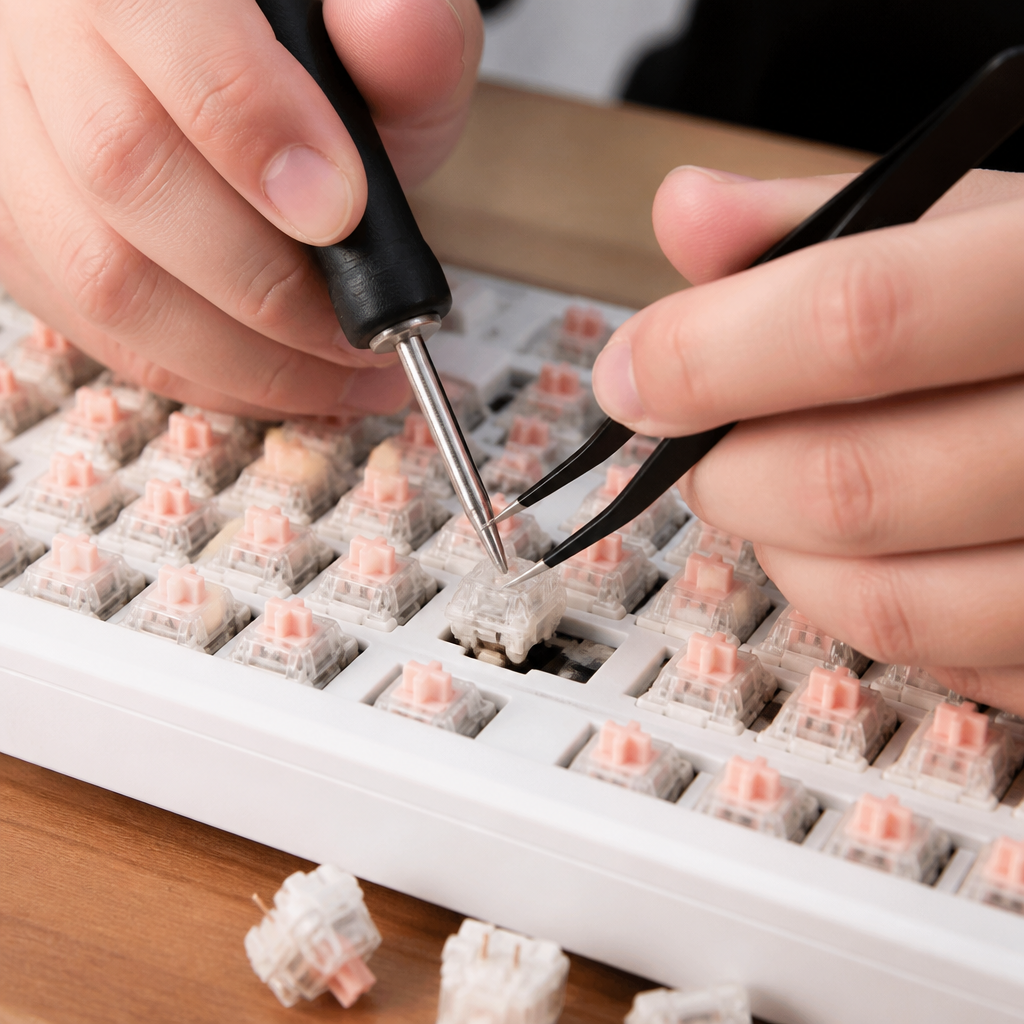
Even with a hotswap keyboard, you may not always have a dedicated switch puller on hand. Learning to use everyday items is a valuable skill for any keyboard owner. The objective is to find a way to grip the switch housing and apply steady, upward force to release it from the socket.
How to remove keyboard switches without a switch puller
Several common household items can effectively substitute for a switch puller. These methods focus on releasing the switch’s retaining clips and lifting it out evenly. The key is applying even pressure on both sides of the housing to prevent pin bending.
Here are a few proven improvised tools:
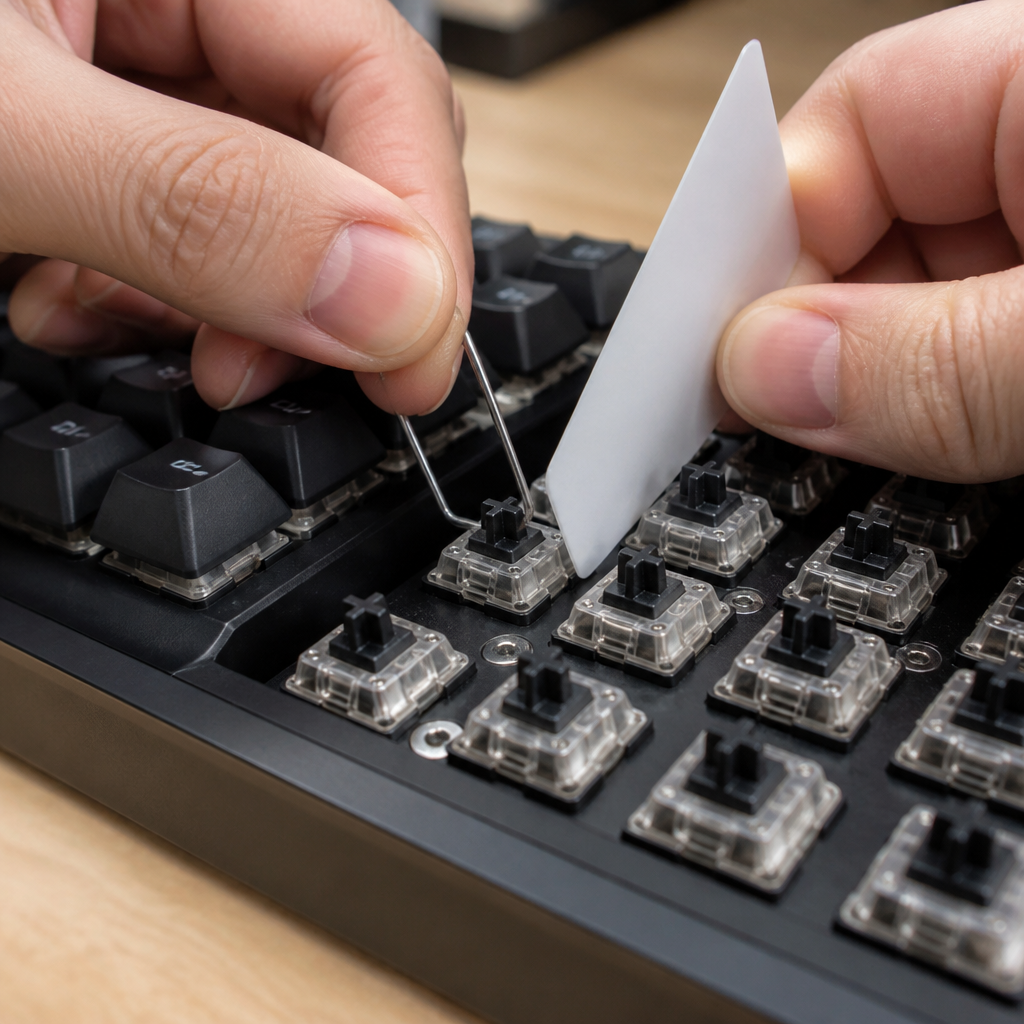
- Plastic Cards: An old gift card, loyalty card, or a guitar pick can be used as a small lever. Slide the edge between the switch and the plate and gently twist while pulling up.
- Small Flathead Screwdrivers: Using two small screwdrivers (like those for eyeglasses), position one on each side of the switch to mimic a puller and lift simultaneously.
- Bent Paperclip: A standard paperclip can be bent into a ‘U’ shape to create a hook that grabs onto the switch’s latches.
A 2023 community survey revealed that 34% of users simply use their hands, while 28% rely on improvised tools, confirming the viability of these methods. For better finger grip, you can wrap rubber bands around your fingertips or wear rubber gloves. _However, if your switches are in a really tight spot with little clearance, using your fingers might be tricky._
How to open keyboard switches safely
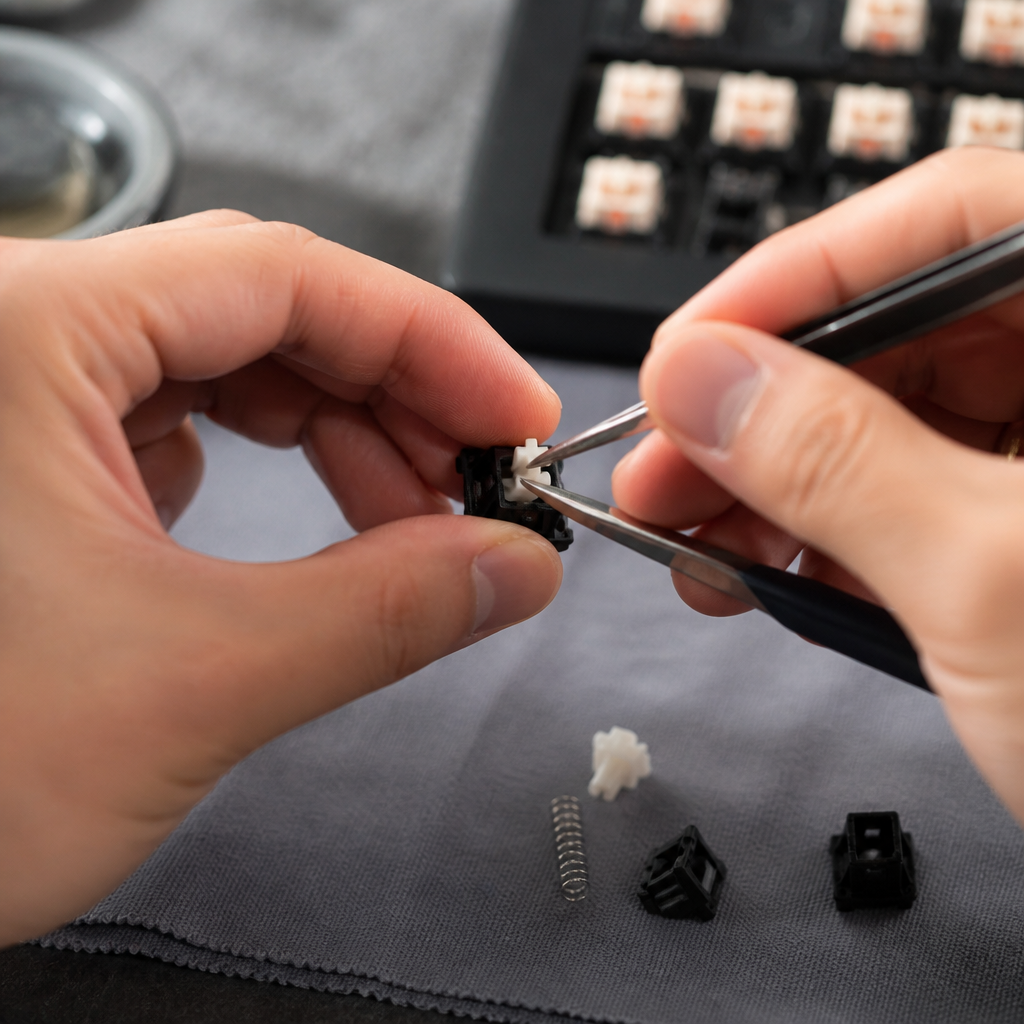
Opening a switch allows you to access its internal components for modifications like lubrication. This process involves disassembling the switch housing by releasing the small plastic clips that hold it together.
To open an MX-style switch, place it upside-down and use a thin tool like a small flathead screwdriver or a butter knife to push the side latches outward. Once the latches are disengaged, you can gently lift the top housing. It is important to separate the housing slowly to prevent the spring and stem from ejecting unexpectedly. Keyboard repair technician Nathan Kim advises using two tools simultaneously on opposite sides to ensure even pressure distribution, which helps prevent the housing from cracking. Always work over a container or a soft cloth to catch any small parts that might pop out.
Soldering and Desoldering Switches Without Tools
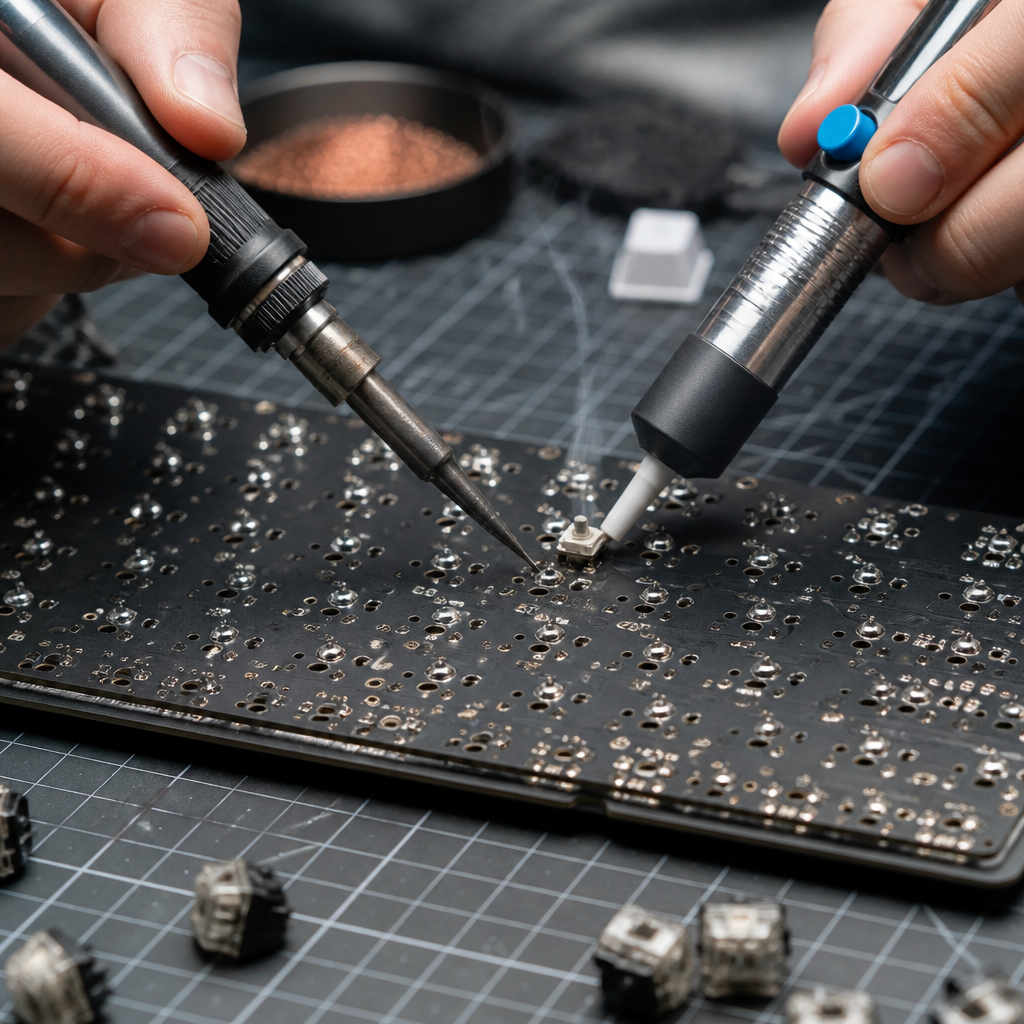
When dealing with soldered switches, the approach changes completely. Attempting to remove solder without the proper equipment is extremely risky and very likely to cause permanent damage to your keyboard’s PCB.
Can You Desolder Keyboard Switches Without Tools?
Let’s be direct: trying to desolder without specialized tools is a bad idea. Using improvised heat sources like lighters or matches is almost guaranteed to destroy your keyboard. There is no safe way to desolder switches without proper tools. Electronics repair standards from IPC-7711/7721 mandate the use of controlled desoldering equipment for a reason.
Louis Rossmann, a renowned electronics repair expert, offers a stark warning: “A soldering iron costs $20-30, and a desoldering pump adds $5-10. Attempting this with lighters, matches, or other improvised heat sources will destroy your PCB 95% of the time through overheating, uneven heating, or combustion damage. The copper traces lift, the FR4 substrate delaminates, and you’re left with a $100-300 paperweight.”
This damage occurs because solder requires precise, sustained heat (around 350-400°C) to melt. Improvised sources deliver uncontrolled heat, which can melt the PCB’s substrate (rated for only ~170°C) and lift the delicate copper traces. Instead of risking your hardware, a much safer option is to use solder wick with a proper soldering iron. Solder wick is a copper braid that soaks up molten solder and costs only a few dollars.
How to Swap Keyboard Switches Without Soldering
If you own a hotswap keyboard, swapping switches without soldering is exactly what it’s made for. The process is simple and allows for endless experimentation with different switch types.
First, remove the keycap. Next, pull the existing switch straight up, wiggling it gently if needed. Before inserting the new switch, always inspect its pins to ensure they are perfectly straight. A bent pin is the most common cause of installation issues. If a pin is bent, carefully straighten it with tweezers. Finally, align the pins with the socket holes and press the new switch down firmly until it clicks into place. It’s a good practice to test the switch before replacing the keycap. Note that if you have a 5-pin switch and a 3-pin socket, you may need to clip the two small plastic pins, _but only if your keyboard plate doesn’t have guide holes for them._
Taeha Types, a respected custom keyboard builder, summarizes the benefit perfectly: “Hotswap technology has democratized switch experimentation. Before hotswap became mainstream, users were locked into their initial switch choice or faced expensive desoldering. Now anyone can try different switches in minutes. Just ensure your pins are straight – I’d estimate 60% of ‘broken socket’ complaints are actually bent pin issues.”
In conclusion, removing keyboard switches without a dedicated tool is entirely feasible, particularly with hotswap boards. Understanding your keyboard type is the most critical first step. For hotswap keyboards, a gentle touch and careful attention to pin alignment are all you need. For soldered keyboards, however, attempting removal without the right tools is a gamble that will likely result in permanent damage. Always prioritize the safety of your hardware.
FAQ
Q1: What is the main difference between hotswap and soldered keyboards when it comes to switch removal?
A1: Hotswap keyboards have special sockets that allow switches to be pulled out and pushed in without soldering. Soldered keyboards have switches permanently attached to the PCB with solder, requiring specialized desoldering tools to remove them safely.
Q2: Can I remove switches from a soldered keyboard without any tools?
A2: It is strongly advised against attempting to remove switches from a soldered keyboard without proper desoldering tools. Doing so can cause severe and often irreversible damage to the keyboard’s PCB, such as lifted pads or complete board failure.
Q3: What are some common household items I can use to remove hotswap switches if I don’t have a switch puller?
A3: For hotswap keyboards, you can use items like plastic cards, two small flathead screwdrivers to act as makeshift pullers, or even a bent paperclip. For better grip, wrapping your fingertips with rubber bands can also help.
Q4: What precautions should I take when opening a keyboard switch for modification or lubrication?
A4: When opening a switch, first remove it from the keyboard. Use thin tools to simultaneously release the plastic clips on the housing. Lift the top housing slowly and work over a container or cloth to catch the small internal parts like the spring and stem.
Q5: Is it possible to swap switches on any keyboard without soldering?
A5: No, swapping switches without soldering is only possible on hotswap keyboards. These are specifically designed with sockets that enable easy switch replacement. Keyboards with soldered switches require a desoldering and resoldering process to change switches.

Hi, I’m Alex Morgan.
Welcome to my blog! As a dedicated mechanical keyboard enthusiast, I’m passionate about exploring everything from custom builds to the finest details of switches and keycaps. My goal is to break down specs, sound profiles, and ergonomics to help you find the absolute best keyboard for your setup. Whether you’re a gamer, programmer, or desk setup fanatic, I’m here to share honest reviews and practical recommendations.